
I know I’ve been MIA for the last six weeks or so. I just needed to take a break for a little while and regroup. I figured around the holidays would be a good time to do that. I had a nice Christmas holiday and a nice New Years and I hope you did too.
My birthday was on the 16th and it snowed that day, so even though I was snowed in, I was so excited we got some snow. This past Sunday, as a late birthday present to myself, I spent the afternoon with a friend of mine at a chocolatier making peanut brittle. It was so much fun.
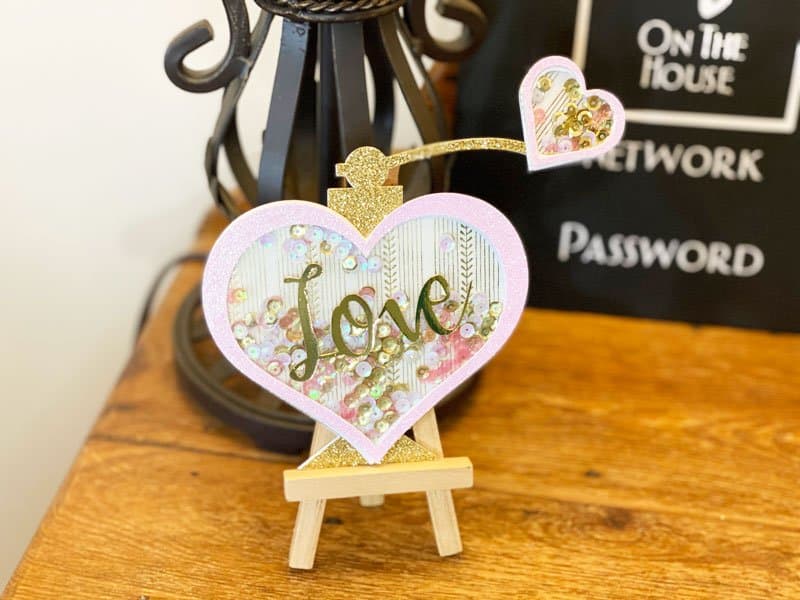
I decided to be creative and made a Love Is In The Air Perfume Bottle With The Cricut tutorial to share with you.
You can get this file by supporting me on Patreon when it’s launched on February 11th. I’m super excited to be able to share more of my files with you when you join.
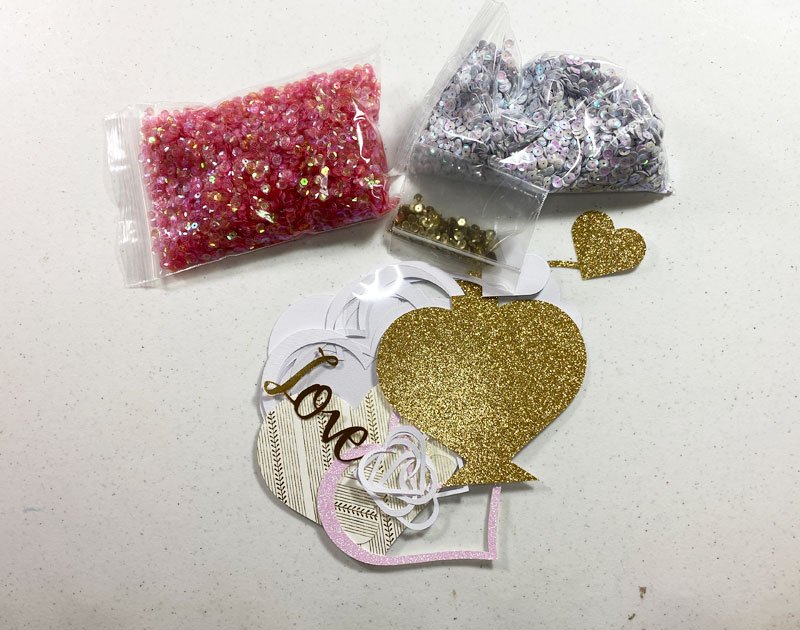
Materials Used For This Project
This post contains some affiliate links for your convenience (which means if you make a purchase after clicking a link I will earn a small commission but it won’t cost you a penny more)! As an Amazon Associate I earn from qualifying purchases. Read my full disclosure policy.
- Cricut Maker, Explore Machine
- Standard Grip Mat
- Cricut Tools
- White Cardstock
- Gold Glitter Cardstock
- Pink Glitter Cardstock
- Decorative Cardstock (I used a Gold/Cream cardstock)
- Kraft Board
- Sequins
- Liquid Adhesive
Making The Love Is In The Air Perfume Bottle With The Cricut
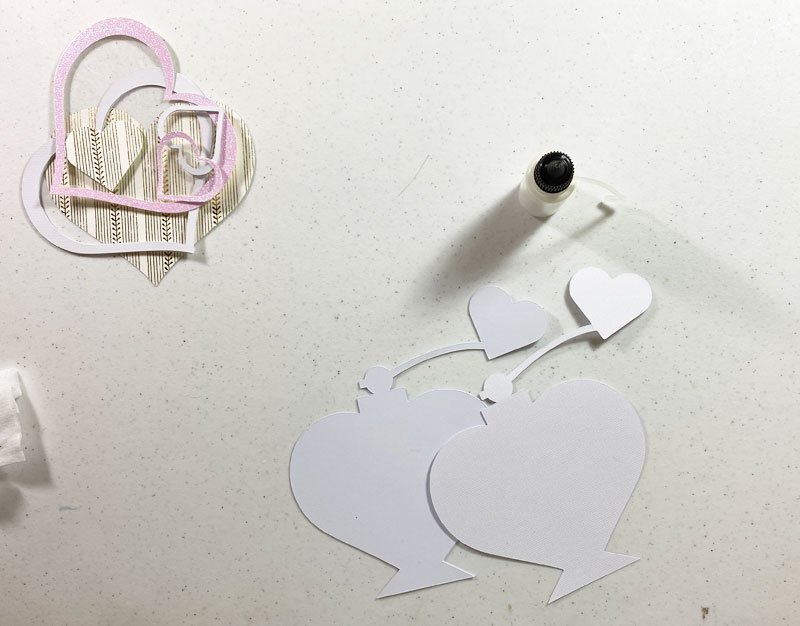
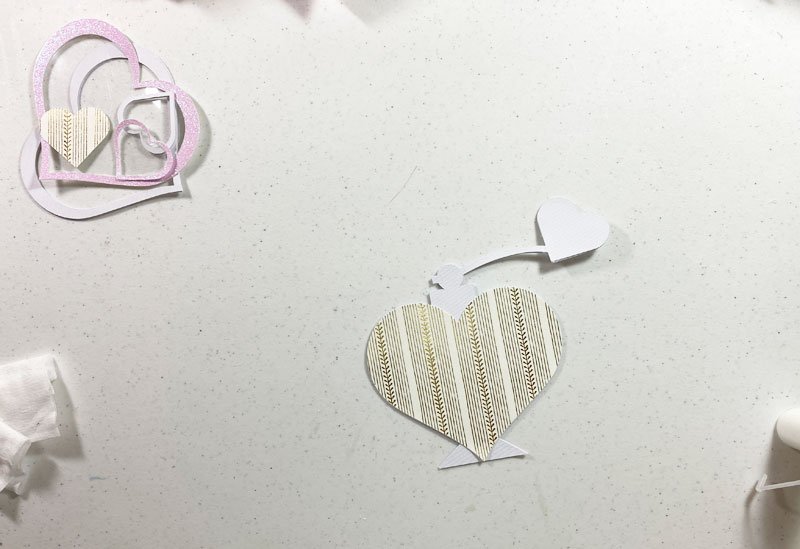
These are the pieces I cut out with my Cricut Maker to use for this love is in the air perfume bottle with the Cricut I ended up using gold glitter cardstock for the top perfume bottle piece because it stood out more.
Here is a link to the instructional video.
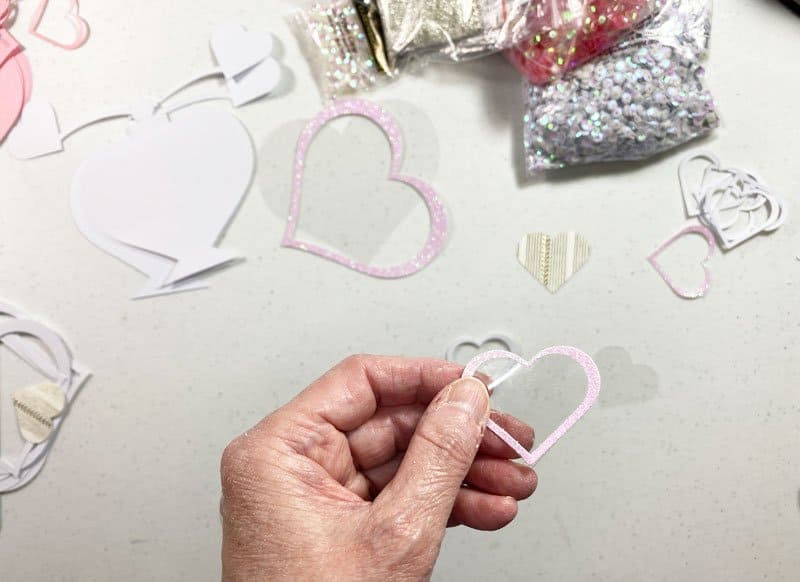
This first thing I did was glue the five small heart outline pieces together to give some depth for the small heart shaker piece.
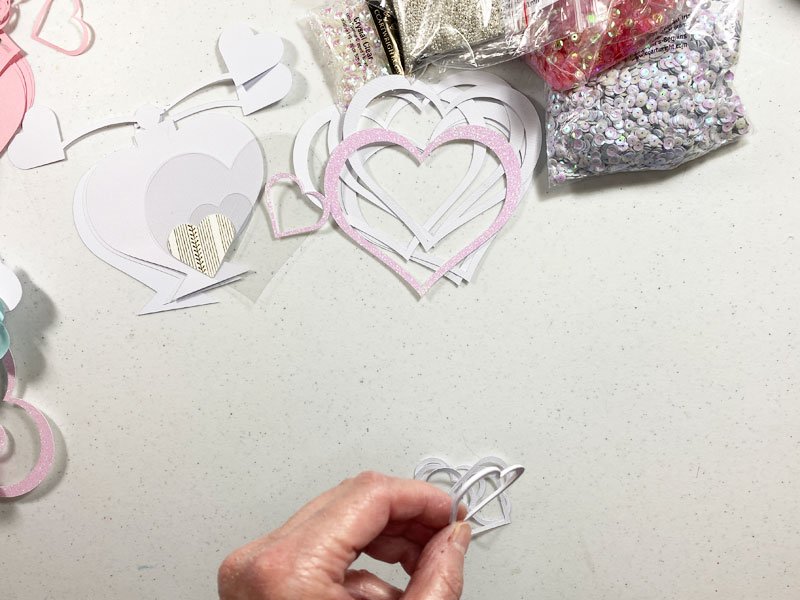
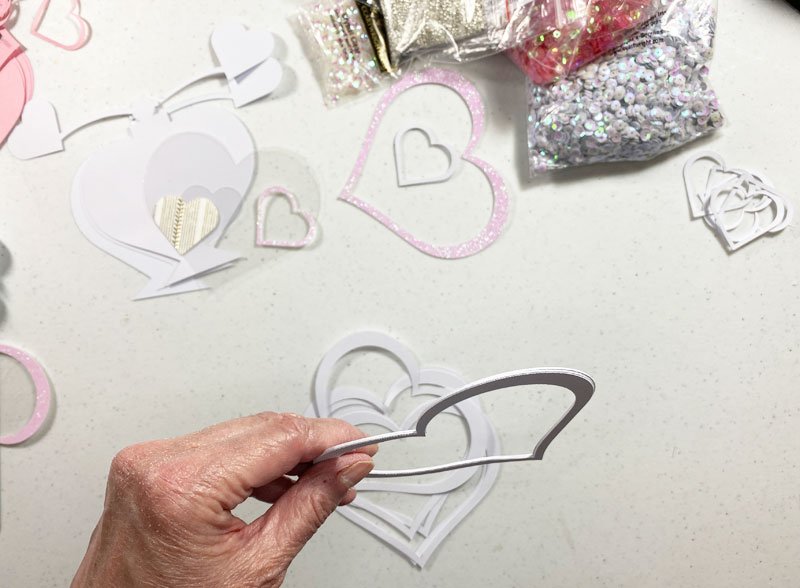
Next, I glued the five large heart outline pieces together to form a well for the large heart on the perfume bottle.
Then I glued the large acetate heart piece to the pink glitter cardstock heart.
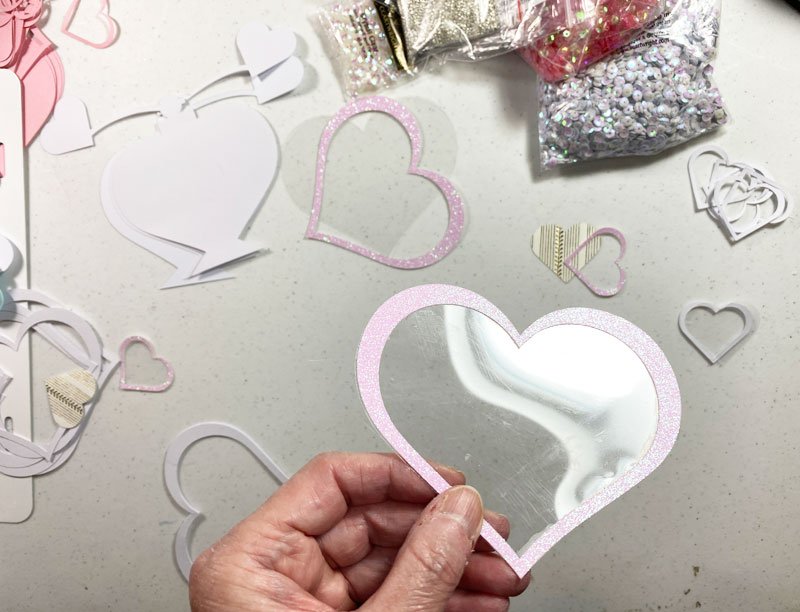
After that I glued the small acetate heart to the pink glitter cardstock heart.
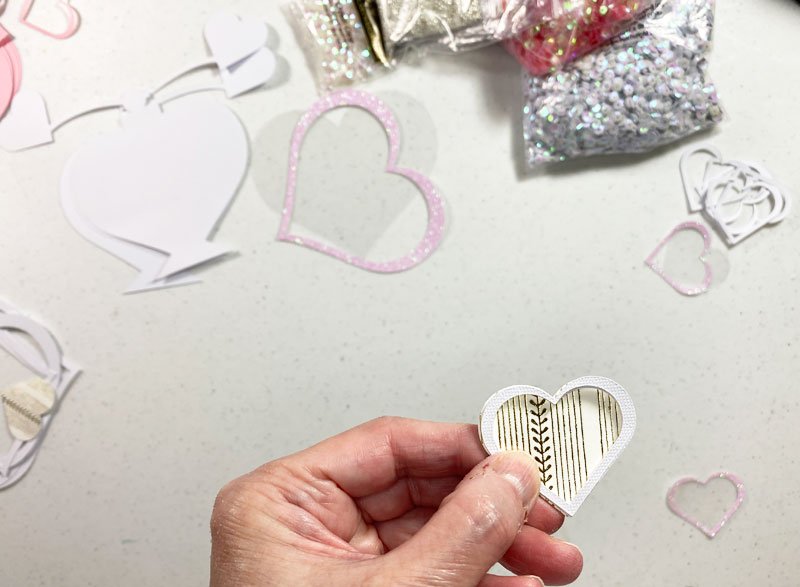
I then glued the group of five heart layers to the top of the cream/gold cardstock heart to form the well for the sequins.
Once that was done, I glued the Kraft Board to the back piece of the perfume bottle
I don’t have a picture of this, but it’s in the video, I glued the gold glitter perfume bottle piece to the top of the Kraft Board and then glued the cream/gold piece of cardstock to the top of that. Once that was done, I glued the large 5 layered heart pieces to the top of the cream/gold heart.
Then I glued the large and small 5 layered heart pieces to the top of the cream/gold heart to form the well for the sequins.

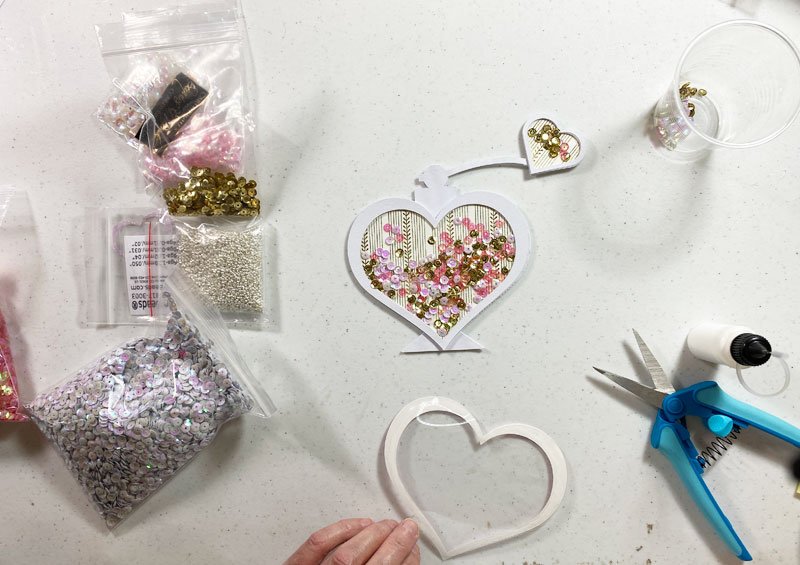
Now Comes The Fun Part!
I added the sequins to the large heart well and small heart well.
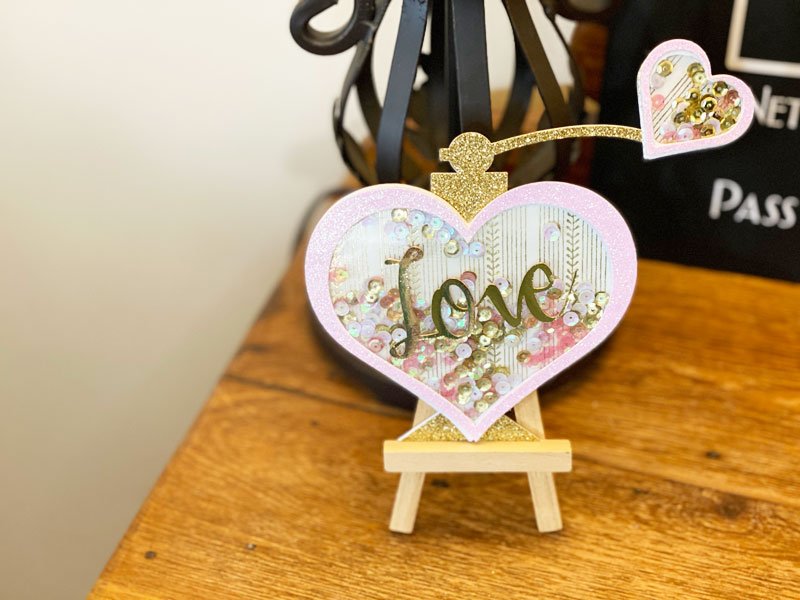
Last, I glued the pink glitter cardstock hearts with the acetate to the large and small wells of hears with the glitter to enclose them.
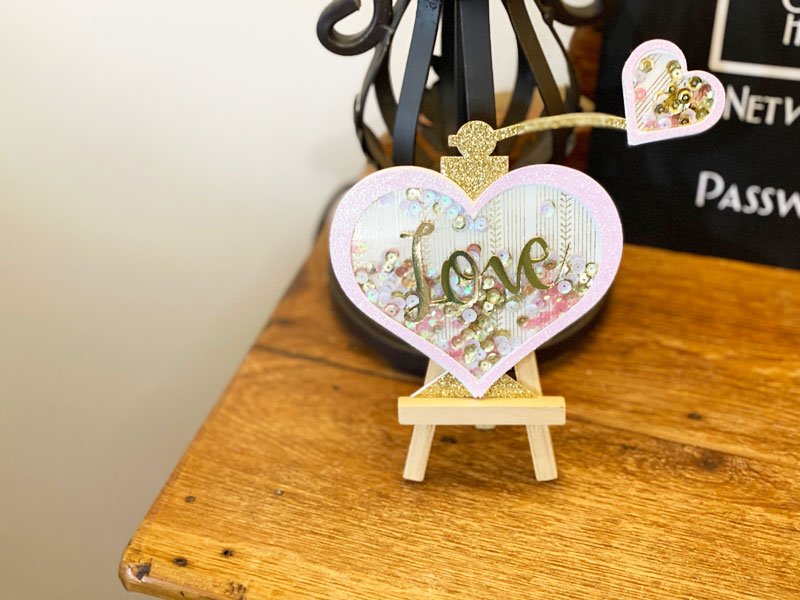
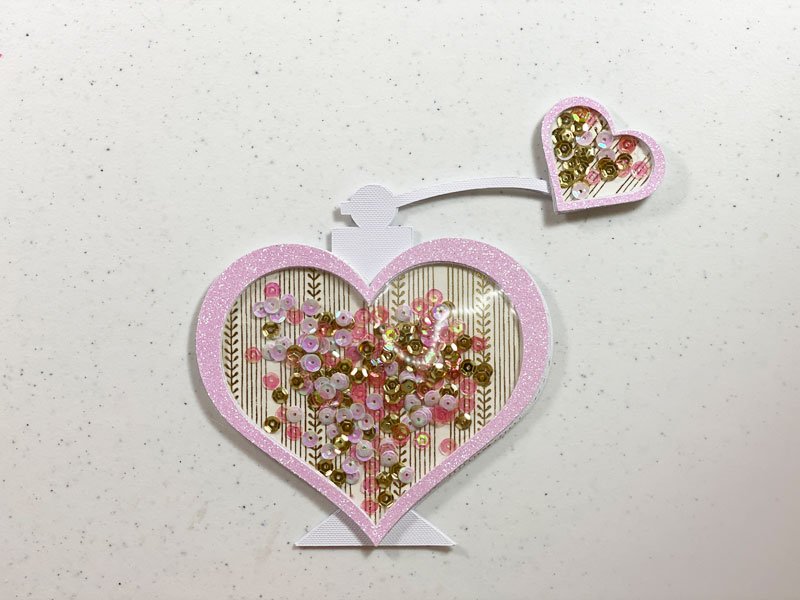
The Finished Perfume Bottle Shaker
I love how this came out. I think it looks 100% better with the gold glitter cardstock layer. What do you think?
Just for reference.
So did you find this tutorial helpful? If you have questions or need help please leave them in the comment section below.
I will be back soon with another fun Valentine’s Day project.
Until then.
Kathy
You might also like this DIY Valentine Wine Glasses With The Cricut tutorial.
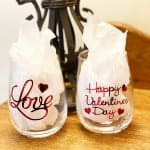
You can get my free Wine Glass template, available in my Free Resource Library (get the password by filling out the form below).
New subscriber here! Found you in the Cricut Craftfest 2022 lineup! Where can I get the svg for this adorable perfume bottle? I absolutely love it and would like to make a couple for Valentines. Thank you. I have never made shaker type projects before and you make it look doable!
Hi Shirl,
Welcome!!! I’m so happy to have you join our great group of crafters. That particular design will be available on February 11th in my Patreon group. I will be sharing the link to my Patreon group soon.
Kathy
Hi! Found you on the Cricket Craft fest 2022. I am so excited to make the shaker. It will be my first attempt. Happy to be here!!
Hi Carol,
Welcome!!! You are going to love the Cricut Craft Fest 2022. I’m so happy you are excited to make the shaker. If you need help don’t hesitate to reach out. I’m so happy you are hear.