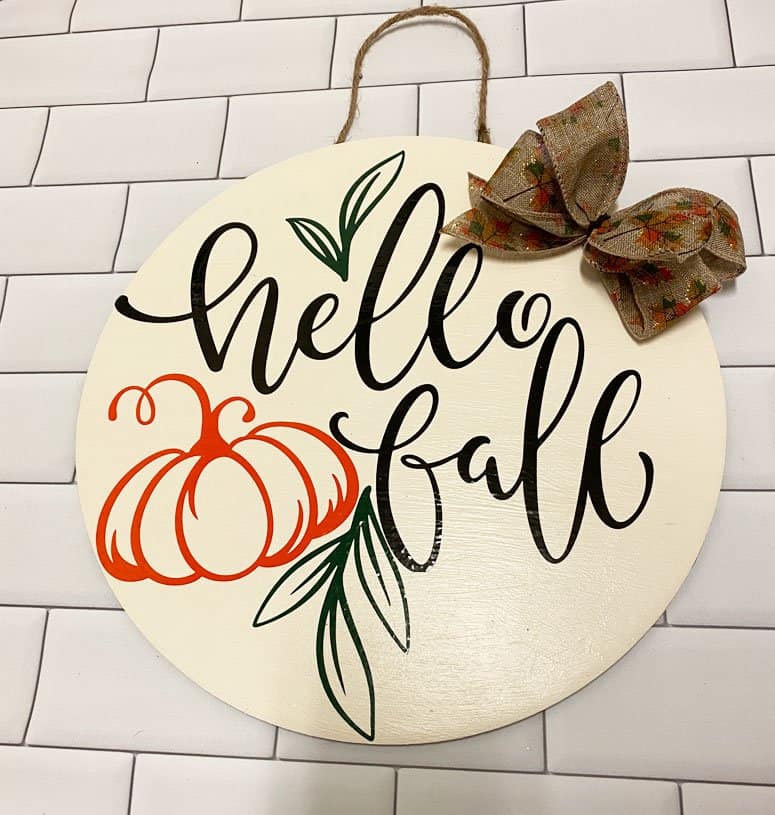
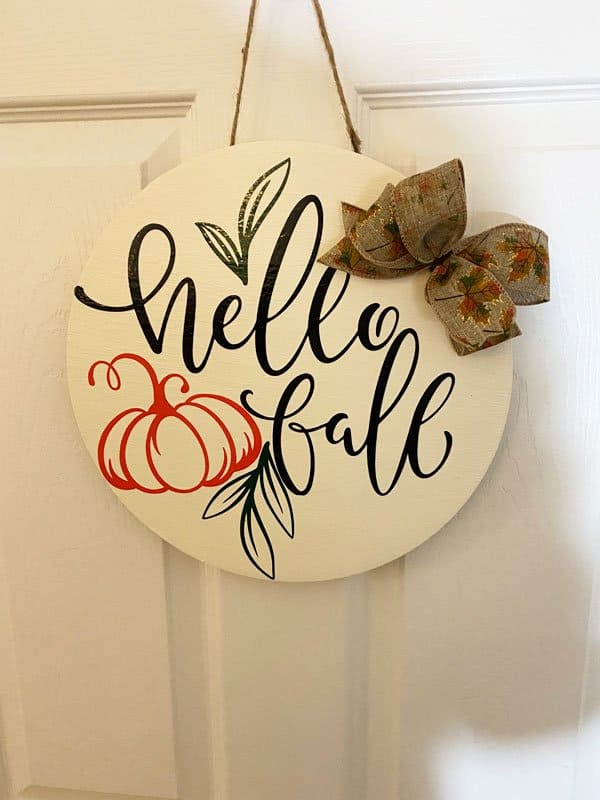
Are you ready for fall? I don’t know about you, but fall is one of my most favorite times of the year. My friends’ kids have all gone back to school. To me going back to school is the official start of fall. I already have some decorative pumpkins (not real ones) that I’m getting ready to set out on my favorite table. I also made this easy DIY fall sign with the Cricut and vinyl to hang on my door.
Materials I Used For This Project
This post contains some affiliate links for your convenience (which means if you make a purchase after clicking a link I will earn a small commission but it won’t cost you a penny more)! As an Amazon Associate I earn from qualifying purchases. Read my full disclosure policy.
- Cricut Maker or Explore Machine
- Standard Grip Mat
- Cricut Tools
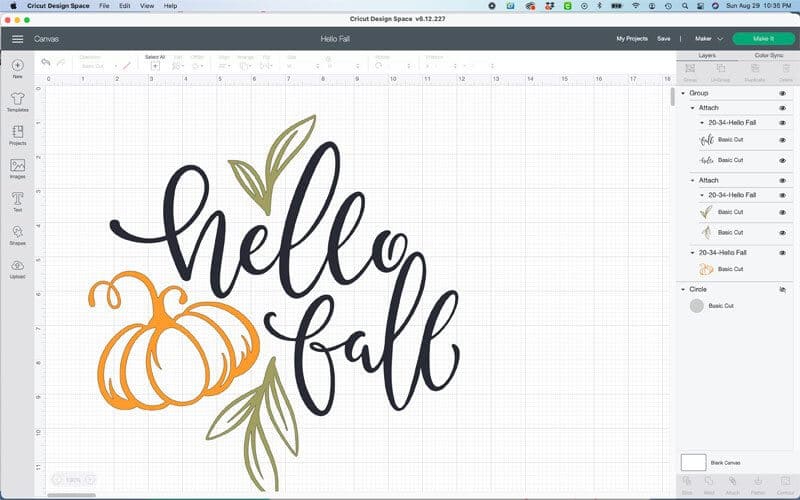
- Hello Fall Design
- Transfer Tape
- Black, Orange & Green Vinyl
- Black, Orange & Green Vinyl
- Pin Pen
- Vinyl Weeding Scrap Collector
- 12″ Wood Round
- Wreath Hanger
- Mod Podge
- Chalk Paint
- 2 Sponge Brushes (one for the paint and one for the Mod Podge)
- Jute Twine
- Glue Gun
- E6000
Making The Easy DIY Fall Sign With The Cricut And Vinyl
This sign is super quick and easy to make. I cut out this Hello Fall Design with my Cricut Maker. I then painted my 12″ round wood piece with the Chalk Paint, and put some Mod Podge on top of the Chalk Paint after it dried. When the Mod Podge was completely dry, I added the vinyl pieces of the Hello Fall Design. Next, I added a piece of Jute Twine to the back with the E6000 and my Glue Gun to make a hanger. That way I could hang it on my Wreath Hanger.
Here is a short video on the sign.
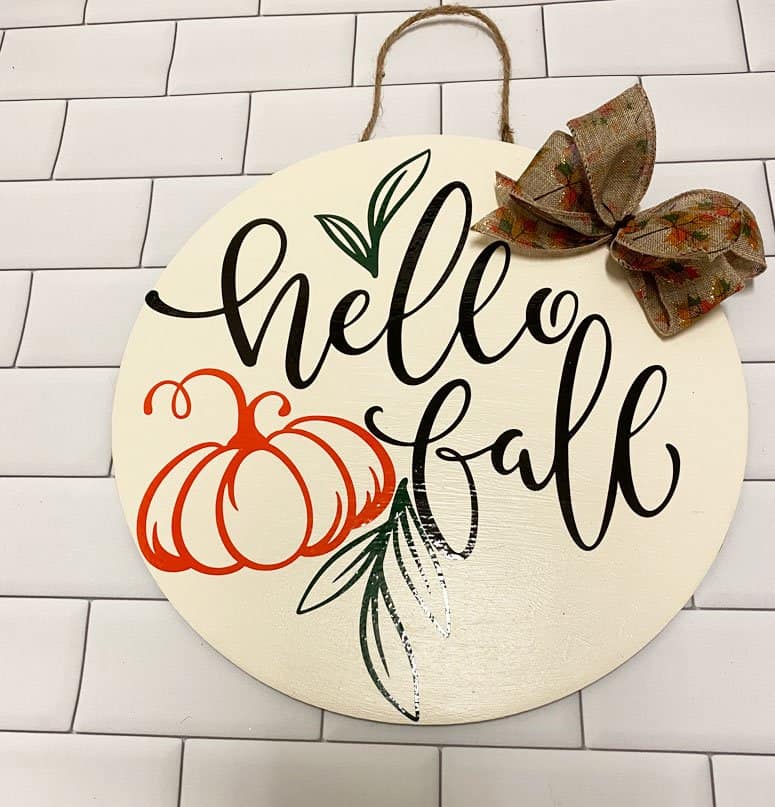
The Finished Product
Isn’t this so pretty.
Until next time.
Kathy
You might also like this Hey There Pumpkin sign.

Check out this spooky Halloween Banner from Dreaming Tree.

