
I wanted to make something with the new Monogram Maker feature in Design Space. Can I just say I love it. There are so many cool things you can do with it. So here is an easy acrylic keychain tutorial with the Cricut.
I found a bunch of these 3″ acrylic keychain discs when I was unpacking some boxes from my move 2.5 years ago. Better late than never, right! They were the perfect thing to use with the Monogram Maker. There are two stacks of these that are about six inches tall each, so I have a lot of them. Definitely going to be making more keychains.
This post contains some affiliate links for your convenience (which means if you make a purchase after clicking a link I will earn a small commission but it won’t cost you a penny more)! As an Amazon Associate I earn from qualifying purchases. Read my full disclosure policy.
Products Used
- Cricut Joy
- Cricut Joy Standard Grip Mat
- Cricut Tools
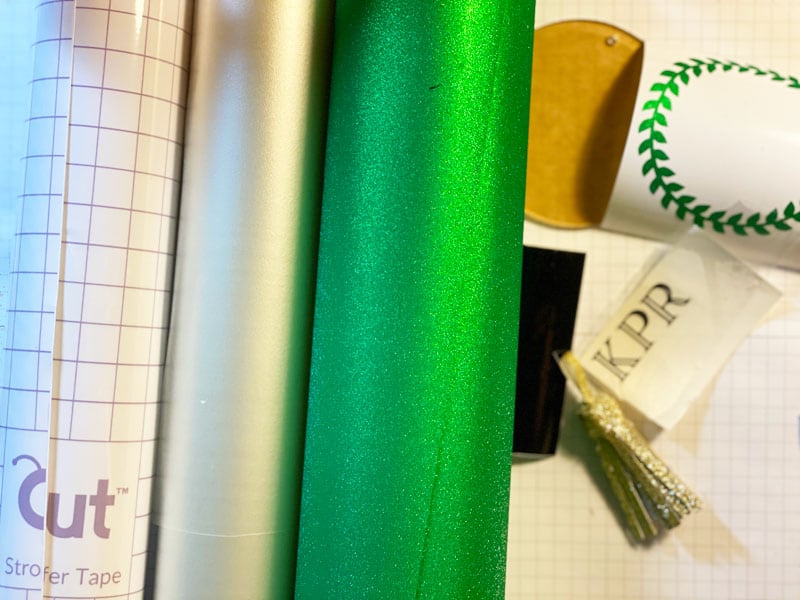
- Vinyl
- Transfer Tape
- Pin Pen
- 3″ Acrylic Discs
- Split Ring Keyring
- Jump Rings
- Jewelry Making Tools (You will need two sets of jewelry pliers so you can twist the jump rings.)
- Split Ring Opening Pliers
- Faux Leather
See my post on how to make the faux leather tassels here if you want to add a tassel to your keychain.
Gather all of your supplies and lay them out. I used the Cricut Joy to cut out my monogram, but you can also use the Cricut Maker or the Explore Air.
Video Tutorial
I made a quick video tutorial on how I designed this keychain using the Monogram Maker in Cricut Design Space.
Now that you have cut everything out, let’s get started. Apply your transfer tape to your monogram designs.
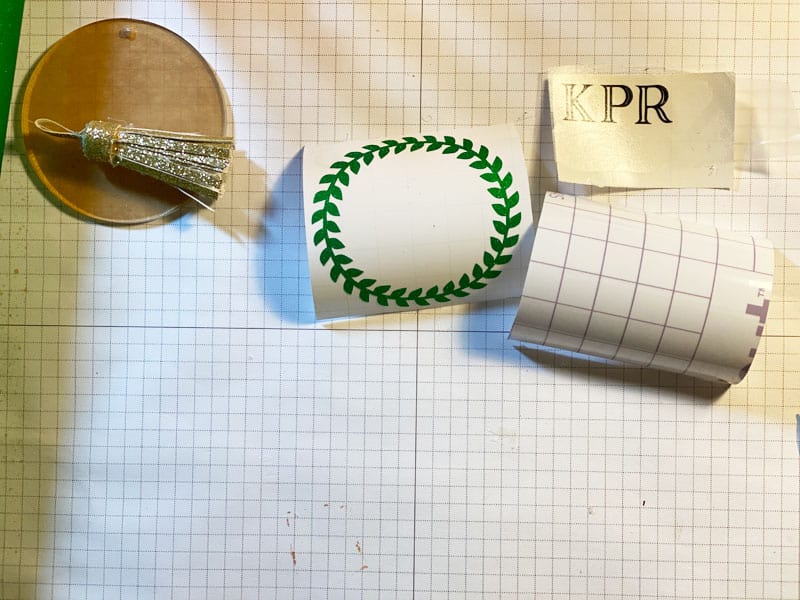
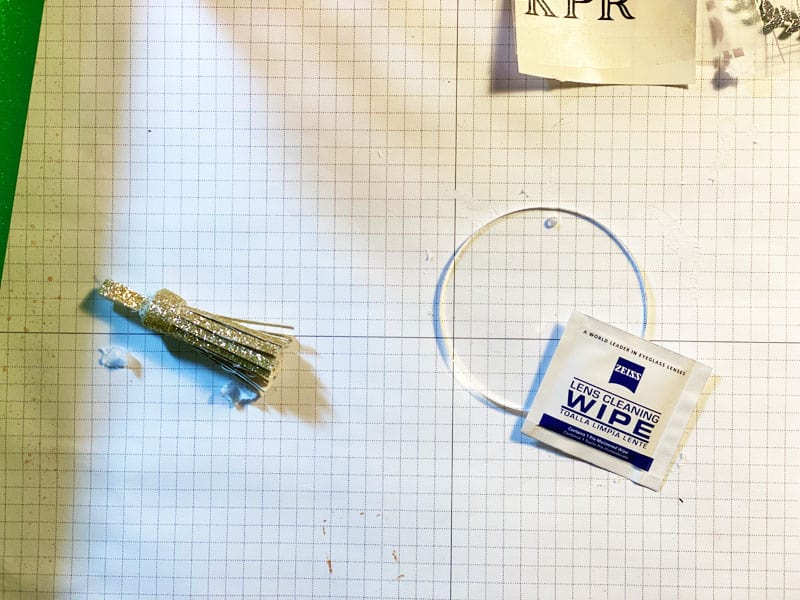
Wipe the Acrylic Disc clean with an alcohol wipe. Remove paper backing. Transfer the designs onto the Acrylic Disc using the Transfer Tape.
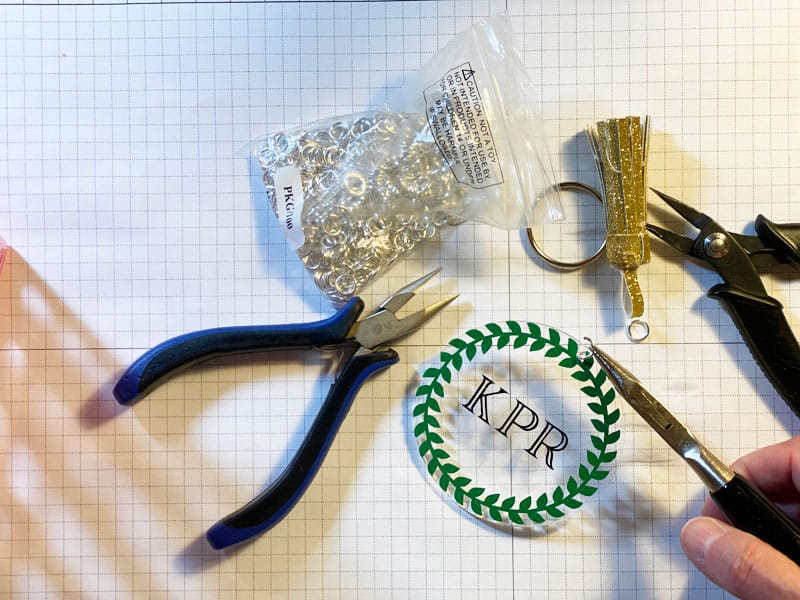
After the designs have been transferred to the Acrylic Disc, get your Jewelry Making Tools and the Jump Rings ready to start assembling.
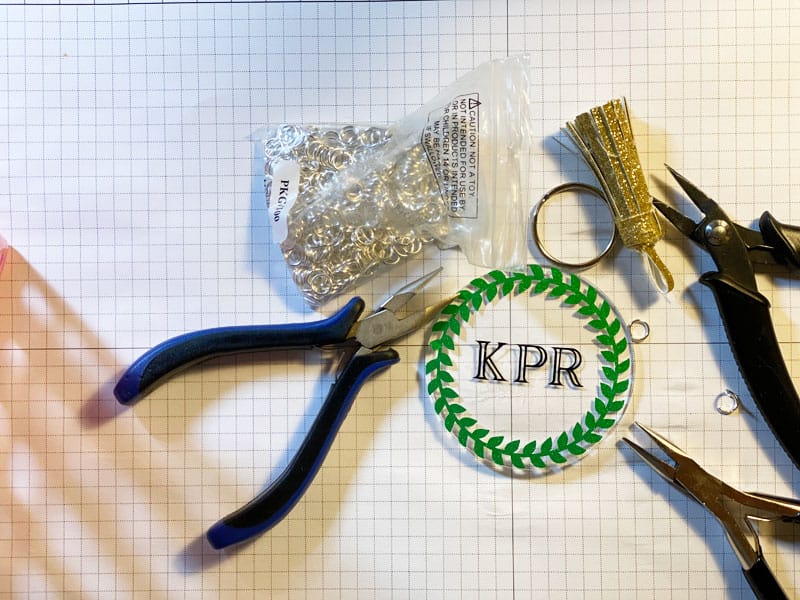
Using your Jewelry Making Tools add two Jump Rings to the Acrylic Disc.
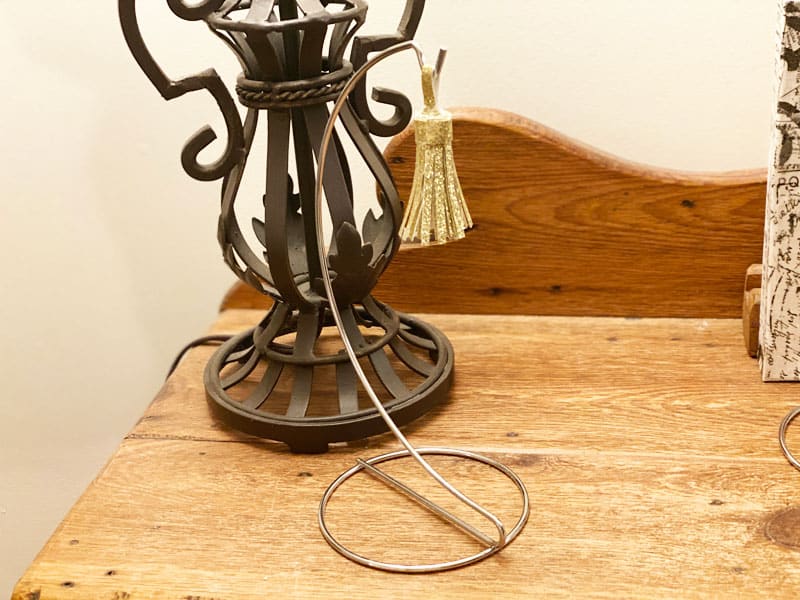
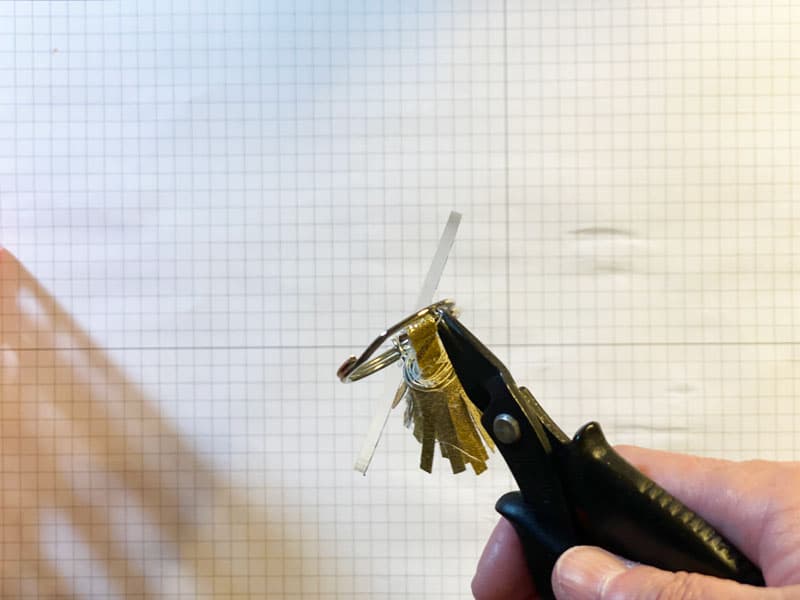
Next you are going to add the Split Ring Keyring and the faux leather tassel to the Acrylic Disc.
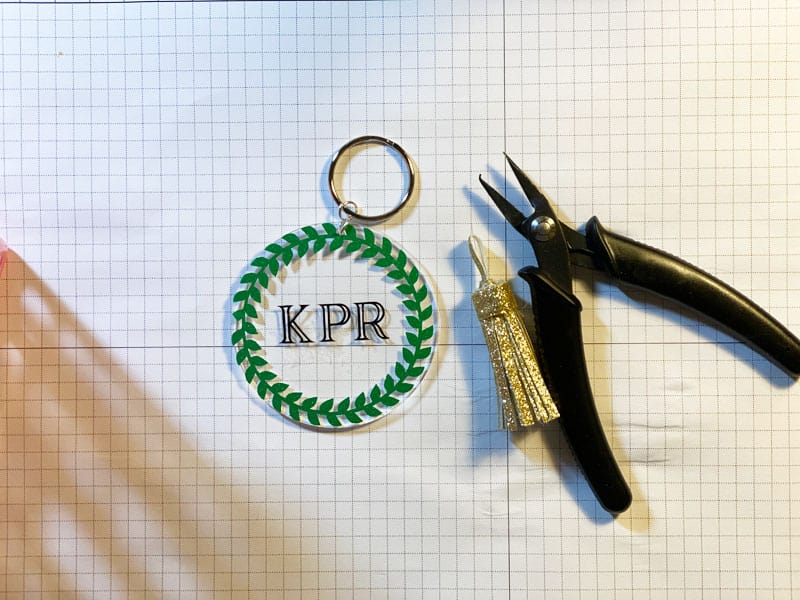
Use the Split Ring Opening Pliers to add the Faux Leather tassel to the keychain.
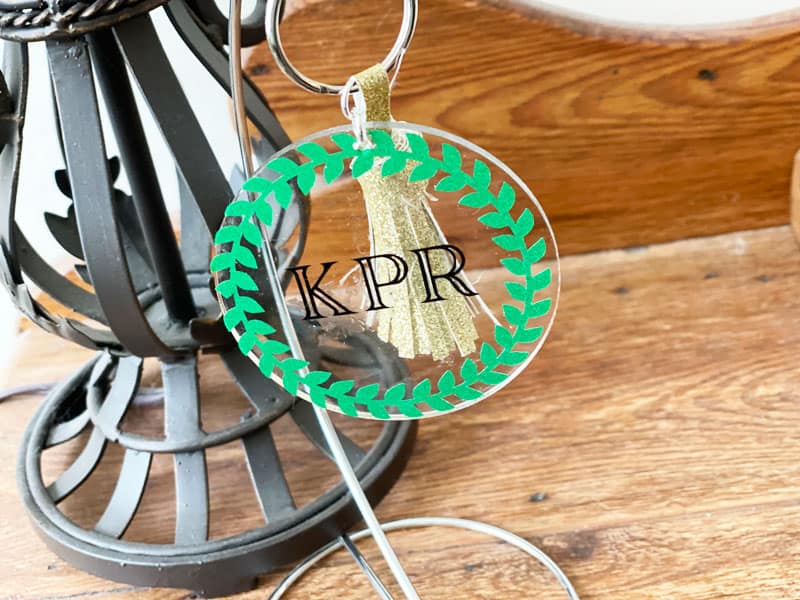
Isn’t The Keychain Beautiful
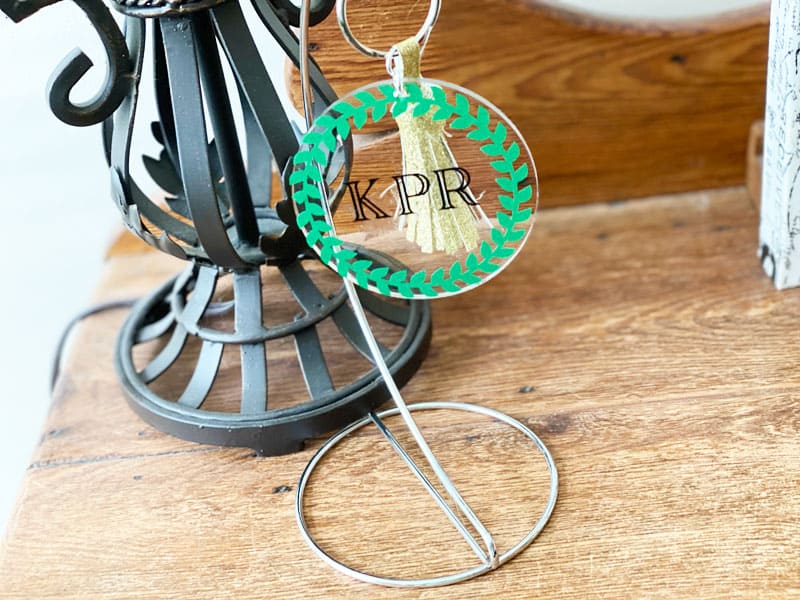
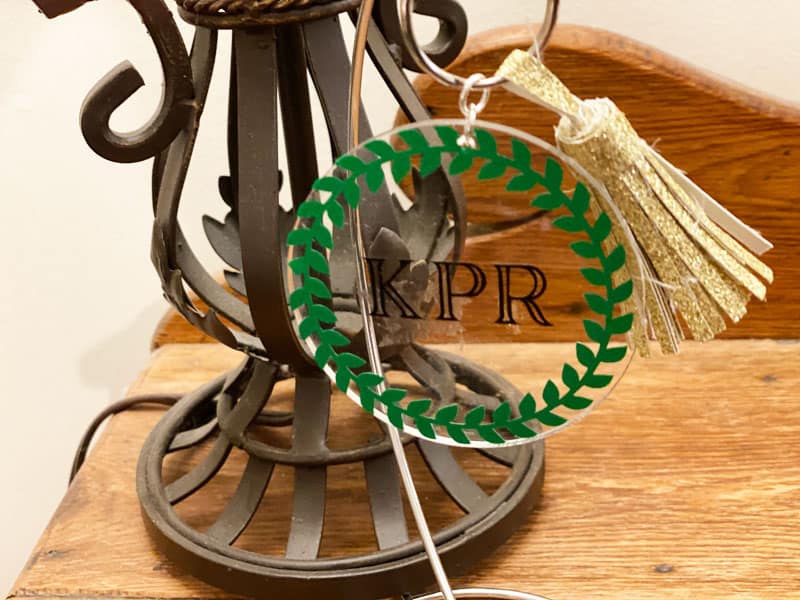
So how do you like this easy acrylic keychain tutorial with the Cricut? Does it make you want to try out the new Monogram Maker in Cricut Design Space? I know I will be making more.
If you end up making one (or more), please share them in the K Peck’s Creative Cafe Facebook Group. I would love to see them.
Until next time.
Kathy