
Here is a super fun project that you will become addicted to – making tassels with the Cricut! If you enjoy making things like purse charms/chunky charms, these tassels are the perfect accent for those. They add that finishing touch.
This post contains some affiliate links for your convenience (which means if you make a purchase after clicking a link I will earn a small commission but it won’t cost you a penny more)! As an Amazon Associate I earn from qualifying purchases. Read my full disclosure policy.
Products Used To Make This Project
- Cricut Maker or Cricut Explore Machine
- Cricut Tools
- Strong Grip Mat (Purple Mat)
- Strong Grip Transfer Tape
- Tassel SVG
- Faux Leather
- Painters Tape
- Hot Glue Gun
Here is a step-by-step tutorial on how to make these tassels. You can also watch the video tutorial.
Get your supplies together.

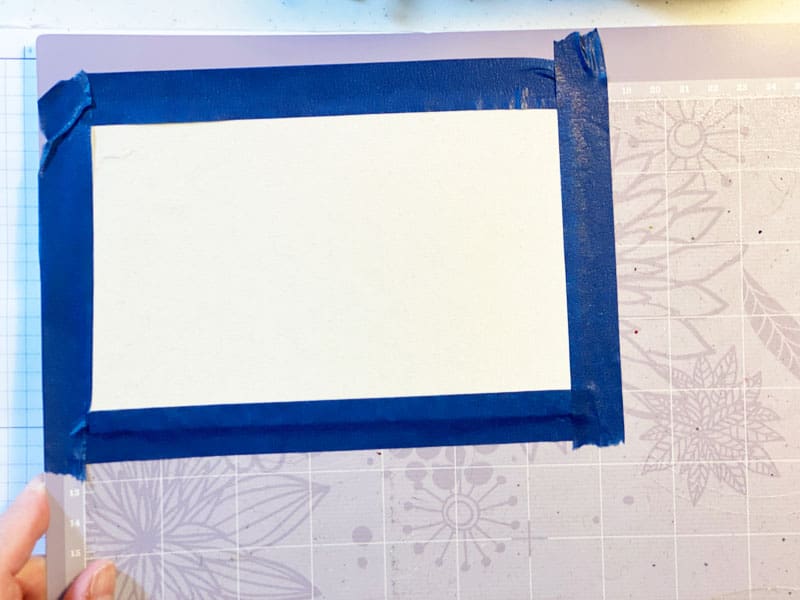
Place the Strong Grip Transfer Tape sticky side up on the mat. Peel off the white backing exposing the stick side.

Place Faux Leather pretty side down on top of the sticky Strong Grip Transfer Tape. You can vaguely see the Strong Grip Transfer Tape in this picture

Place Painters Tape around all four edges of the Faux Leather to keep it securely in place.
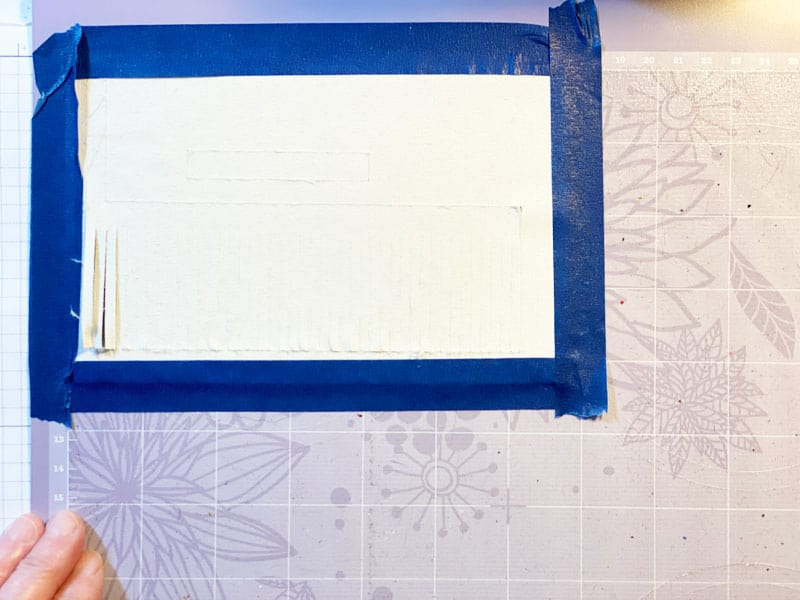
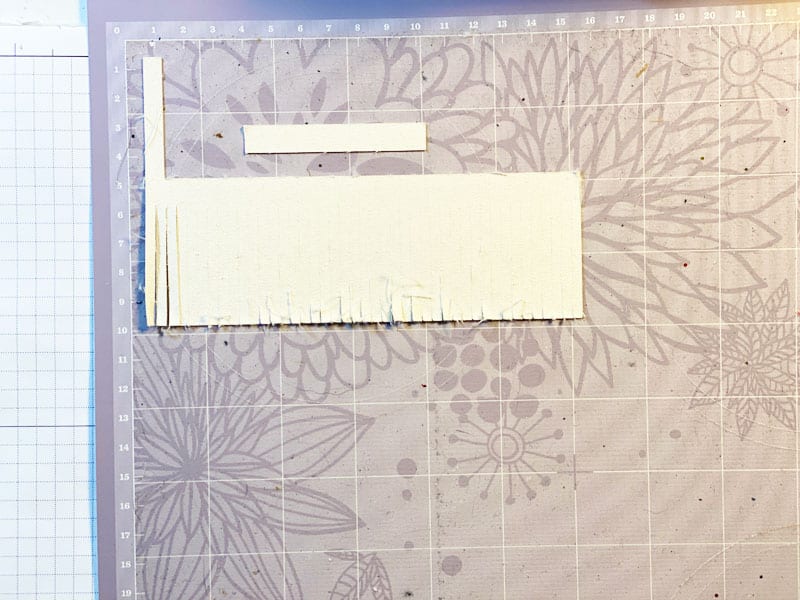
Here you can see the tassel cut out of the faux leather.
Backside of the tassel.
Front side of tassel.

Putting The Tassel Together
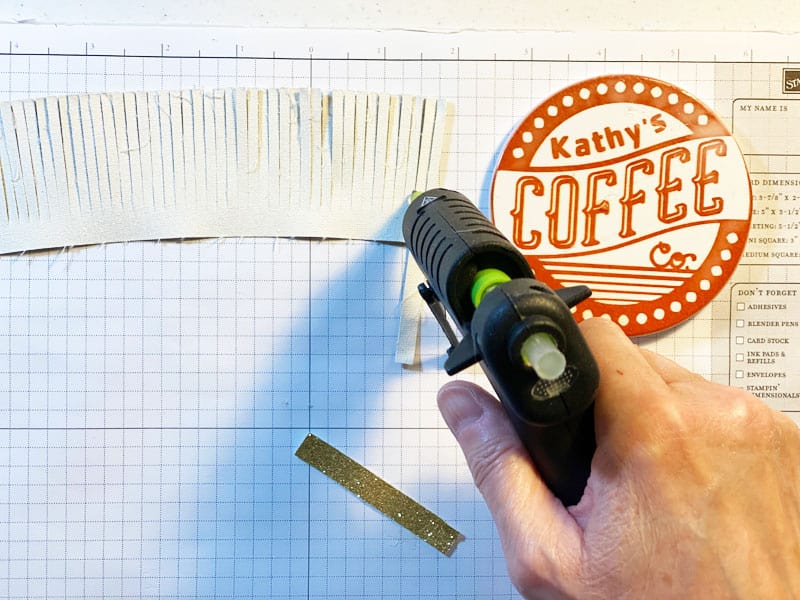
Heat up your Hot Glue Gun.

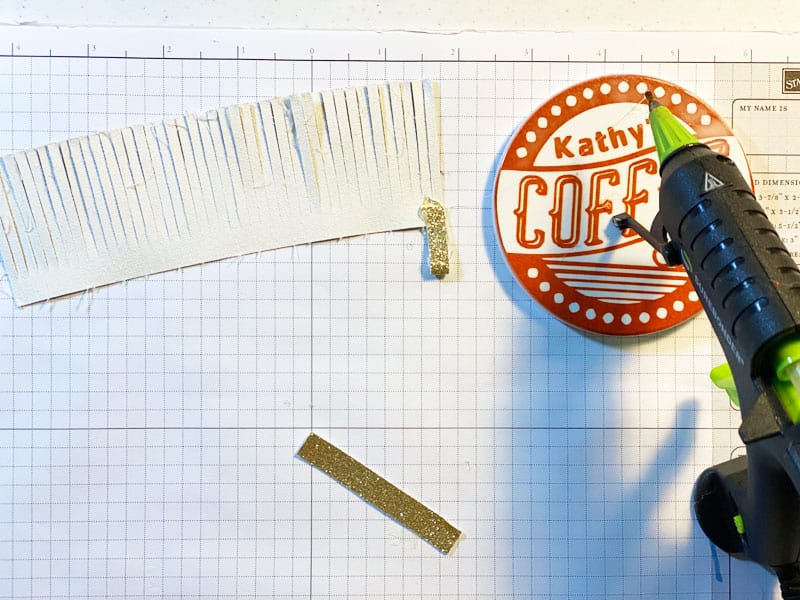
Fold the single longer piece at the top in half to form your loop.
The loop has been created.
Once you have made the loop, start rolling the tassel from the end with the loop to form your tassel. Glue as you go.
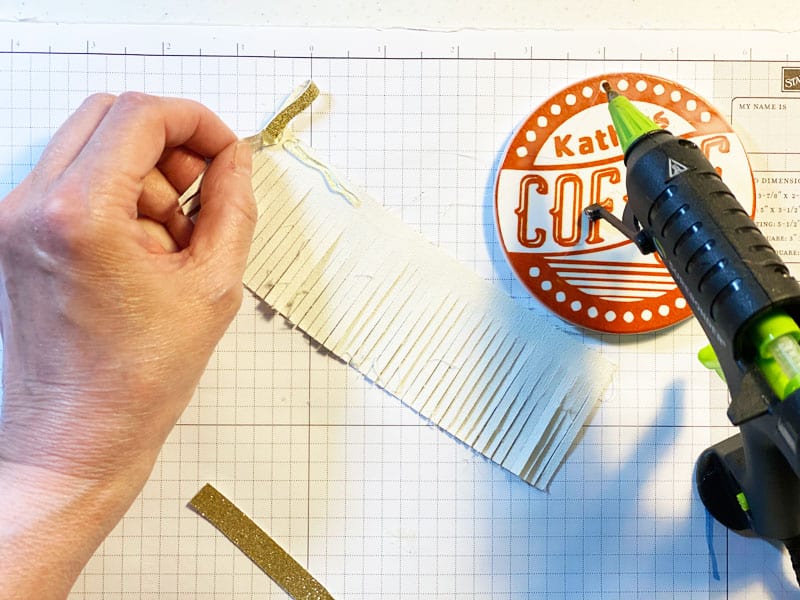
Wrapping the tassel.

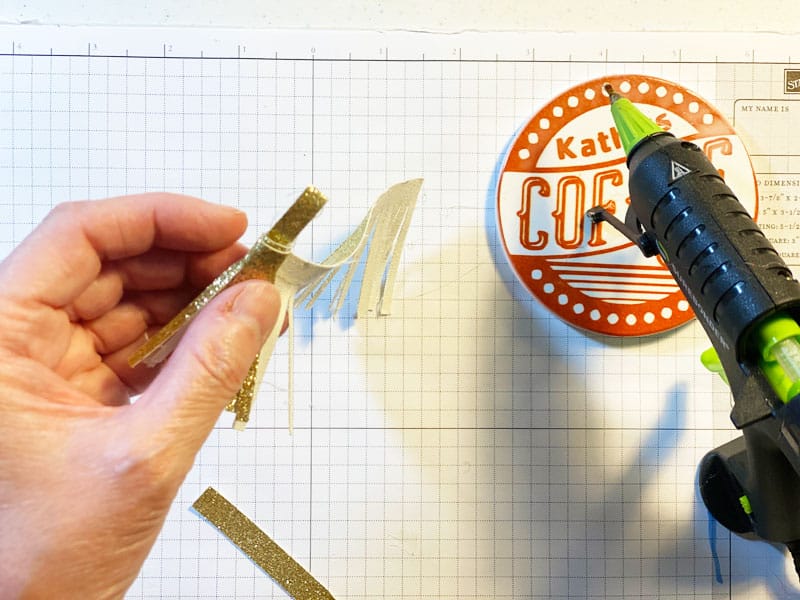
The wrapped tassel.


Wrap the single rectangular strip around top of tassel.
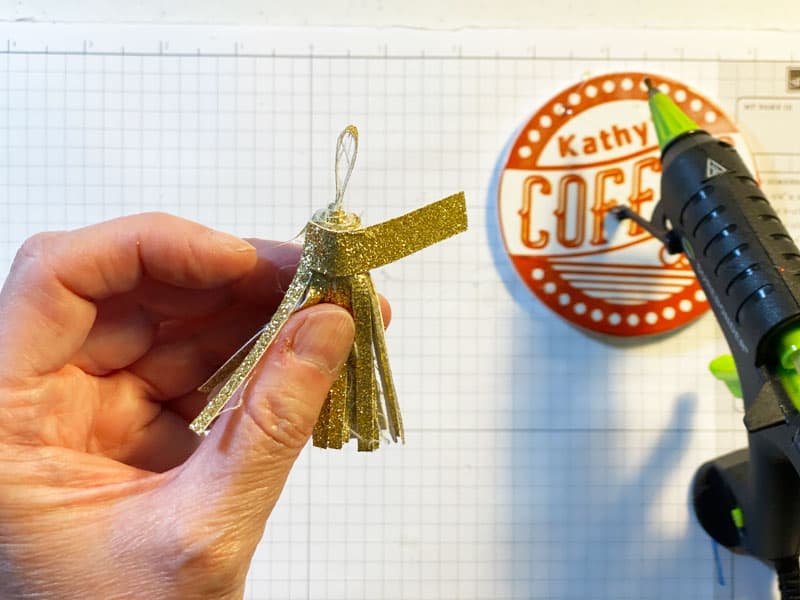
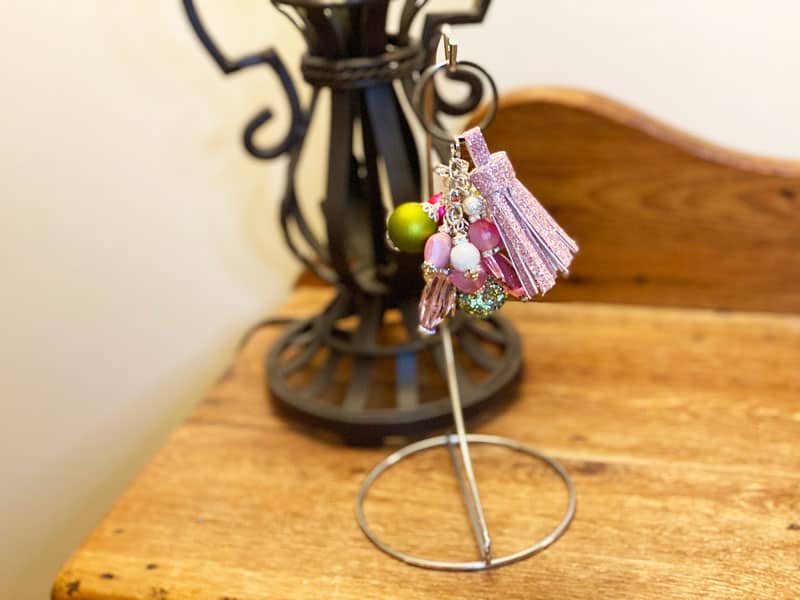
The Finished Tassel
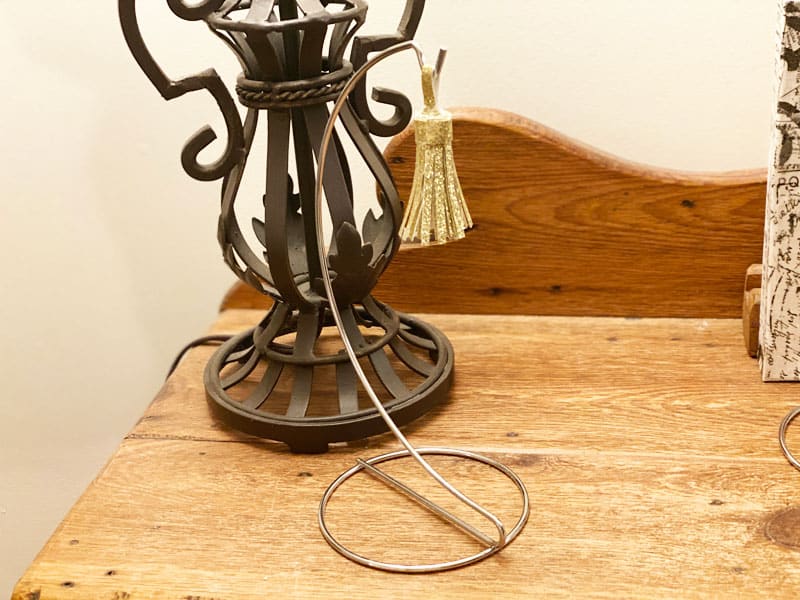
Here are a few more.

How fun are these tassels. I hope you will start making tassels with the Cricut to enhance your purse charms or keychains.
Until next time.
Kathy
P.S. You might also enjoy this faux leather project Making Faux Leather Hair Bows With The Cricut.

Hi Kathy,
Thank you for this cute project. It will be fun!
Hi Patricia,
You are so welcome. Have fun making it (or some!!!).
Kathy
Thanks for this. I have wanted to make these and your info for making these makes it seem very easy.
Hi Linda,
You are welcome! I’m so glad you found it helpful.
Kathy