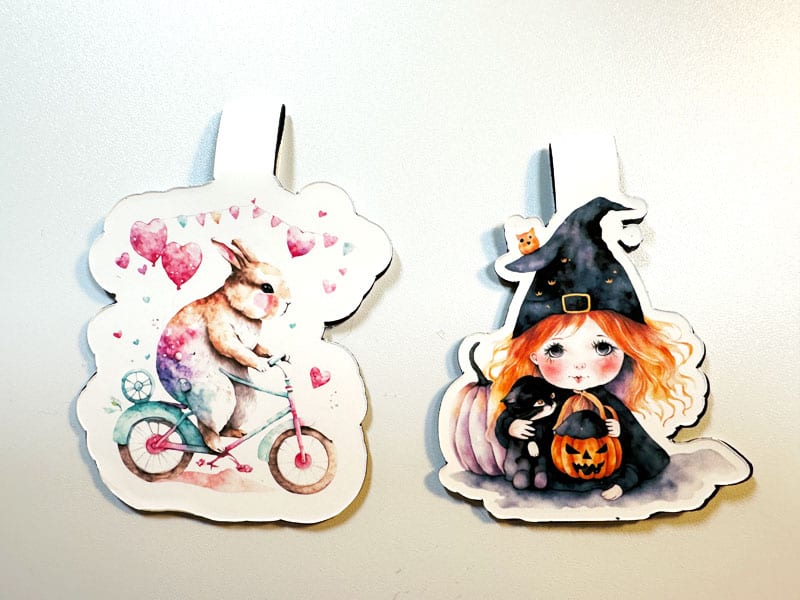
Have you ever thought about creating magnetic bookmarks with your Cricut? This is such a fun way to personalize your reading materials. They are quick and easy to do. You can even make magnets to put on your refrigerator.
Gather Your Materials
Before diving into the crafting process, make sure you have all the necessary materials on hand.
This post contains some affiliate links for your convenience (which means if you make a purchase after clicking a link I will earn a small commission but it won’t cost you a penny more)! As an Amazon Associate I earn from qualifying purchases. Read my full disclosure policy.
- Glassboard Studio Craft Mat
- Cricut Machine
- Deep Cut Blade
- Printable Vinyl Sticker Paper
- Magnetic Sheets
- Brayer
- Printer
- Bunny PNG
Here is the process video.
Begin by opening Cricut Design Space and uploading the bunny PNG (or whatever you decide to use). I think it will be easier to explain how I designed the magnet in Design Space if you watch the video.
Print your design onto the printable vinyl sticker paper. I chose Best quality on my printer. I also chose Matte Photo Paper.
Peel the backing off the sticker paper, as well as the magnetic sheet. Place the magnetic sheet, sticky side down, on the back of the sticker paper (sticky side) centering it as closely as you can in the middle of the printable vinyl sticker paper.
Use your brayer to smooth out any bubbles.
Place the magnetic sheet on a green cutting mat and place in your Cricut. For the pressure I chose the More option. It will take several times of cutting for the Cricut to cut all the way through the magnetic sheet. On the More setting it cuts twice. I’d say I recut it (without unloading the mat) at least 6-8 times before it was cut all the way through.
Make sure you test the magnet sheet before unloading the mat.
Fold the magnet in half and put it in your book.
If you have any questions, leave them in the Comments section.
Happy reading!!!
Until next time.
Kathy

