
I had a follower ask me about making labels with the Cricut Joy that I showed in a previous post, and I told her I would do a blog post on it. A process video is also included to show how I created the labels as well.
These labels were made using my Cricut Joy and Cricut Joy Smart Labels. Here’s a picture of the Labels.
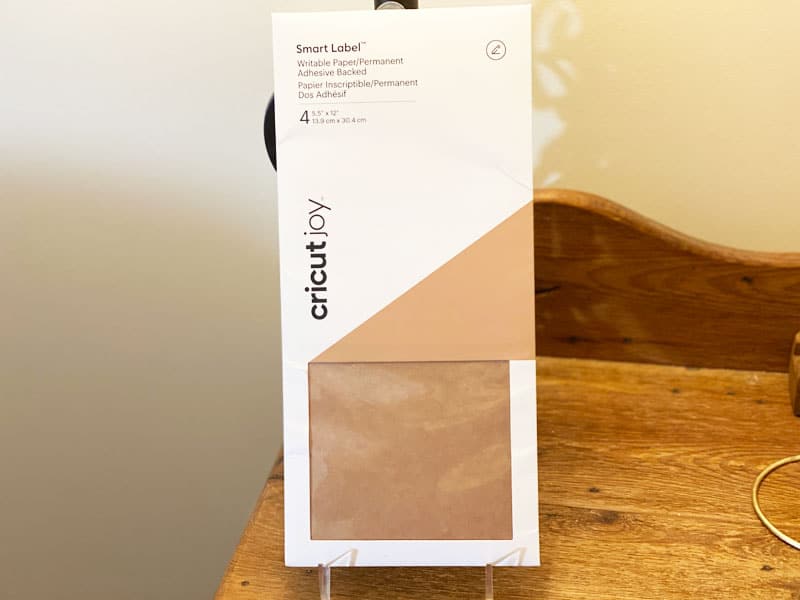
Materials Used For This Project
This post contains some affiliate links for your convenience (which means if you make a purchase after clicking a link I will earn a small commission but it won’t cost you a penny more)! As an Amazon Associate I earn from qualifying purchases. Read my full disclosure policy.
Making The Labels With The Cricut Joy
First thing, go into Shapes and click on the Square. After adding it to the canvas change the color to white to make it easier to see what you are doing. Unlock the padlock on the Size icon and change the width of the square to 4.5″ by however many labels you want to make. The 4.5″ rectangle is a guide for how many labels you can fit horizontally in that space.
Here is the video tutorial.
Go back into Shapes and choose a Circle and change the color to white. Resize it to 1.25″. You don’t need to unlock the padlock this time.
Using the Text function, type in the word Hello. Under Operation choose Pen. Then go into your fonts and choose the Alexa Mattox – Emma Rae font. This is a Cricut Access font. Ungroup and unlock the letters and move them so they are touching. You can zoom in to make sure you have them touching (I didn’t do this in the video). Then select the word Hello and click on Attach.
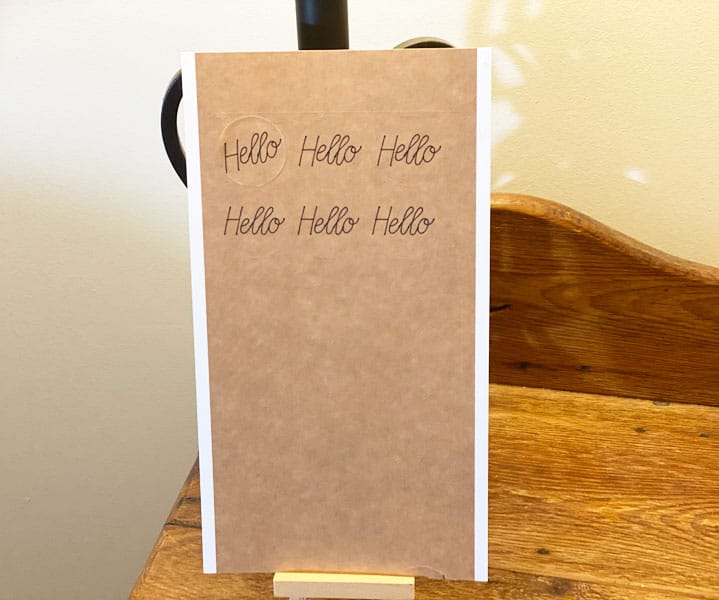
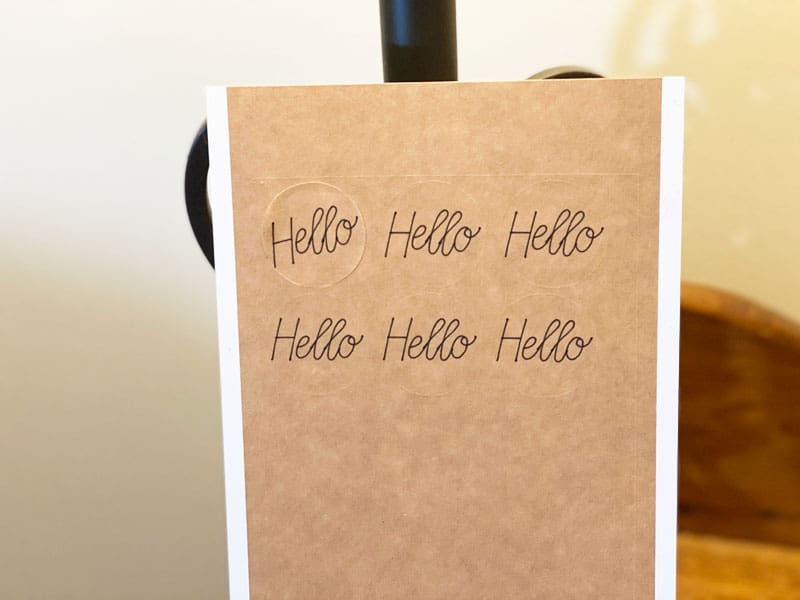
Place the word Hello on top of the Circle and click on the Align function and Center Horizontally. Highlight the Circle and Hello and click Attach again. Duplicate that two times so you have a total of three circles that say Hello. Add them to the top of the rectangle and highlight all three of them and click Align Top. Then highlight all three again and Align vertically. Next highlight the three Hellos and click on Attach.
Choose the rectangle and hide it or delete it. You don’t need it anymore.
Send the design to your Cricut Joy and Cricut Design Space will instruct you on when to load the Cricut Joy Smart Labels and when to put in the Cricut Joy Pen.
The Finished Cricut Labels
Here are the finished Cricut Joy Labels.
I hope you will try making labels with the Cricut Joy. They are so versatile.
Until next time.
Kathy
P.S. I would love to have you join my Patreon Group. Here are a few of the perks you will receive when you join. Click on this link to become a Patron https://www.patreon.com/kpeckscreativecafe.

You might also like this FREE adorable Easter Bunny cupcake topper Cricut Design Space file.

Thank you so much for sharing how you made your Hello labels using Cricut Joy. I will give this a try once I get Cricut Joy smart labels. Stay safe and have a wonderful week.
Hi Sharon,
I’m so glad you found it helpful. If I can answer any questions for you, please don’t hesitate to ask.