
In a world filled with plain and conventional stickers, holographic vinyl stickers bring an extra touch of magic and allure. These mesmerizing creations seem to come to life, reflecting light and displaying a rainbow of colors as they catch the eye. If you’ve ever wondered how to make these enchanting holographic vinyl stickers yourself, you’re in luck! In this blog post, I’ll guide you through the process of how to create holographic vinyl stickers with the Cricut, from design to application, so you can add a touch of holographic charm to your own creations.
Supplies Used
This post contains some affiliate links for your convenience (which means if you make a purchase after clicking a link I will earn a small commission but it won’t cost you a penny more)! As an Amazon Associate I earn from qualifying purchases. Read my full disclosure policy.
- Cricut Maker
- Cricut Explore
- Standard Grip Mat
- Cricut Tools
- Brayer
- Holographic Sticker Vinyl – GET 5% EXTRA SAVINGS USING CODE KPCC10
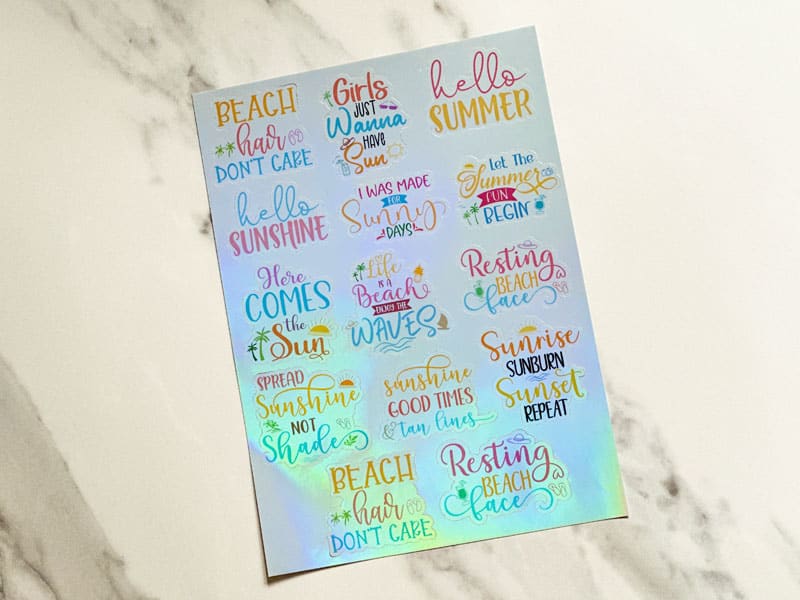
- Beach Stickers
Here is a video tutorial on how to create holographic vinyl stickers with the Cricut
Step 1: Designing Your Sticker
The first step in creating a holographic vinyl sticker is choosing your designs. I love Creative Fabrica because they have design bundles that are perfect for this type of project. Consider the shape, size, and theme of your sticker.
Step 2: Preparing Your Stickers for Printing
Once your designs have been downloaded and uploaded into Cricut Design Space, it’s time to prepare it for printing on the holographic vinyl. Remember, the better the quality of your original design, the better the final holographic sticker will look.
Step 3: Printing on Holographic Vinyl
To bring your design to life as a holographic sticker, you’ll need special holographic vinyl. This is usually available in rolls and can be found in arts and crafts stores or online. Using an inkjet printer, print your design onto the holographic vinyl sheets. Ensure that the vinyl sheets are compatible with your printer to achieve optimal results.
Step 4: Laminating and Cutting
To protect the printed design and give it a glossy finish, laminate the holographic vinyl sheets. This step is optional, but it adds durability and enhances the sticker’s appearance. After laminating, allow the sheets to dry completely before proceeding to the cutting stage.
As you will see in the video tutorial, I did not use lamination or any kind of transparent overlay. I will be making stickers using this method in a future tutorial.
Using a precision cutting tool, such as a Cricut Maker or Cricut Explore Air, cut out your sticker designs.
Step 5: Applying the Sticker
Now that you have a beautiful holographic vinyl sticker, it’s time to apply it to your desired surface. Ensure the surface is clean, dry, and free from dust or oils that could prevent the sticker from adhering properly. Peel off the sticker’s backing paper, align it with your chosen spot, and gently press it down. Smooth out any air bubbles or wrinkles with a squeegee or a credit card, working from the center outward.
Conclusion:
Creating holographic vinyl stickers allows you to unlock a world of enchanting and eye-catching designs. With a few simple steps, you can transform one or more designs into captivating holographic stickers. Whether you’re looking to add a touch of magic to your personal belongings, create unique gifts, or start a small business, the process is accessible and rewarding. So, let your creativity soar and bring your designs to life with the mesmerizing charm of holographic vinyl stickers!
Until next time,
Kathy
You might also like How To Make Faux Leather Earrings With The Cricut
