
So all the rage right now is making a Spiral Betty photo design. I’m having fun with a Spiral Betty photo design and my Cricut Maker tonight. I have step-by-step instructions below. I made a video but I can’t get it to load. Sorry!
Supplies You Will Need
This post contains some affiliate links for your convenience (which means if you make a purchase after clicking a link I will earn a small commission but it won’t cost you a penny more)! Read my full disclosure policy.
Black Vinyl (or whatever color you want to use)
Something to put your project on (i.e., a wooden round or in a picture frame).
Making the Spiral Betty Photo Design
The first thing you need to do is go to https://spiralbetty.com. You will see the screen below once you are on the site.
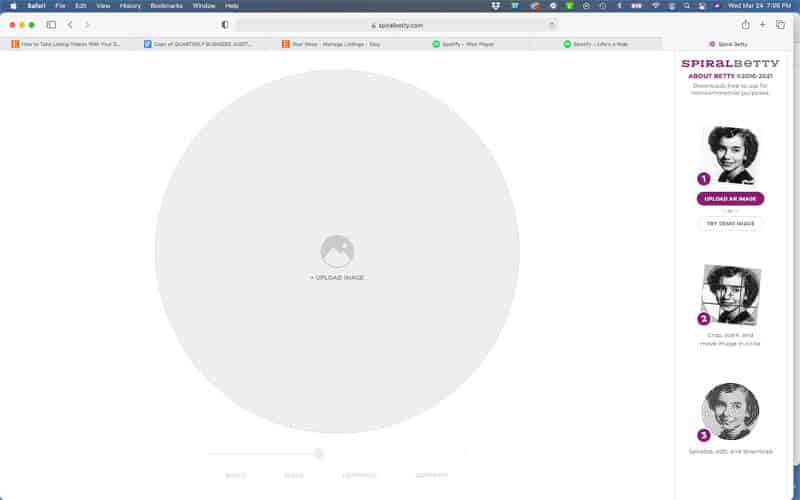
Click on the purple circle that says Upload Image.
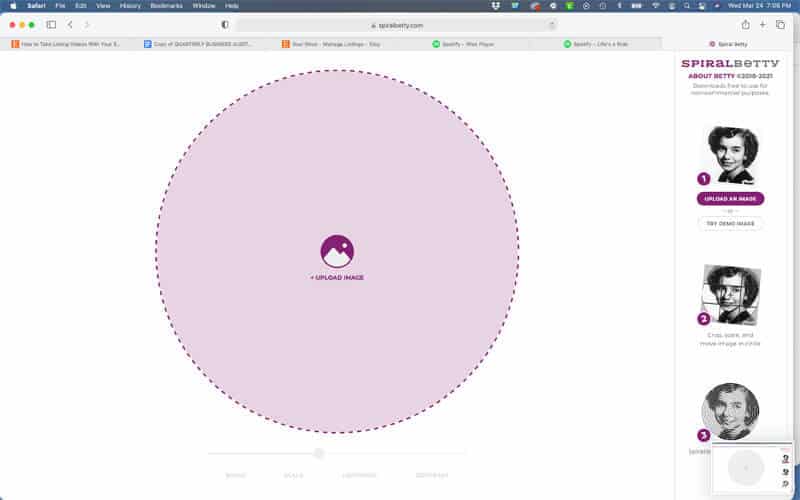
Go ahead and upload your image you want to use.
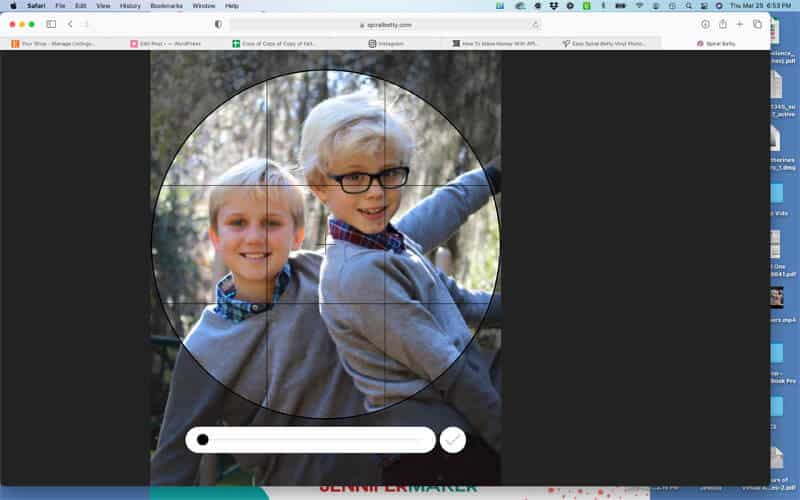
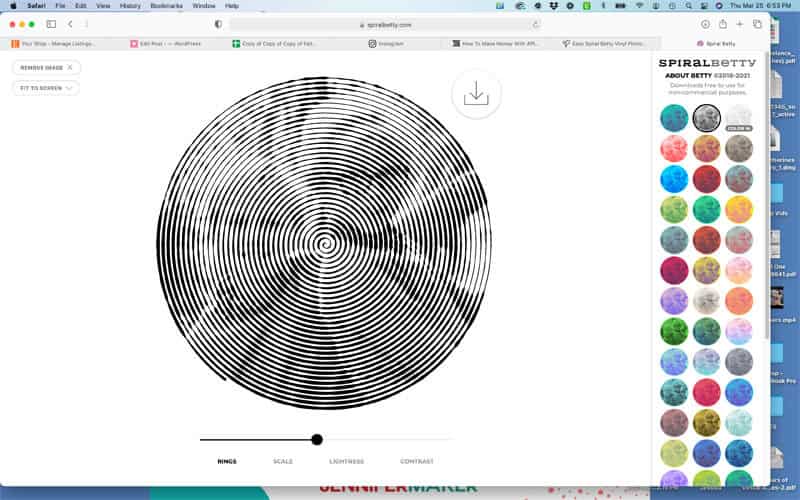
You will land on this screen. Use the slider to make your picture bigger or smaller. This is the size mine came into the program, so I can’t make it any smaller. Once you are satisfied with your image, click the checkmark to the right of the slider.
Your spiral image will show up on the screen. It normally comes in as a bluish green color (top left image on the right of the screen), so just change it to the black and white image (middle image in the color chart to the right of the screen).
On this screen you can change the Rings, Scale, Lightness and Contrast.
Next click the download button to the right of the spiral.
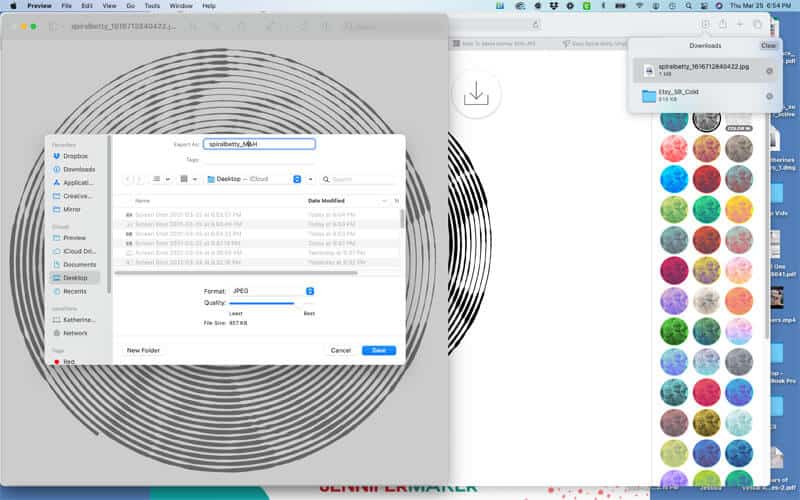
Download your image.

Here you can donate an amount for using this program, but you don’t have to. The Spiral Betty app is free for non-commercial use. You can buy a commercial license if you want to sell your designs.
I exported my design to my desktop on my computer.
Uploading Your Design to Cricut Design Space
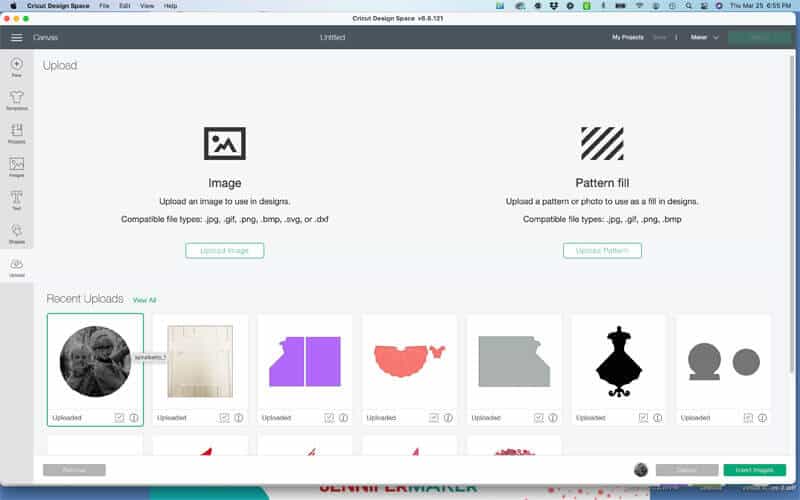
Go to Design Space and Create a New Project. Click on Upload Image and upload your spiral image.
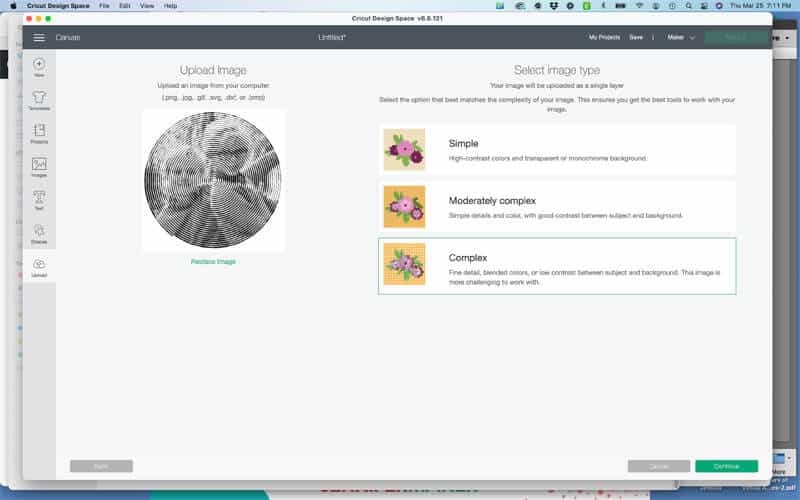
Next click on Complex. Click Continue.
When you get to the next screen you are going to click on the wand in the upper left hand corner to remove the white background. If you hover of it, it will say Select and Erase.
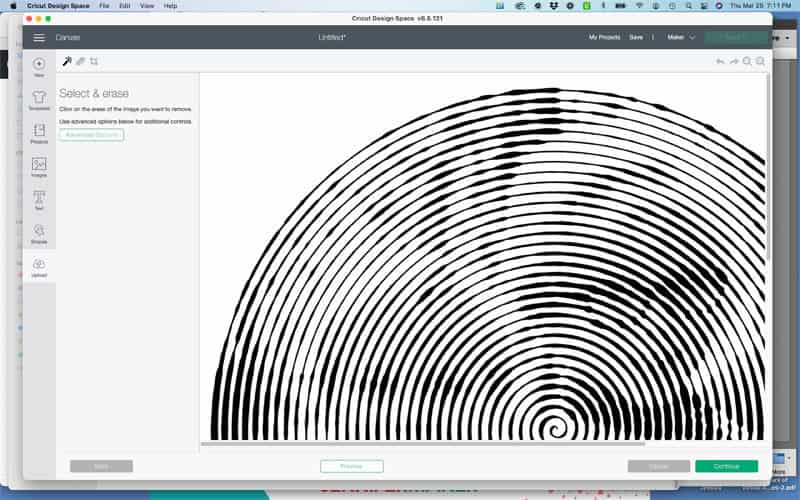
Click on the white background of your design and it will disappear. This is what you will see.
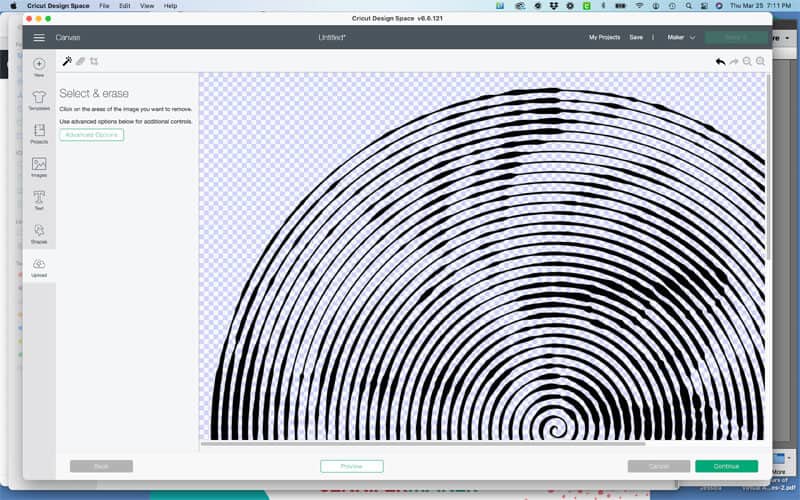
Then select Continue.
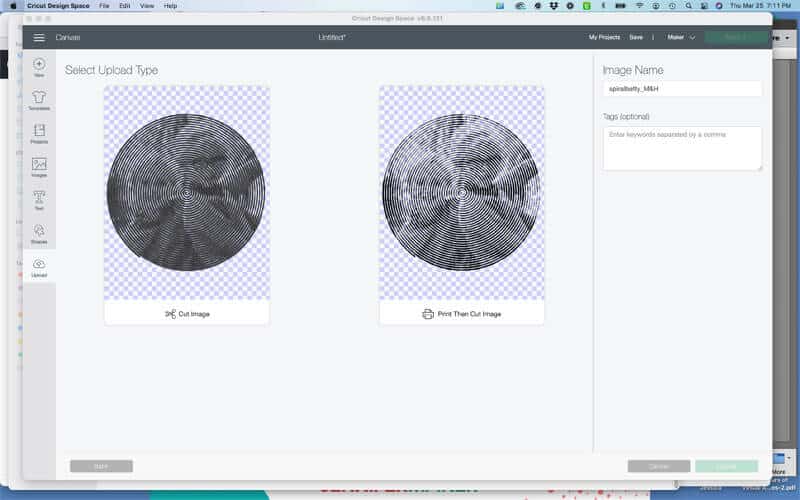
Select Cut Image and then Upload.
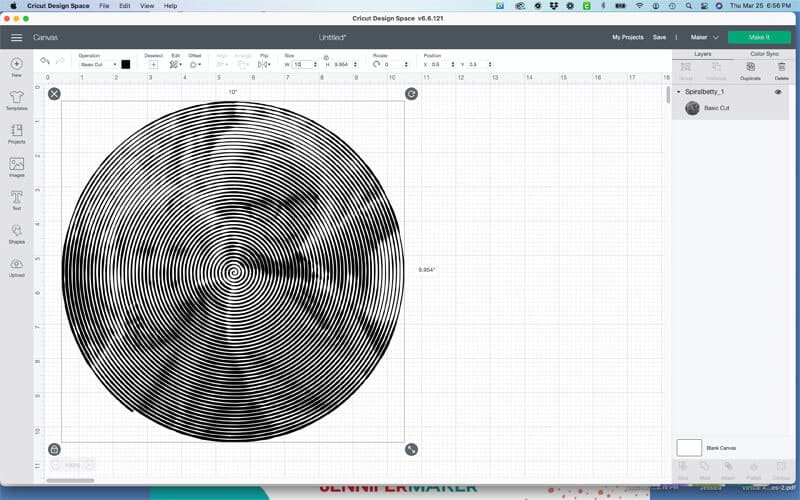
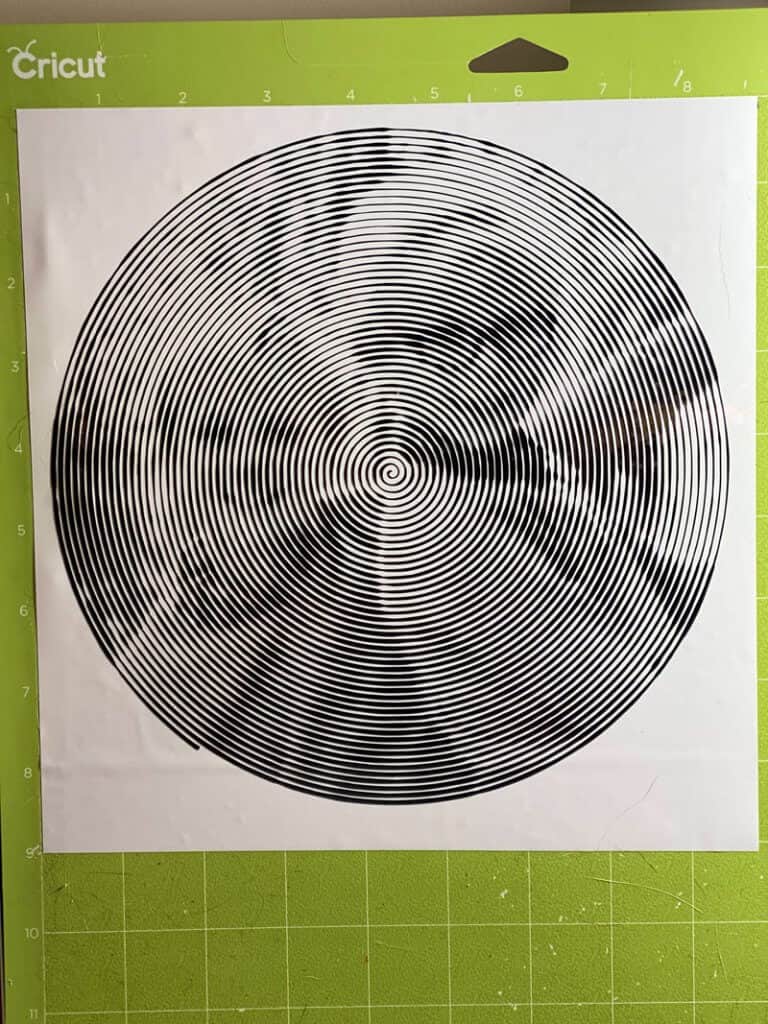
Click on your uploaded image and then click on Insert to bring it onto the canvas. Your image will come in really big. Resize it to fit your project. Don’t make it too small because that will make it hard to weed. I sized mine to 10″.
Once your design is cut out, you will lift the lower left corner and start weeding the spiral.
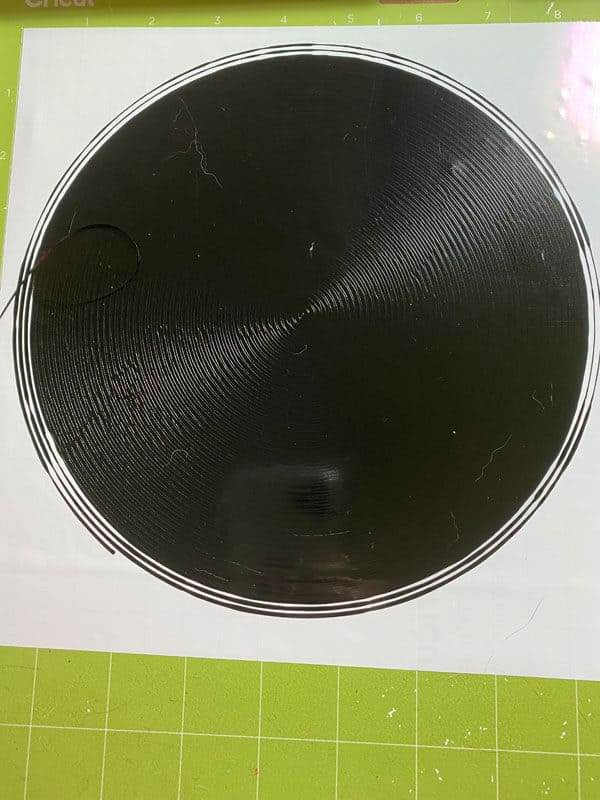
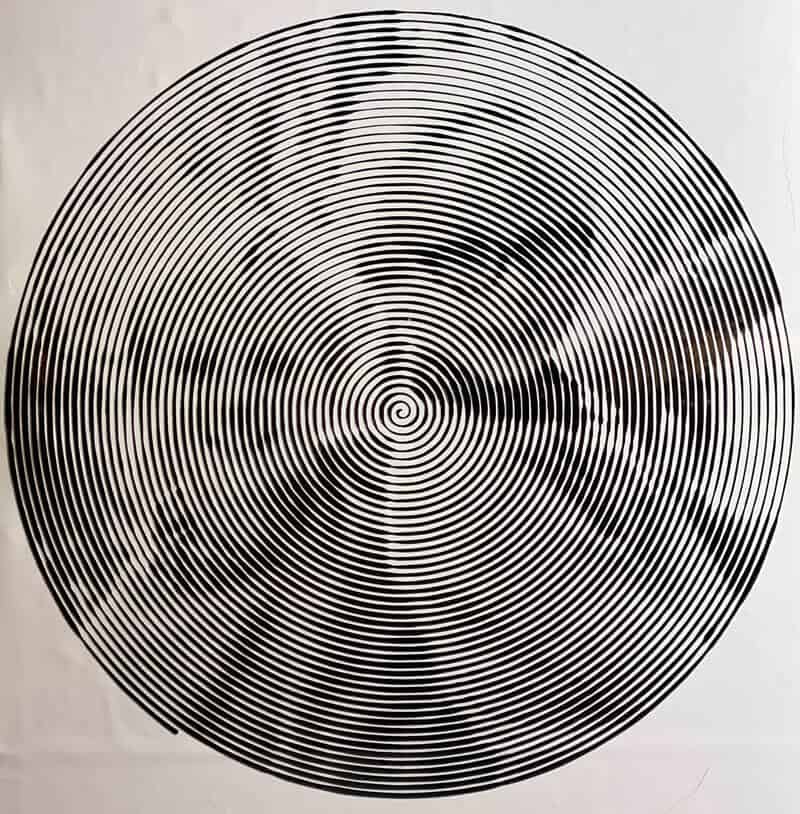
The Completed Spiral Betty Photo Design
Here is the completed Spiral Betty photo design of my two nephews. I’m not going to put it on anything because I’m sending it to my sister-in-law so she can get it framed.
I love how it came out. I adore these two!!!
So what do you think? Are you excited to start having fun with a Spiral Betty photo design using your Cricut?
Until next time.
Kathy
P.S. You might also like these fun makeup bags. https://kpeckscreativecafe.com/makeup-bags-with-htv-heat-transfer-vinyl/

Are you looking for sites that offer free SVG files. Here you go! Just fill out the form below and it’s all yours.