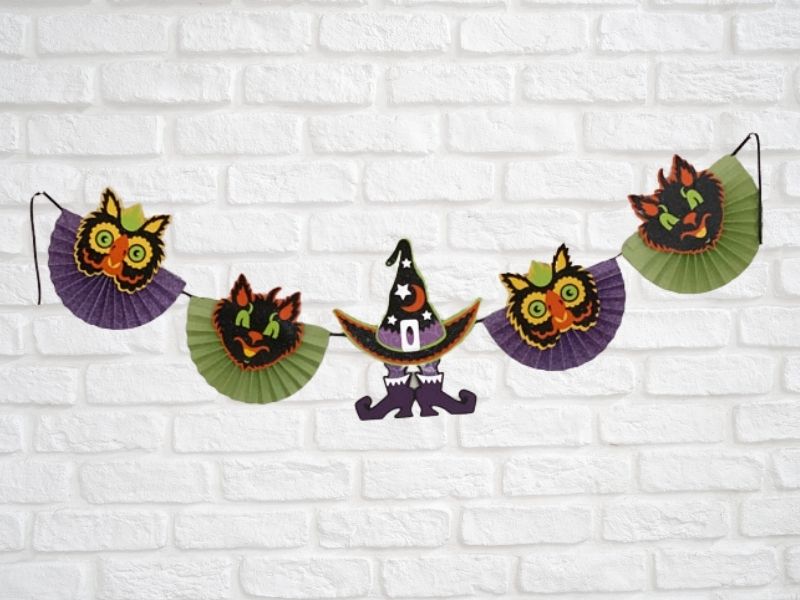
When I saw this banner, I knew I had to make it. I love Halloween so much and this fun Halloween Banner made with the Cricut was right up my alley. I purchased the design from Dreaming Tree, and you can purchase it here.
Supplies Used To Make This Project
This post contains some affiliate links for your convenience (which means if you make a purchase after clicking a link I will earn a small commission but it won’t cost you a penny more)! As an Amazon Associate I earn from qualifying purchases. Read my full disclosure policy.
- Cricut Maker or Explore Machine
- Standard Grip Mat
- Cricut Tools
- Halloween Banner File
- Various Halloween Colors of Cardstock
- Silver Foil Cardstock
- Liquid Adhesive
- Hot Glue Gun
- Ribbon
Making The Halloween Banner
All of the pieces for this project were cut on my Cricut Maker. I used some Halloween cardstock that I had on hand. I have linked to some really fun Halloween cardstock that would be perfect for this project. Both a Hot Glue Gun and Liquid Adhesive was used in putting this together.
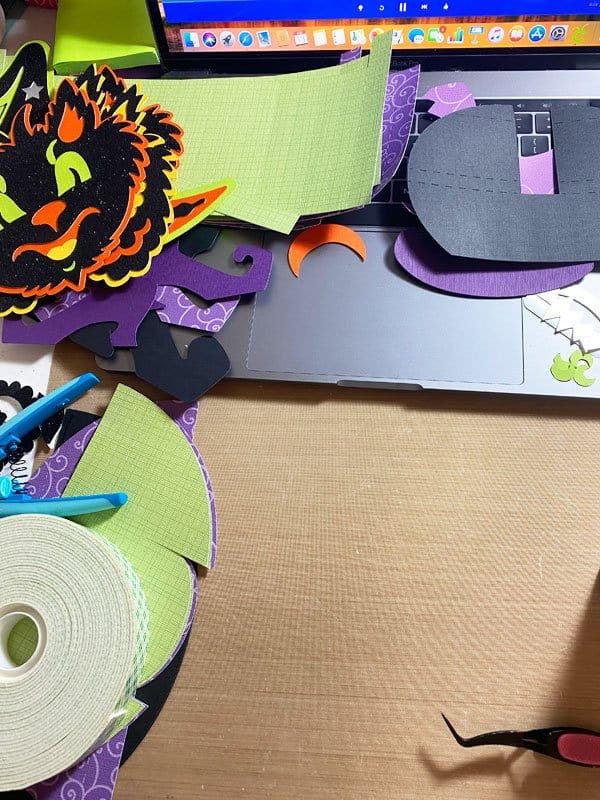
You can watch the video on how to make this here on Dreaming Tree’s website.
The Finished Banner
This banner was so much fun to make. If you’ve never made a Dreaming Tree project, you are in for a treat!!! They have instructional videos for all of their projects, which is really helpful.
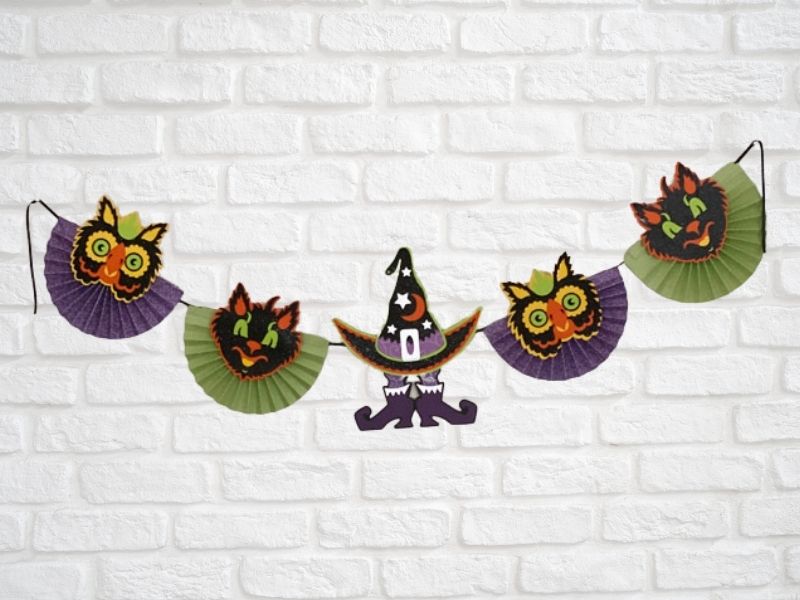
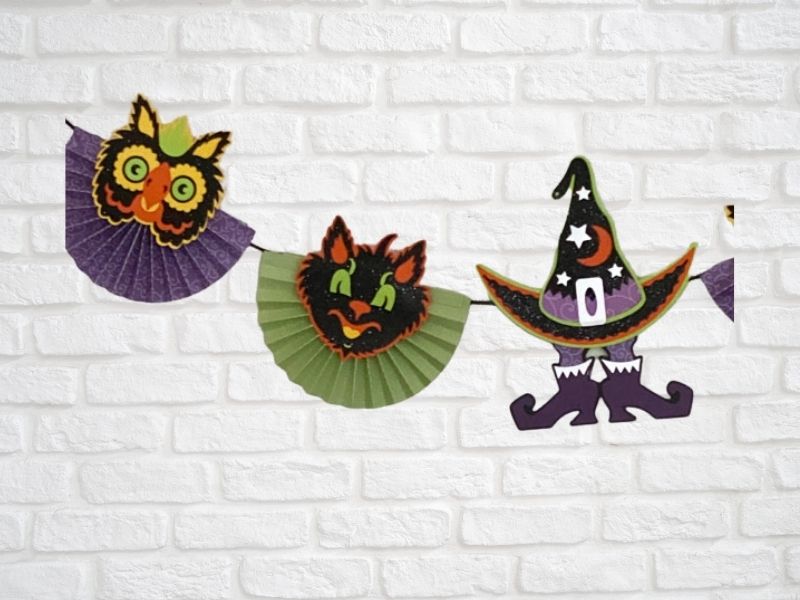
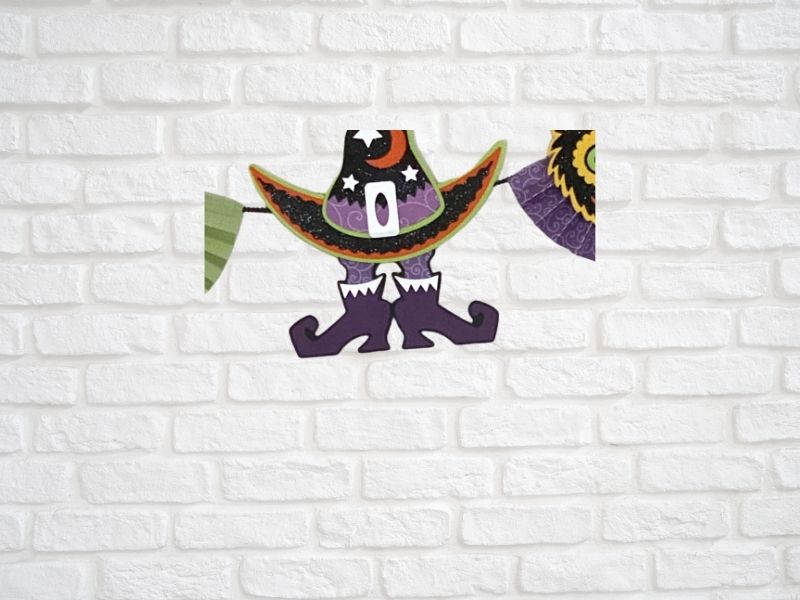
If you decide to make this fun Halloween banner made with the Cricut, please share it in my Facebook group at https://www.facebook.com/groups/1972014076387033
Until next time.
Kathy
Check out this
Check out this spooky Halloween Banner from Dreaming Tree.
This is so CUTE!
Thank you Shea!!!