
So, since I have my Etsy shop full of cupcake toppers, I thought it would be fun to make an easy DIY cake topper made with your Cricut to go along with them. Time to spice it up a little. Plus, I thought it would be fun to share with you so you can make some too.
I got the idea for these from Abbi Kirsten of Abbi Kirsten Collections. You can check out her blog post here.
You can get my free template, available in my Free Resource Library (get the password by filling out the form below).
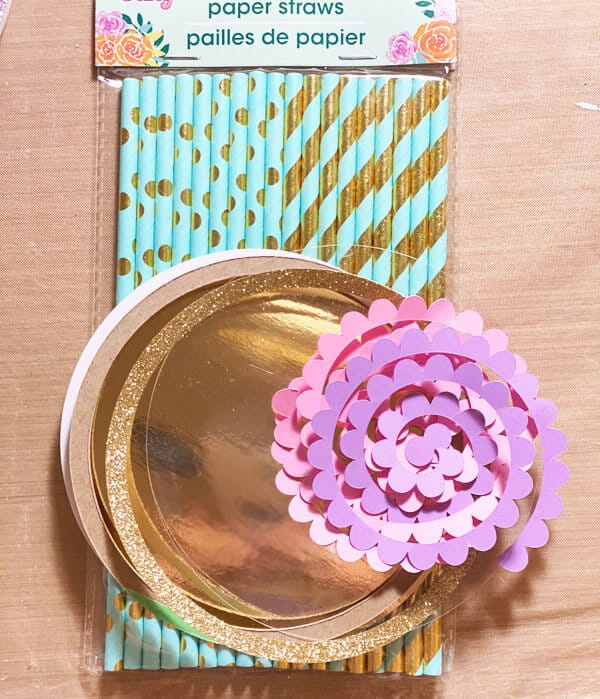
Supplies You Will Need
This post contains some affiliate links for your convenience (which means if you make a purchase after clicking a link I will earn a small commission but it won’t cost you a penny more)! Read my full disclosure policy.
Chipboard (1.5 mm)
Glossy Accents (or hot glue)
Making The Cake Topper
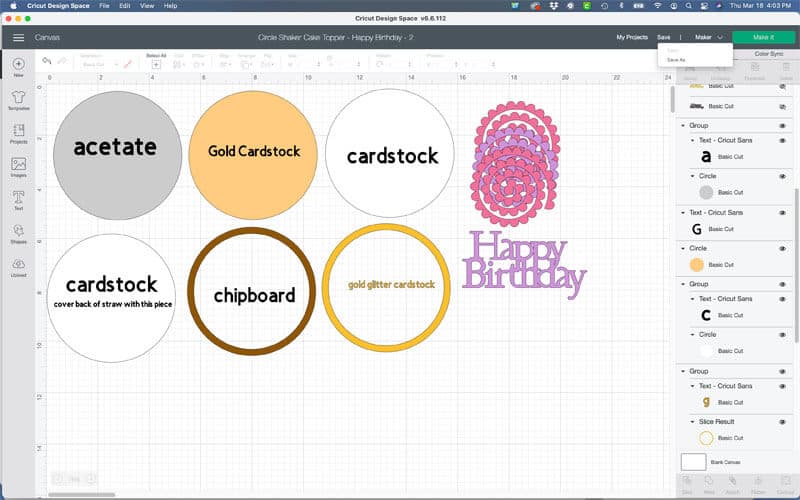
This whole project was cut on my Cricut Maker. Before you cut out any of the pieces, be sure to hide all of the words. Those are just a reference point so you know what goes where.
The Chipboard was cut on the 1.5mm setting using the Cricut Knife Blade. It took 12 passes to cut all the way through.
Here’s a video of the process of putting the cake topper together, which includes how to make the rolled flowers.
Putting It All Together
Glue the acetate to the Gold Glitter Cardstock ring with liquid adhesive. Then glue the Gold Foil Cardstock to one of the White Cardstock circles. Next glue the Chipboard ring to the top of the Gold Foil Cardstock piece to form a well. Add the sequins into the well. I used three different colors of sequins. The last step is to glue the acetate/Gold Glitter Cardstock ring to the top of the Chipboard ring to seal in the sequins, using liquid adhesive.
Roll your flowers and add to the top of the cake topper after adding the Happy Birthday to the center of the topper.
Lastly, use the Glossy Accents to adhere a straw to the back of the cake topper. I didn’t end up glueing the extra White Cardstock circle to the back of the topper, because with the straw glued on, it made it too thick to get a good adhesion and not have there be too much of a gap.
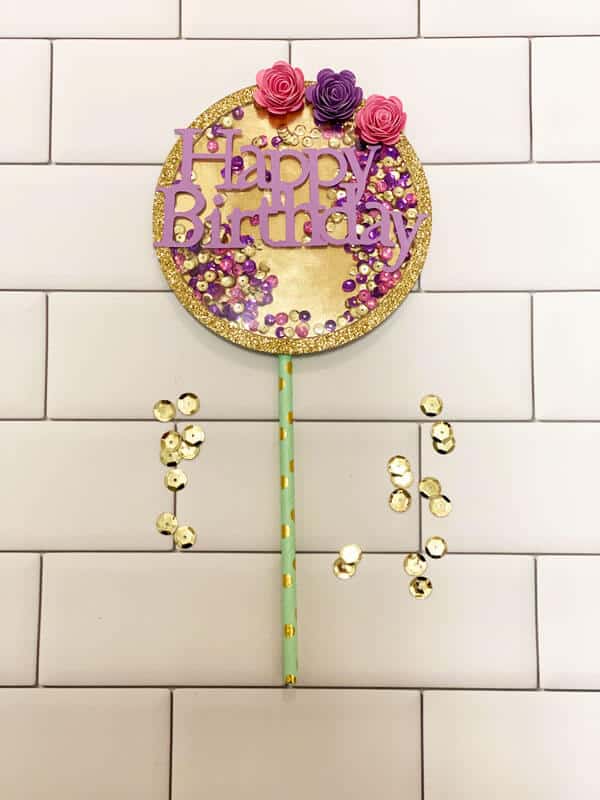
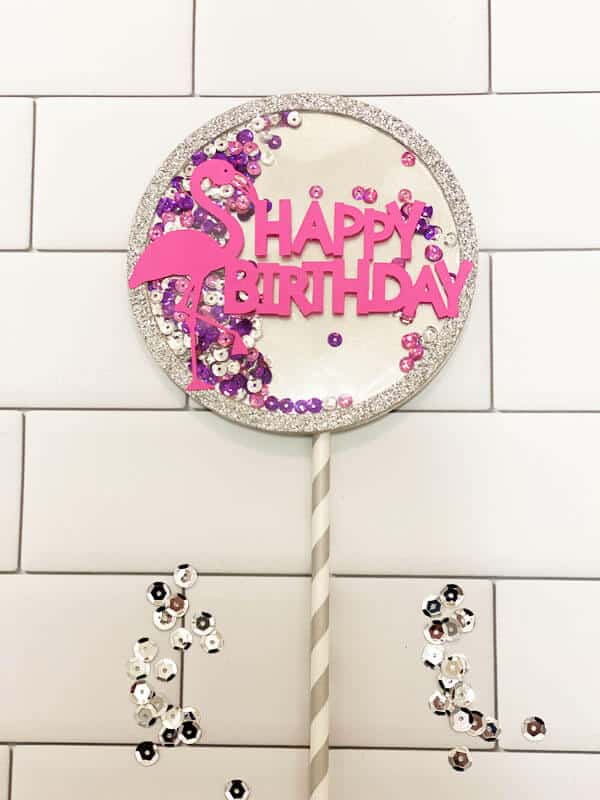
The Finished Product
Here is the finished cake topper.
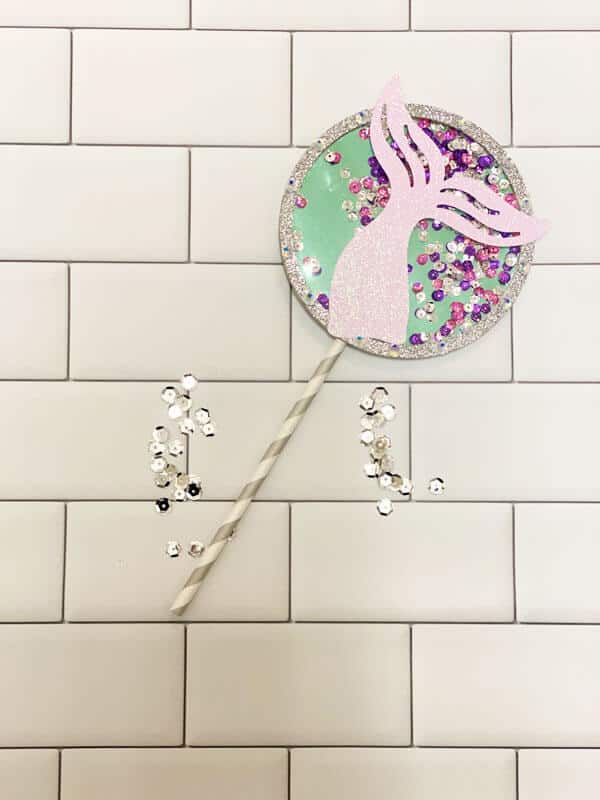
Here are a couple of other ones I made.
So what do you think? Are you excited to make some of these easy DIY cake toppers made with your Cricut? If you make some be sure to share them in the K Peck’s Creative Cafe Facebook group. I’d love to see what you’ve done.
Until next time.
Kathy
P.S. You might also like these makeup bags https://kpeckscreativecafe.com/makeup-bags-with-htv-heat-transfer-vinyl/

You can get my free template for these makeup bags, available in my Free Resource Library (get the password by filling out the form below).
Thank you for the great tutorial! My girls would love this for their birthdays!
You are welcome. Have fun making this.
This is so cute!
Thank you Sara!!!
Fun! A friend of mine was just explaining to me what a Cricut is. What an amazing tool and great designs.
That’s great. If I can answer any questions for you, let me know.