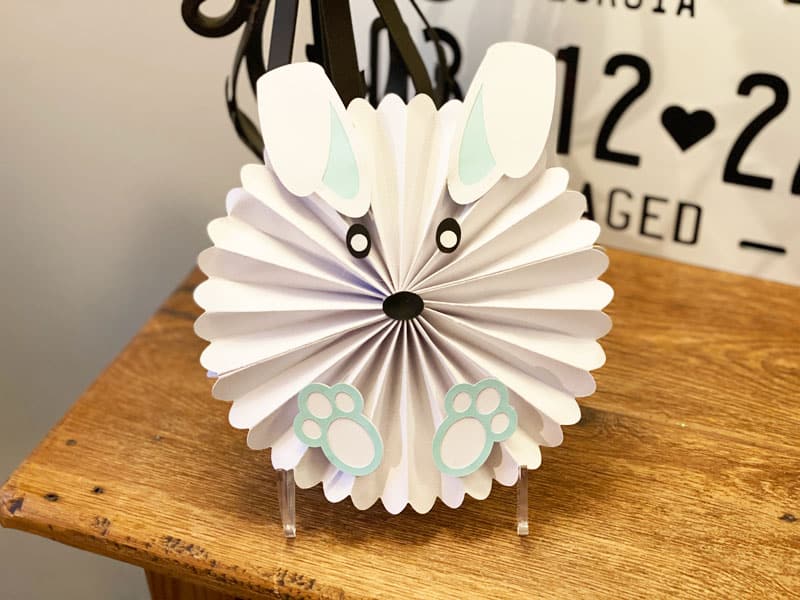
Do you need a last minute easy Cricut Easter project that you can make quickly. I’ve got you covered. This adorable Easter bunny was so fun to make. All you need for this project is some cardstock, your Cricut, some liquid adhesive and a glue gun.
I am sharing the Cricut Design Space file I created for this easy easy Cricut Easter project with my Patreon supporters. If you would like to become a Patron so you can get this Cricut Design Space file, and many others, plus additional perks, you can sign up here.
Materials Used For This Project
This post contains some affiliate links for your convenience (which means if you make a purchase after clicking a link I will earn a small commission but it won’t cost you a penny more)! As an Amazon Associate I earn from qualifying purchases. Read my full disclosure policy.
- Cricut Maker or Explore Machine
- Standard Grip Mat
- Cricut Tools
- Scoring Tool – Maker Scoring Wheel or Explore Machine Scoring Styllus
- White Cardstock
- Black Cardstock
- Light Blue Cardstock
- Liquid Adhesive
- Glue Gun
Making The Easy Cricut Easter Bunny
You can use either the Cricut Maker or the Explore Machine to make this project. It won’t work with the Cricut Joy because the Joy doesn’t have the scoring capability.
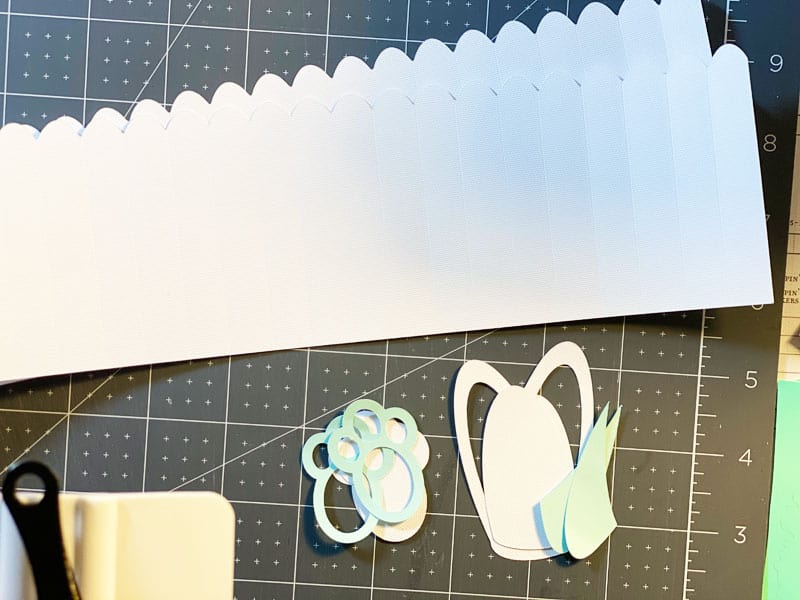
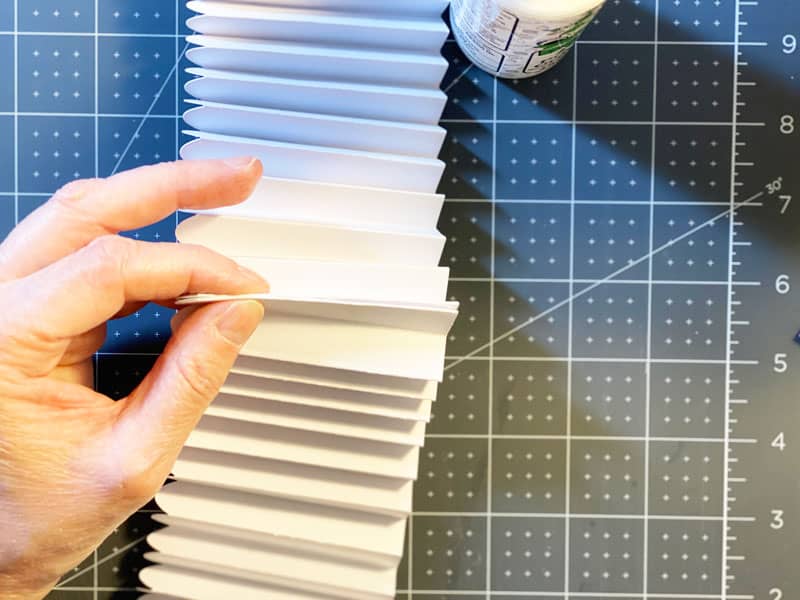
Fold the two long white pieces accordion style.

This is what they will look like.

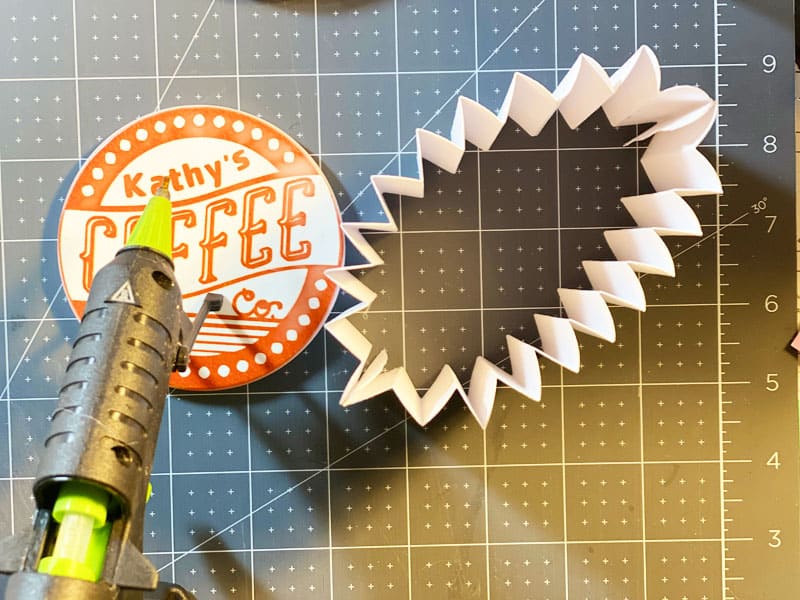
Glue both ends together to form one accordion circle.
Here is what it will look like.
The next thing you will do is press the according circle piece down into the center forming a rosette. This is what it will look like.

With your glue gun you are going to glue the white circle piece over the hole in the back, keeping the rosette flattened while you do this.
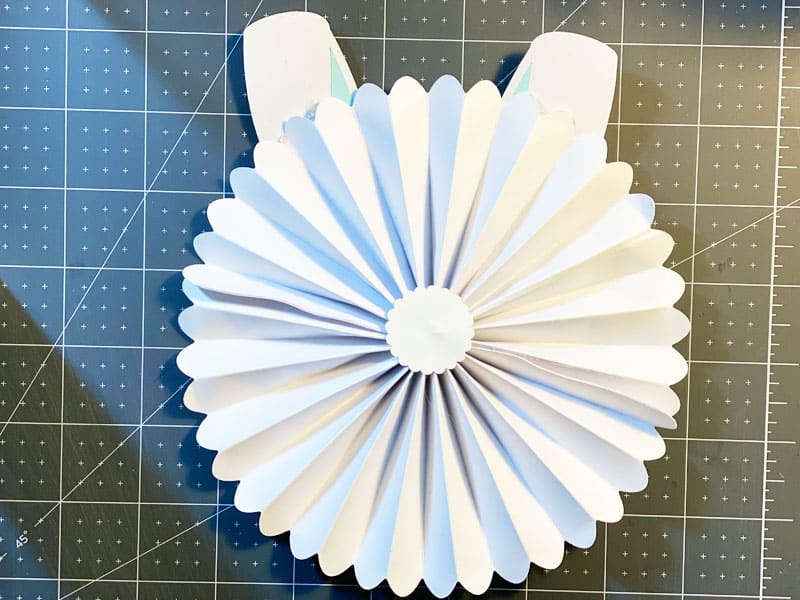
As you can see, the white circle is holding the shape of the rosette together.
Once that is done, you will glue the blue ear pieces to the white ear pieces, and the blue bunny feet to the white bunny feet pieces. Add the nose and the eyes and you are done.
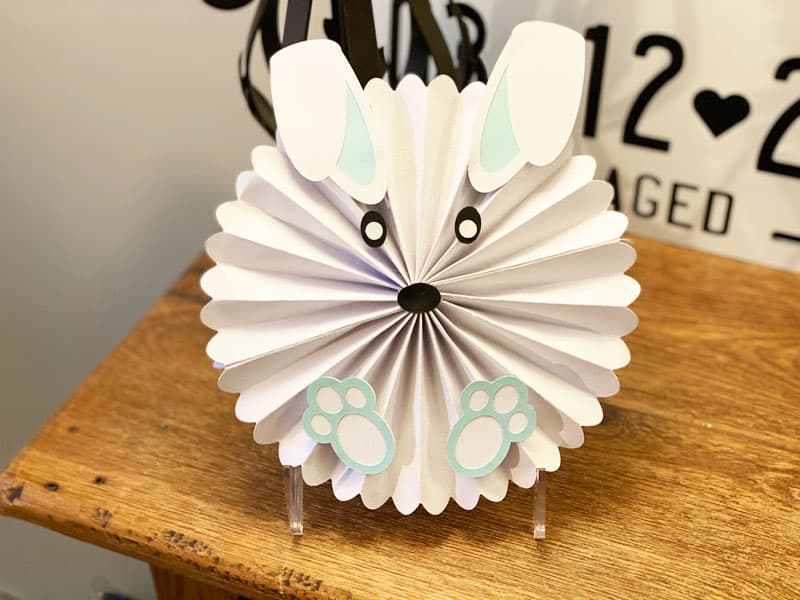
This is such a cute piece sitting on a small easel (you can get them at Michaels).
If you make one, share in the comments of my Facebook group K Peck’s Creative Cafe. I would love to see yours.
Until next time.
Kathy
You might also like this FREE adorable Easter Bunny cupcake topper Cricut Design Space file.