
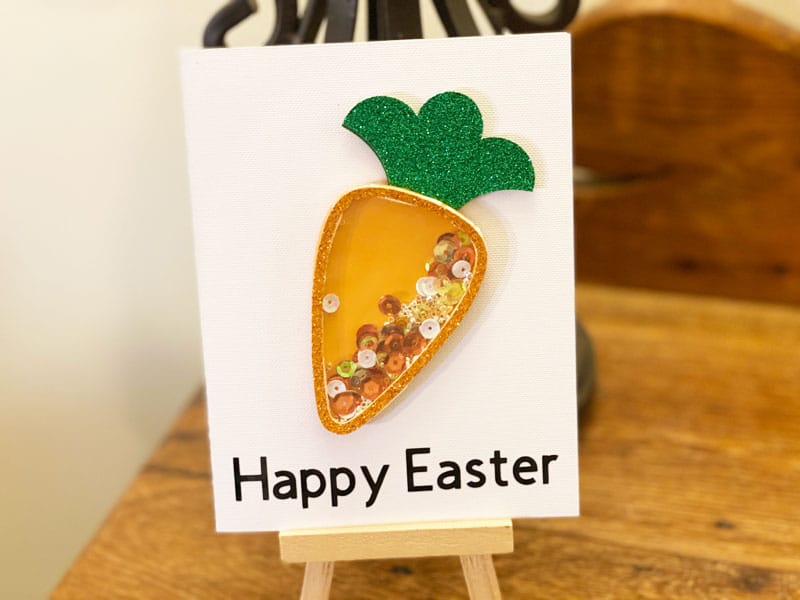
Hello, so far this year is flying by. I can’t believe Easter is right around the corner. Do you have big Easter plans? Do you want to make an easy Cricut Easter card to send to friends and family. I’ve designed a cute, fun and easy Cricut Easter card that is a carrot shaker card.
I am sharing the Cricut Design Space file I created for this easy Cricut Easter card with my Patreon supporters. If you would like to become a Patron so you can get this Cricut Design Space file and many others, plus additional perks, you can join here.
Materials Used For This Project
This post contains some affiliate links for your convenience (which means if you make a purchase after clicking a link I will earn a small commission but it won’t cost you a penny more)! As an Amazon Associate I earn from qualifying purchases. Read my full disclosure policy.
- Cricut Maker or Explore Machine
- Standard Grip Mat
- Cricut Tools
- Orange Cardstock
- Orange Glitter Cardstock
- Green Cardstock
- Green Glitter Cardstock
- White Cardstock
- Black Vinyl
- Transfer Tape
- Acetate
- Sequins
- Adhesive Foam Tape
- Liquid Adhesive
Making The Easy Cricut Easter Card
Here is the instructional video.
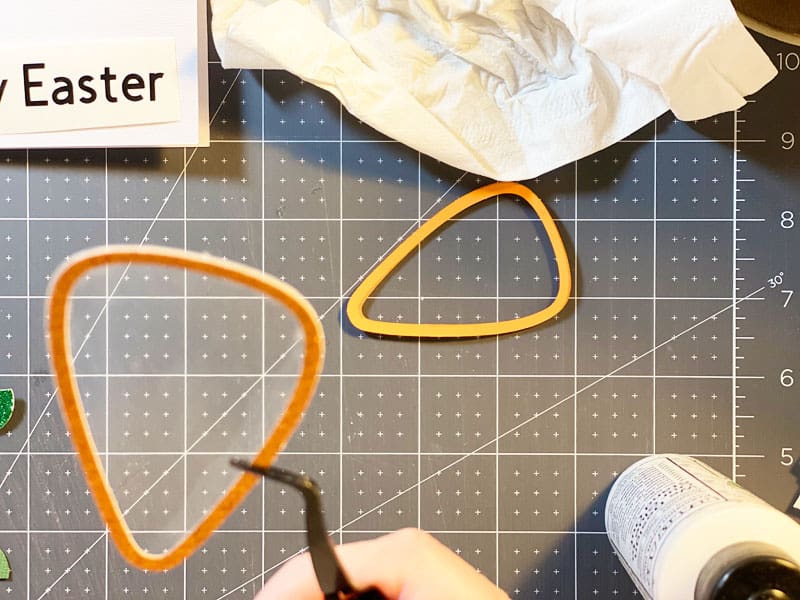
All pieces for this Easter Card were cut on my Cricut Maker. You can also use the Explore Machine. The Cricut Joy doesn’t score, so you wouldn’t be able to make the card base with it, however, you could hide the card base and just cut out the carrot pieces on the Cricut Joy. You could then cut out the card base with a paper trimmer.
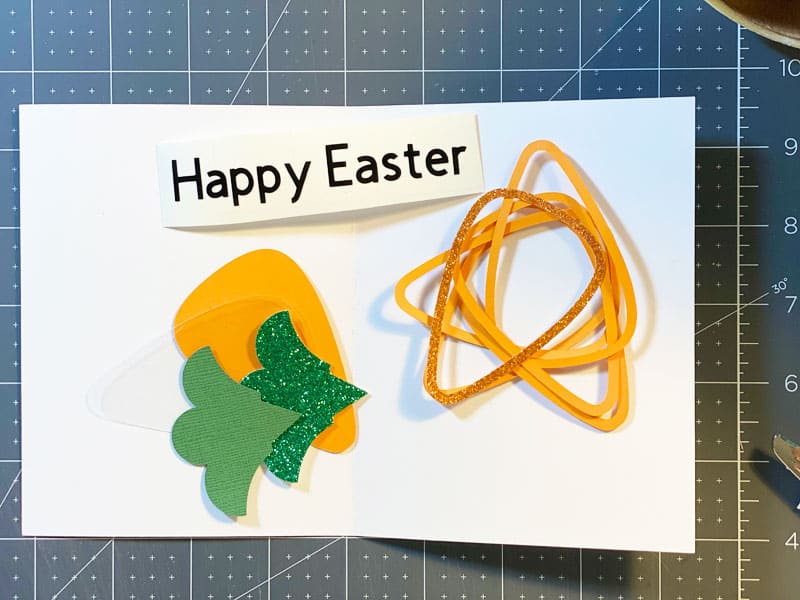
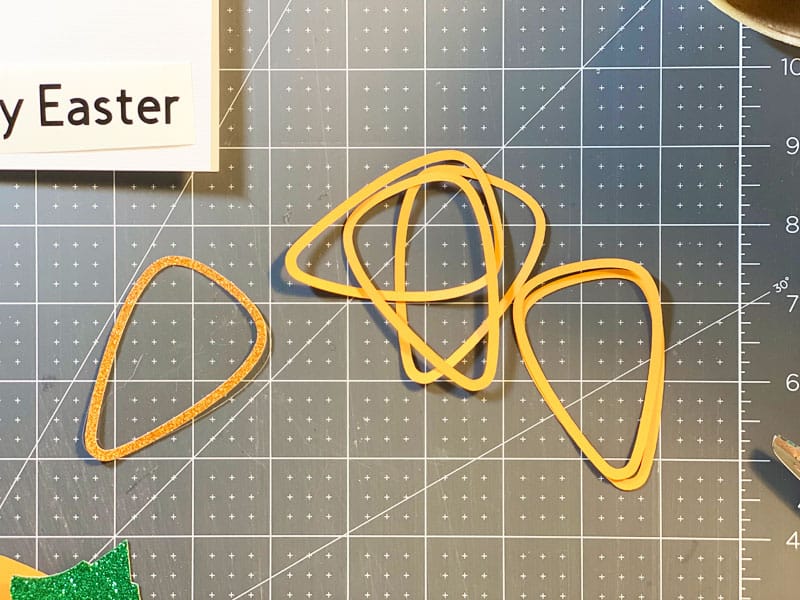
This picture is of all the pieces I cut out for this card with my Cricut Maker.
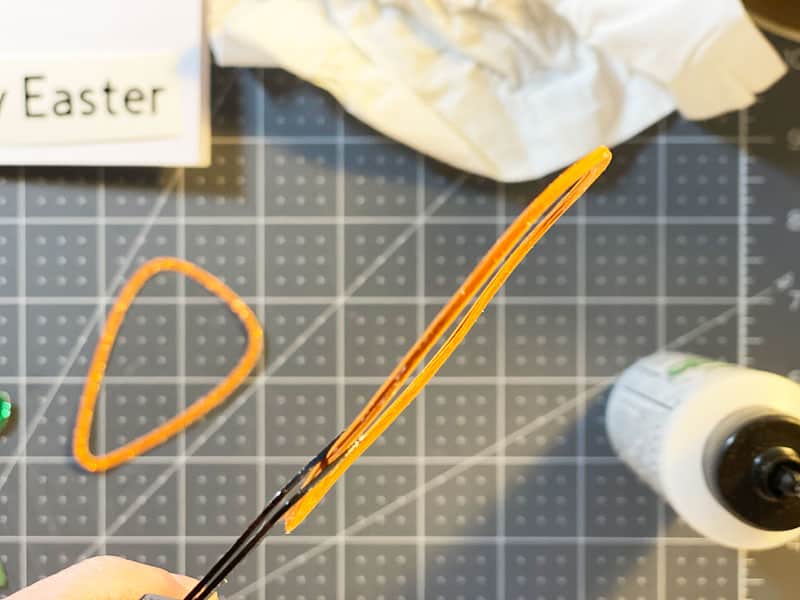
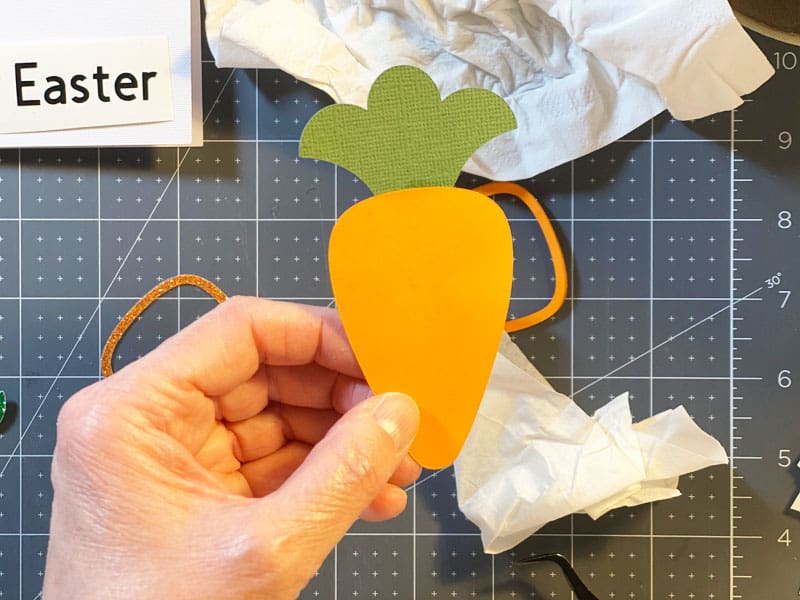
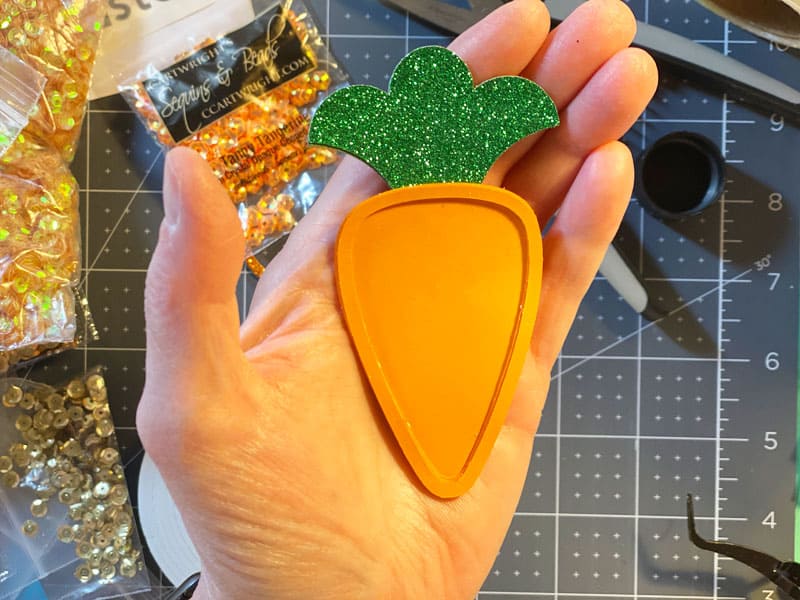
First thing I did was glue the carrot pieces together with Liquid Adhesive to make the well for the sequins.
This is what they look like glued together.
Next I glued the Acetate to the Orange Glitter Cardstock carrot piece with Liquid Adhesive, which will be placed on top of the well after adding the Sequins.
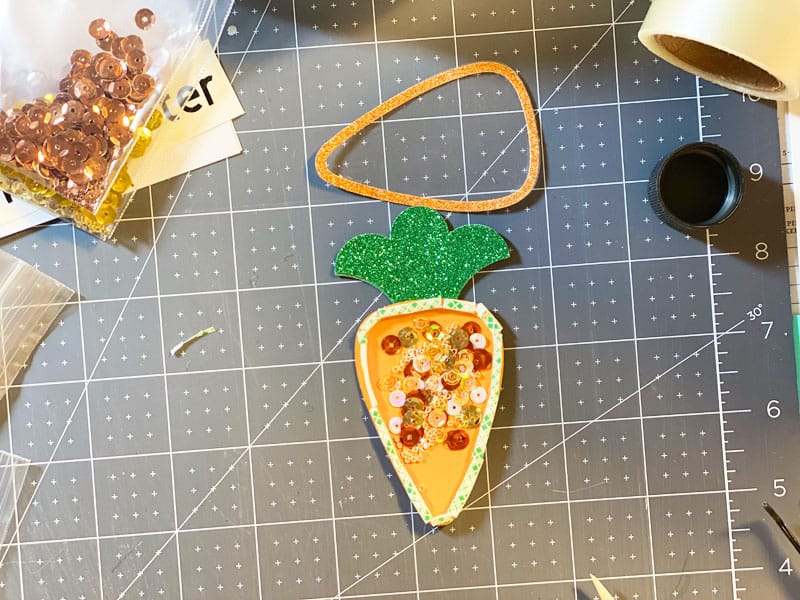
Putting the Carrot Together
After that I glued the Green Cardstock to the back of the solid carrot piece with Liquid Adhesive. Then I trimmed down the point on the Green Glitter Cardstock so it wouldn’t show underneath the Acetate.
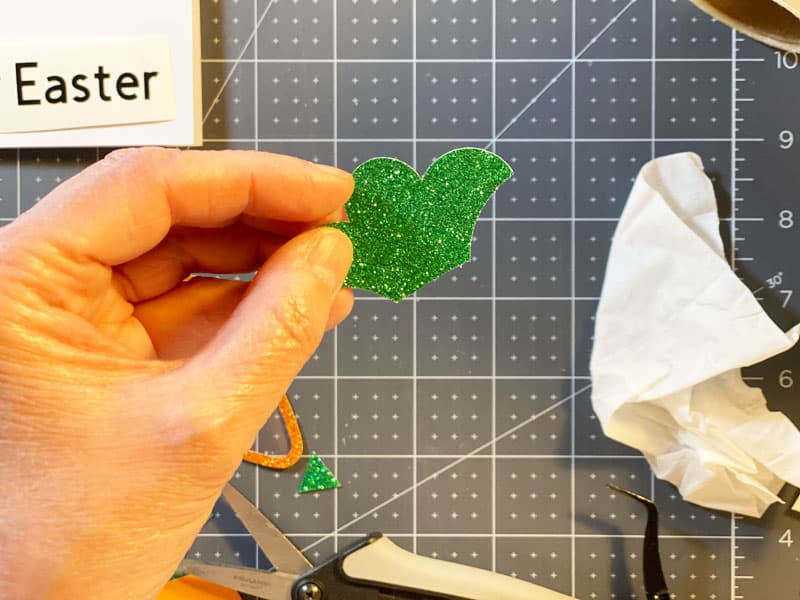
Once the point is trimmed off the Green Glitter Cardstock leaf, add this piece to the top of the Green Cardstock piece using Liquid Adhesive.
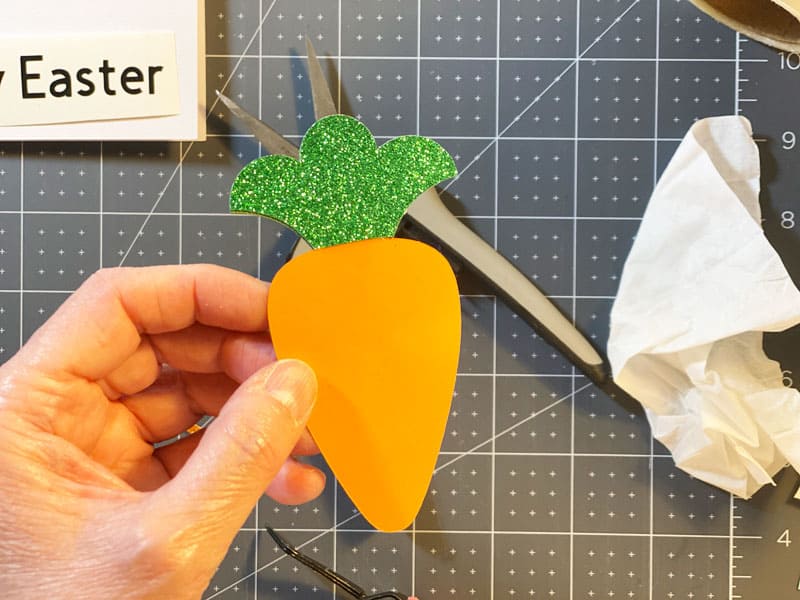
Simply glue the glued together carrot pieces to the carrot base to form the well.
Adding The Sequins
Now comes the fun part, adding the Sequins to the well. I found after I glued the carrot pieces together for the well that it wasn’t tall enough for my liking, so I added Adhesive Foam Tape around the edge to give it a little more height.
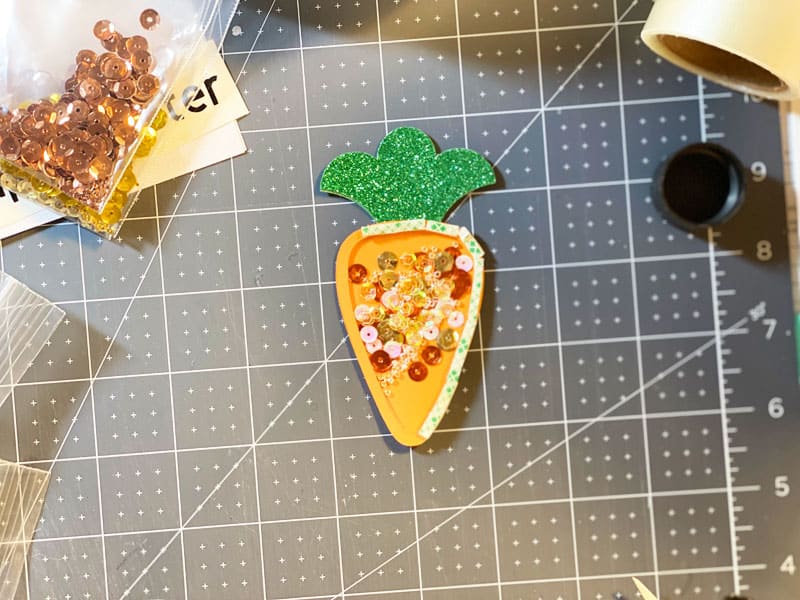
Lastly, after removing the backing on the foam tape, I used the Liquid Adhesive to glue the Orange Glitter Cardstock piece with the Acetate to the top of the Adhesive Foam Tape.
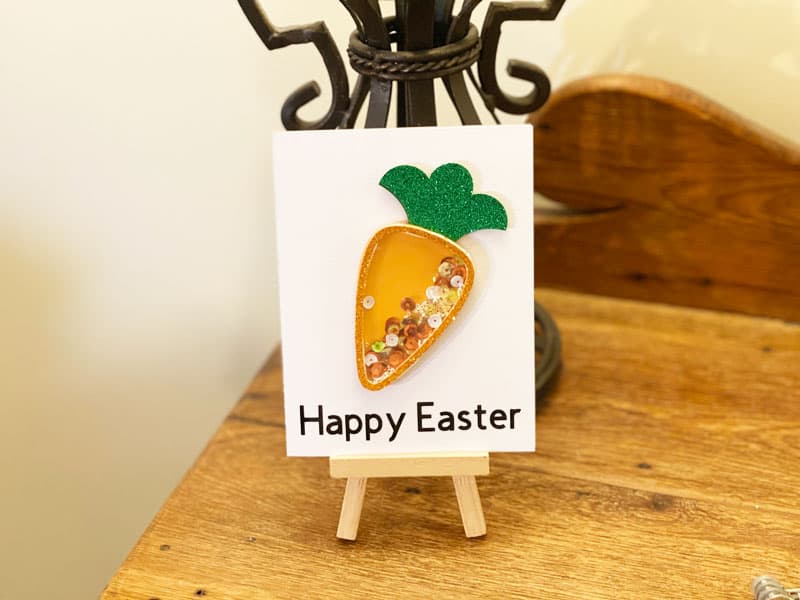
The Finished Card
So here is the finished card. I love how this came out and I think you will too.
I hope you will make one (or more) of these fun easy Cricut Easter cards.
If you have any questions, please let me know in the comments below.
Until next time.
Kathy
You might also like this FREE adorable Easter Bunny cupcake topper Cricut Design Space file.

I am subscribed but i don’t see where I can download this carrot shaker card
Hi Marilyn,
As I mentioned in the blog post, I’m sharing this design with my Patreon supporters. There is a link in the blog post that will take you to where you can sign up if you are interested in doing so.
I do like a good shaker card, this is so sweet. And I love your lovely clear step by step photo tutorial.
Hi Julie,
I’m so glad you found it helpful! Enjoy.