
Spotify has a really neat feature that lets you scan a Spotify code and it will play the song. You can easily make a DIY Spotify artwork with your Cricut.
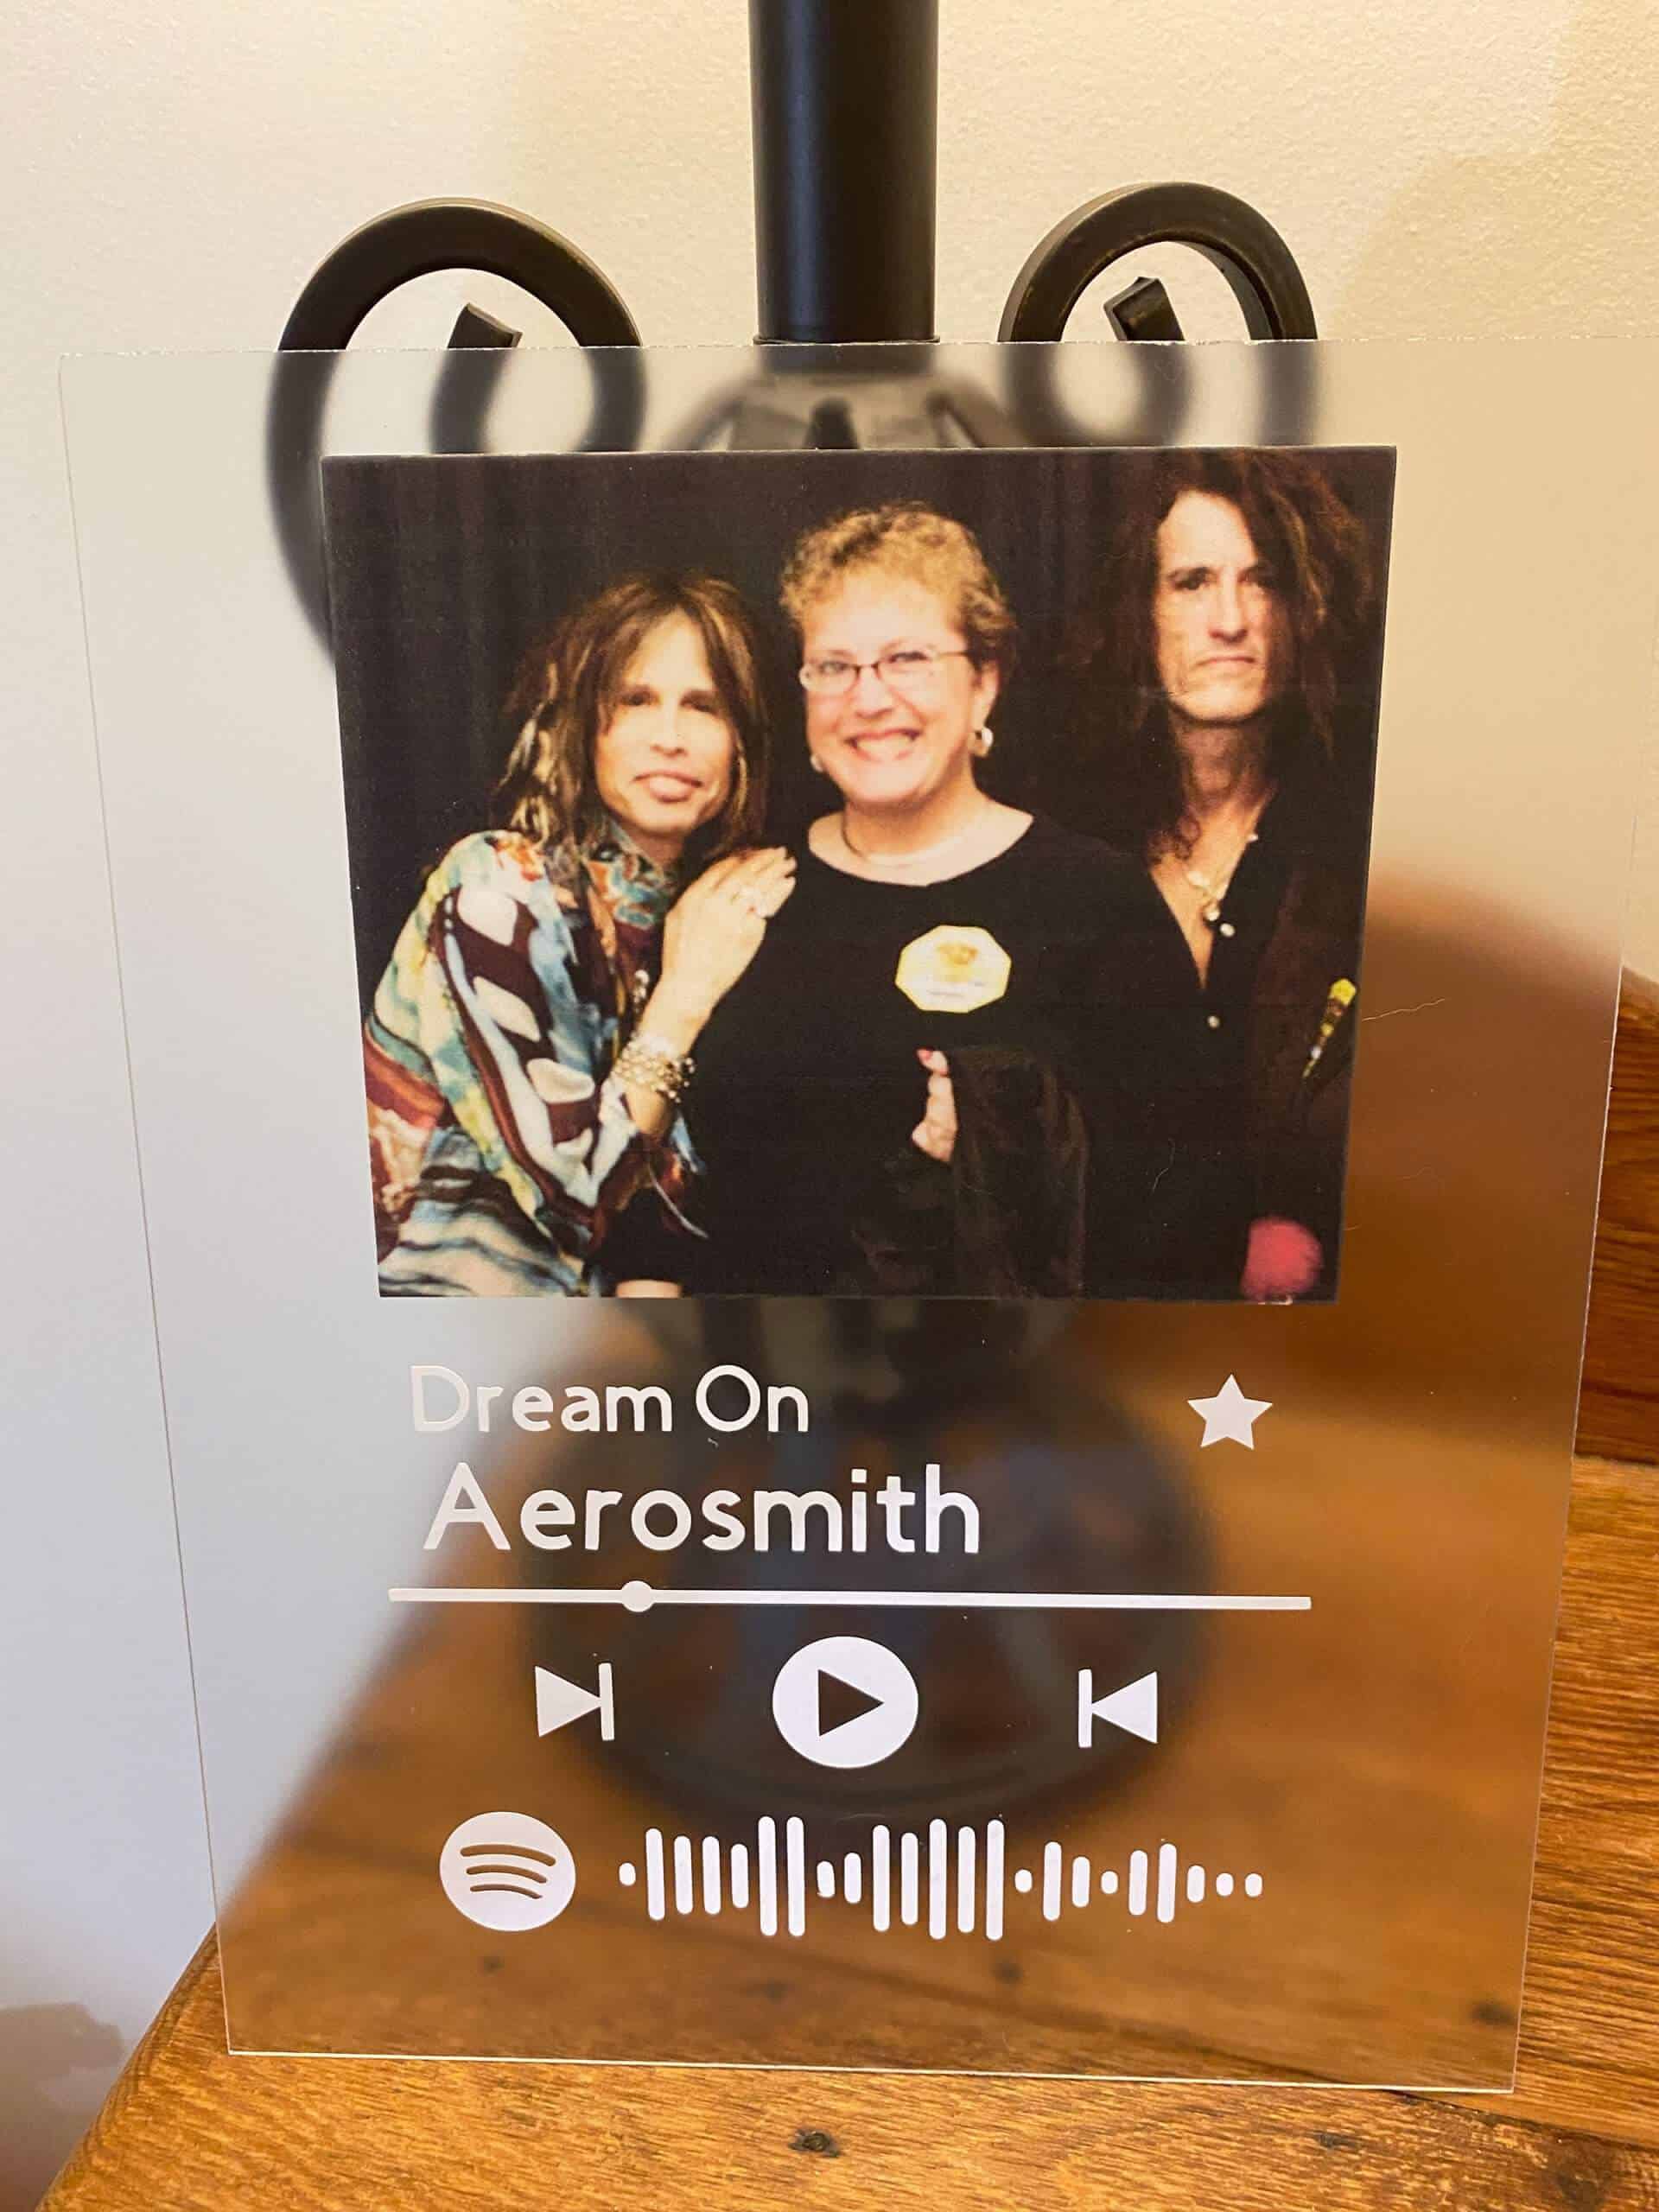
I love how this Spotify Artwork incorporates such a special personal touch. This artwork would make the perfect wedding gift or just something fun to have for your favorite song and memory. Do you have a song that has significant importance to you?
Materials Needed to Make The Spotify Artwork With Your Cricut
This post contains some affiliate links for your convenience (which means if you make a purchase after clicking a link I will earn a small commission but it won’t cost you a penny more)! Read my full disclosure policy.
StarCraft Matte Inkjet Printable Permanent Adhesive Vinyl
StarCraft UV Laminate for Inkjet Printable Printable Adhesive Vinyl
12″ x 12″ Sheet – StarCraft HD Glossy Permanent Vinyl – White
Get my free template (available in my Free Resource Library – get the password by filling out the form below).
To Get The Spotify Code
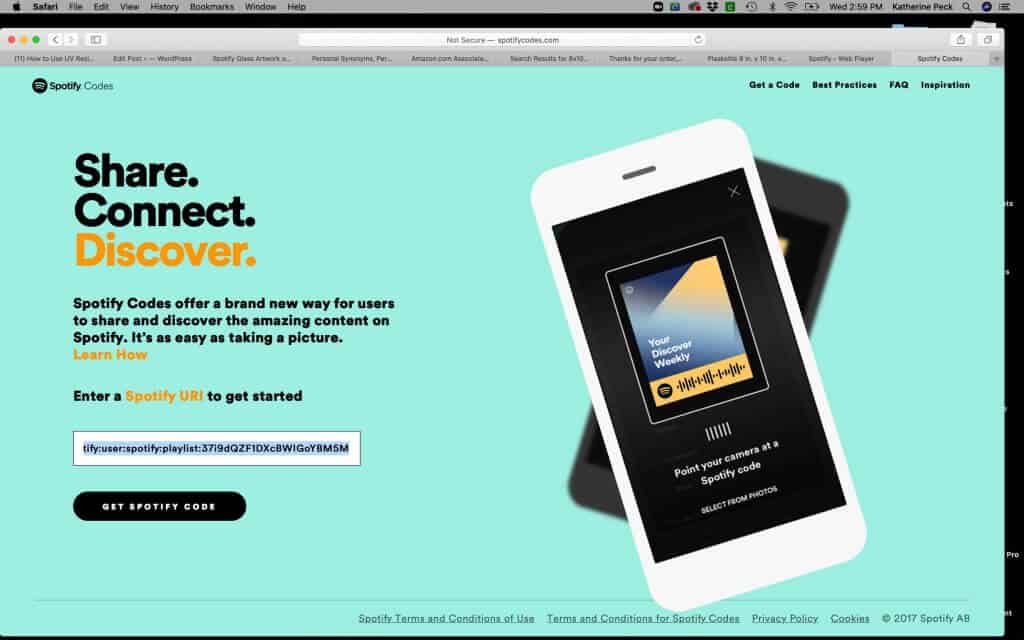
For the Spotify code go to the Spotify website and search for the song you would like to use. Click on the three dots to the right of the song you have chosen and download the song link.

After downloading the link, go to the Spotify Codes website. Enter the Spotify URL (the code you just copied) into the white rectangle and click on “Get Spotify Code.”
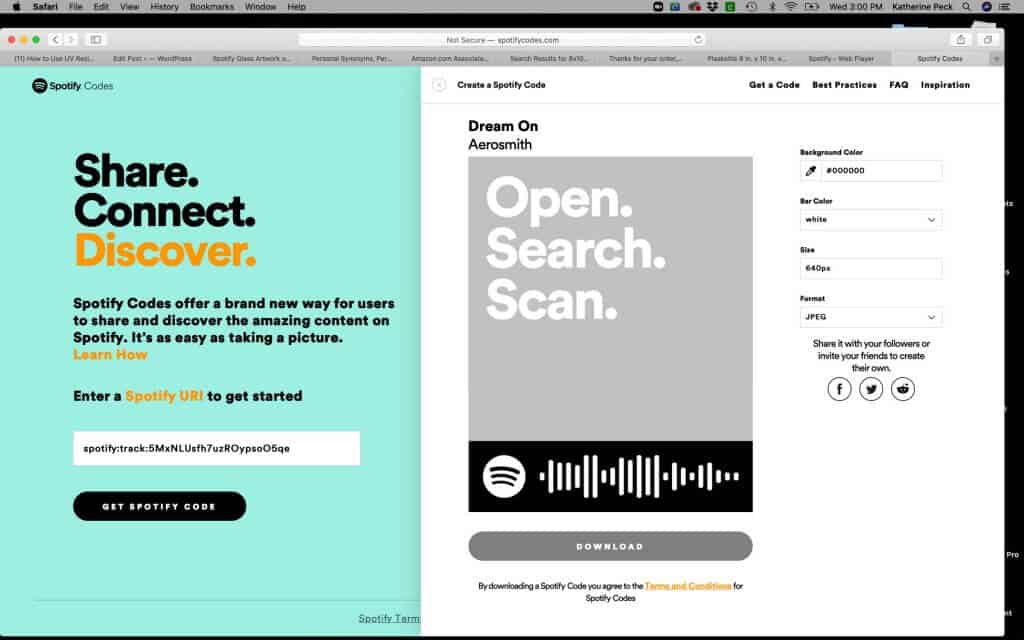
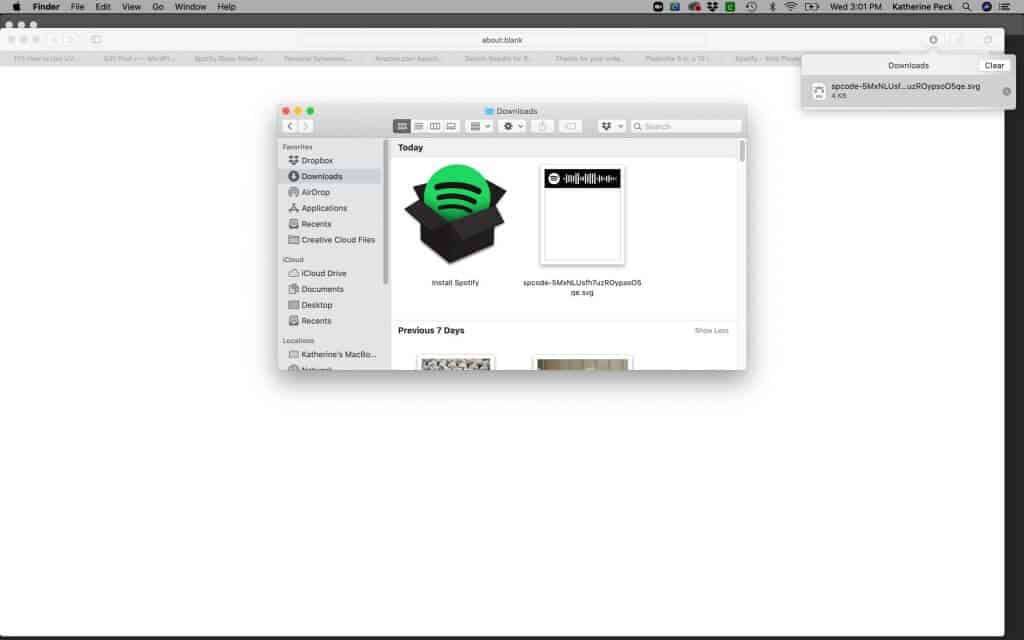
On the next screen go down to where it says “Format.” It will say Jpeg. Change it to SVG. Then click “Download.”

In Cricut Design Space
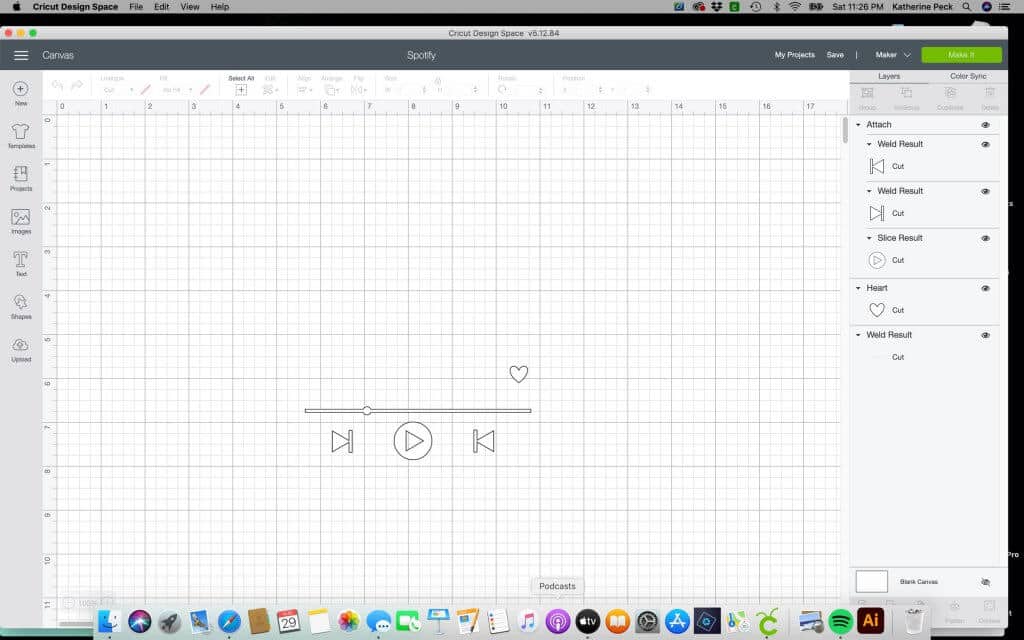
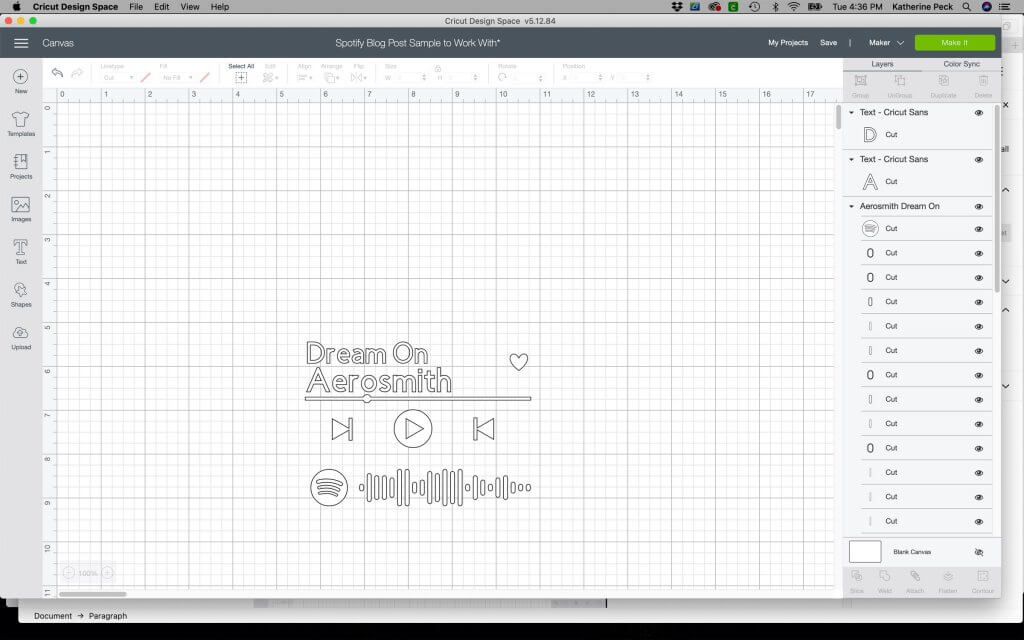
Open the template design file from my Resource Library in Design Space. It is already sized for cutting, so no need to resize. You will need to customize the text and images though.
Go to your Downloads Folder on your computer where you will see the downloaded code.
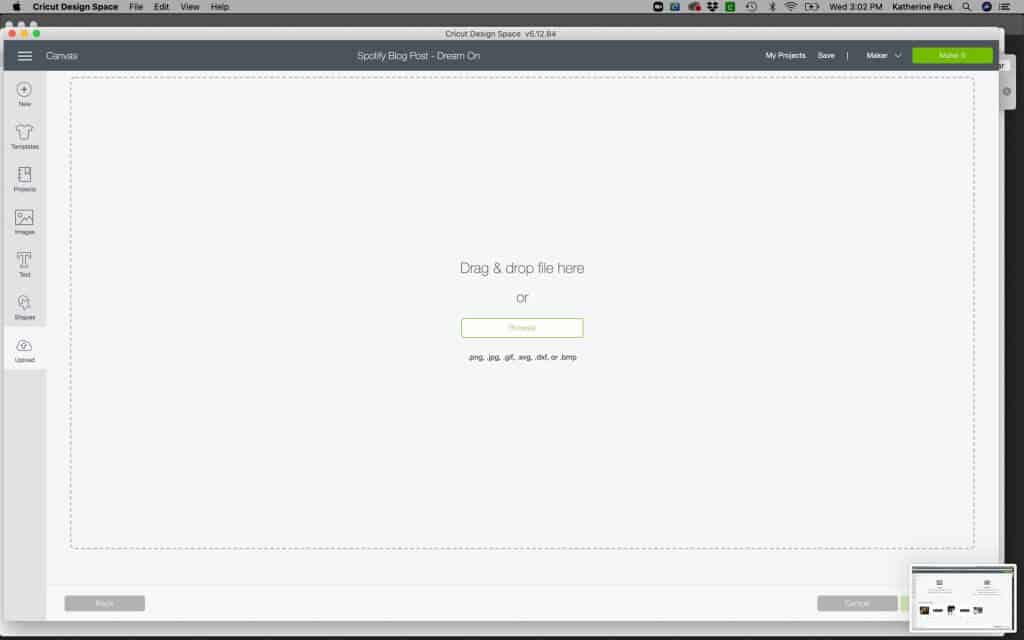
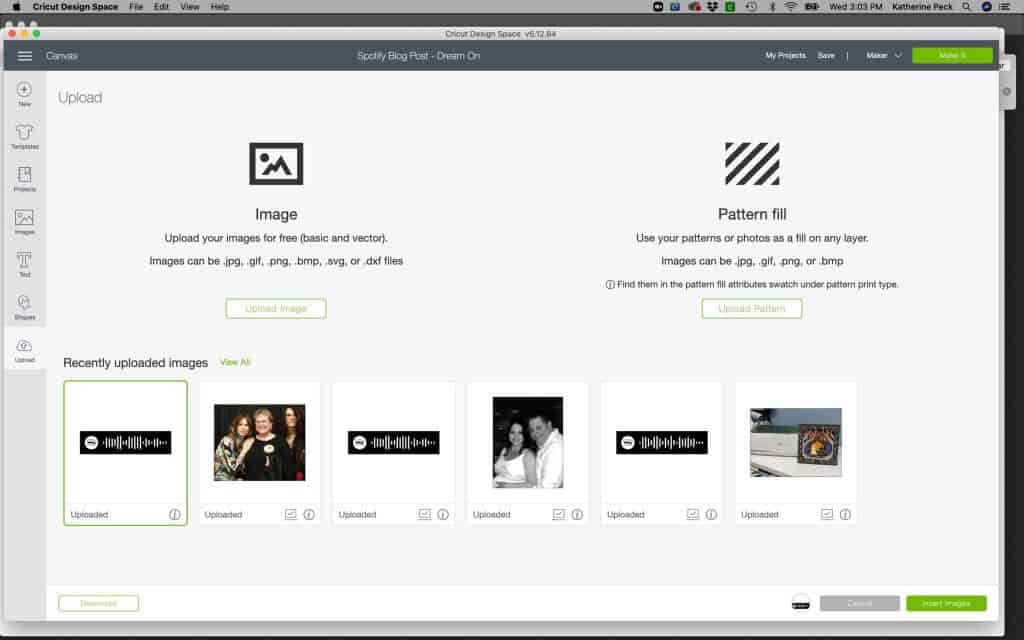
In Cricut Design Space click on Upload. Then click on Upload Image. Next click on the code you just uploaded and click on Insert Image.

Go to the bottom of the Layers panel and click the “eyeball” next to the black rectangle behind the code to get rid of it (unless you want it to be black).
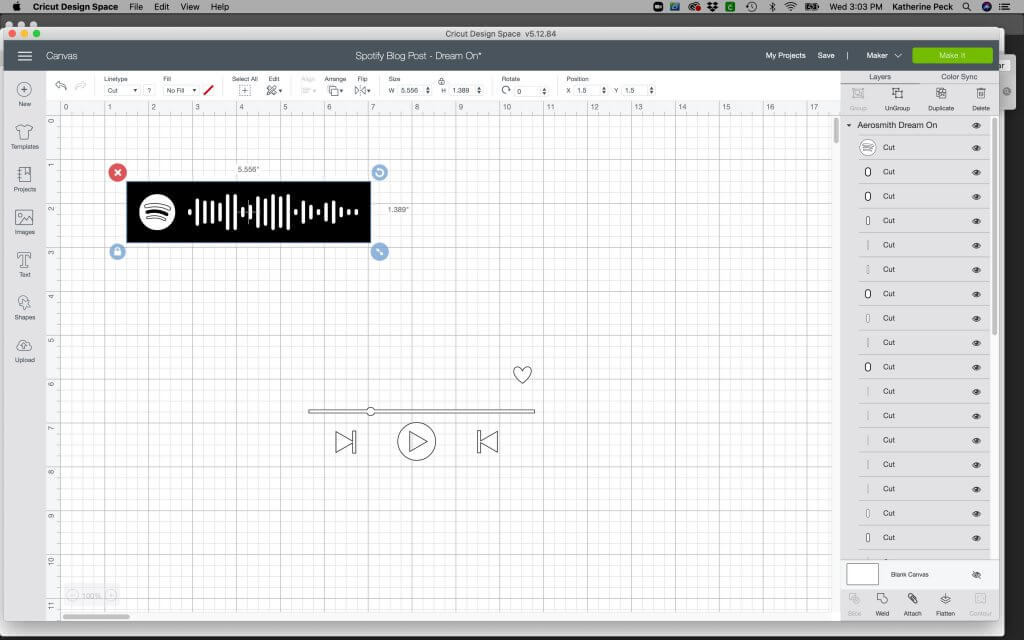
Move your code to the bottom of the template you downloaded from my Free Resource Library.
Add the song name and the artist name above the line with the circle above the code. I used the Cricut Sans font. Change the font color to white.
Upload the image you would like to use for your album art. It’s best to use your own images. Click on Complex. Click Continue and save it as a Print Then Cut.
Arrange your image above the template to your satisfaction. You will need to resize your image so that it is a little bit smaller than the template. You need to make sure that the whole project will fit on your acrylic piece with a border.
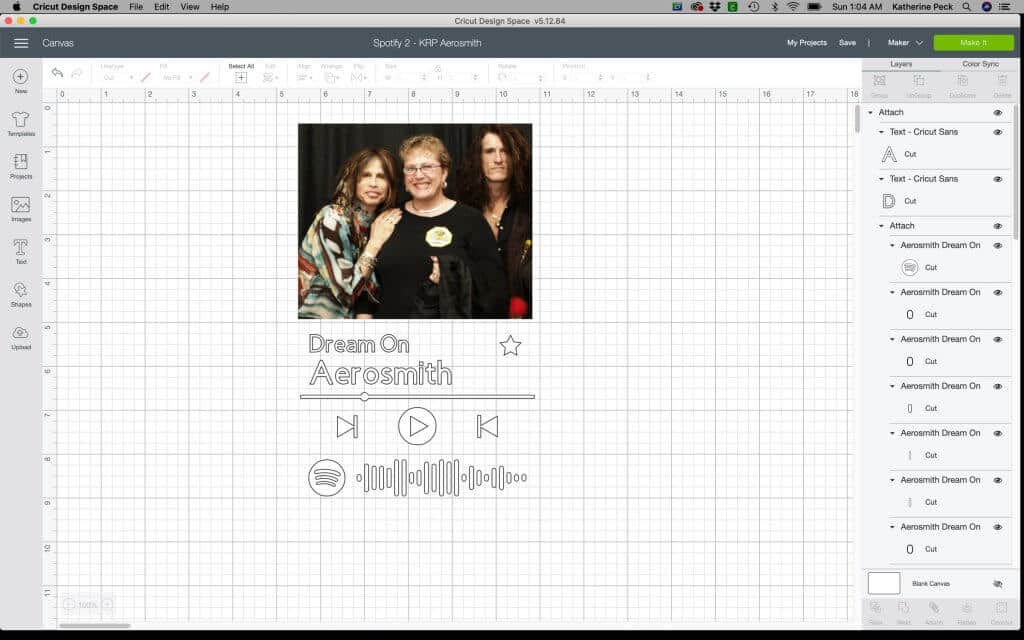
When everything is to your liking, you can go ahead and Attach all of the layers, excluding the album art. Select all of the layers, except the album art and click Attach.
Cutting It Out
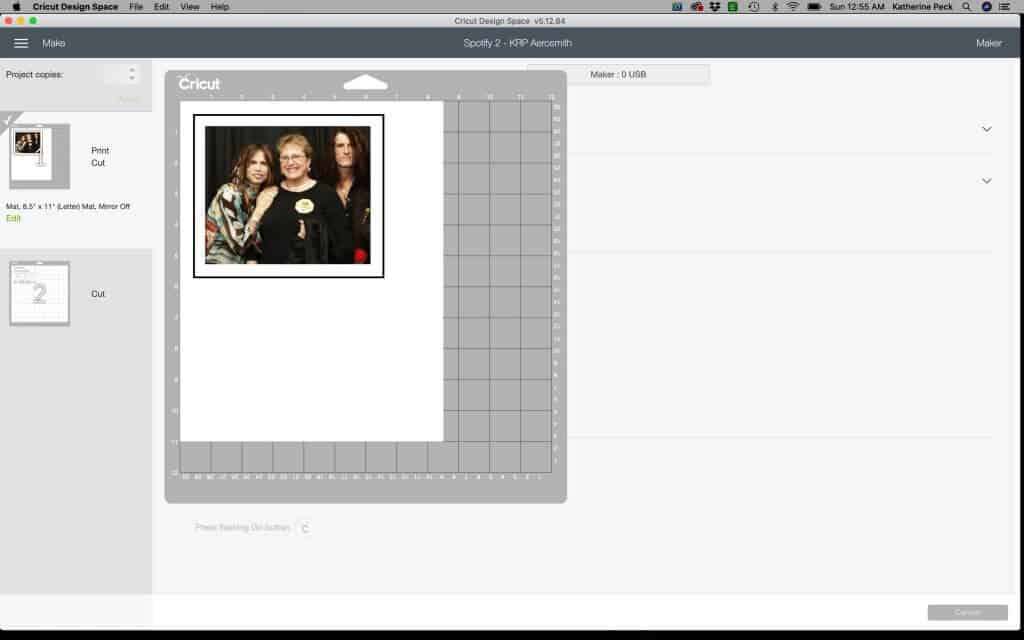
Next you will click Make It. You will have two mats. The first mat will be your Print Then Cut mat. The second mat will be your vinyl mat.
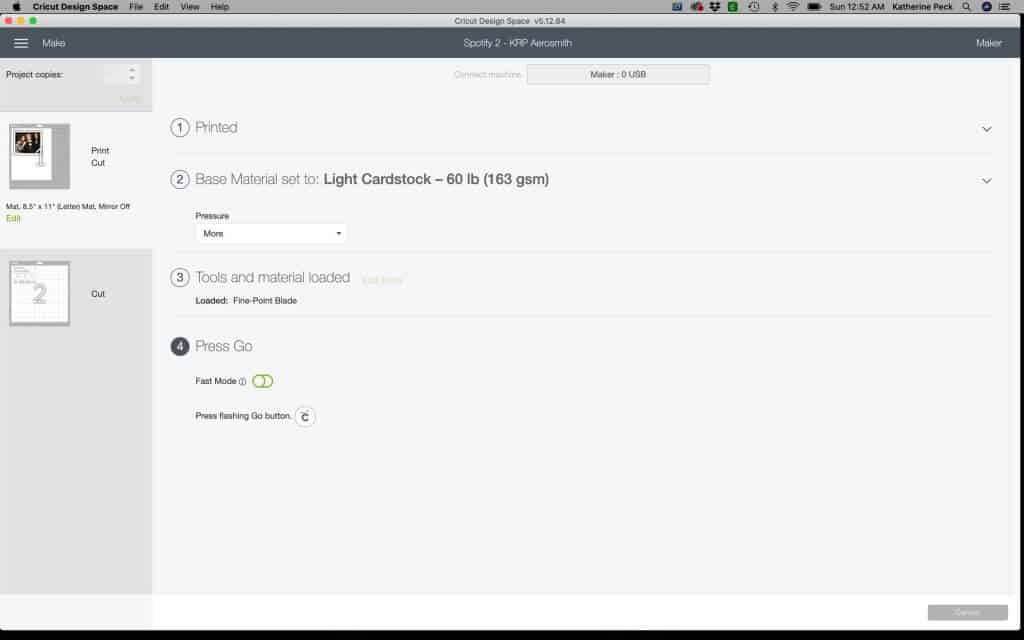
After you print your artwork on the Inkjet Printable Adhesive Vinyl, cut a piece of the UV Laminte a little bit bigger than the printed area, and cover the printed area of the vinyl. Then cut out the artwork on your Cricut.
Finishing
After you print then cut out your artwork and your vinyl, prepare them for the acrylic sheet. Weed your vinyl and using transfer tape, add that to the acrylic sheet first. Then add your artwork to the acrylic sheet above the vinyl. I used the grid on my cutting mat as a guide when placing the vinyl and artwork on the acrylic.
Here are a couple that I made. The first one is me with Steven Tyler and Joe Perry of Aerosmith.

The second one is of one of my really good friends and her husband on their wedding day.
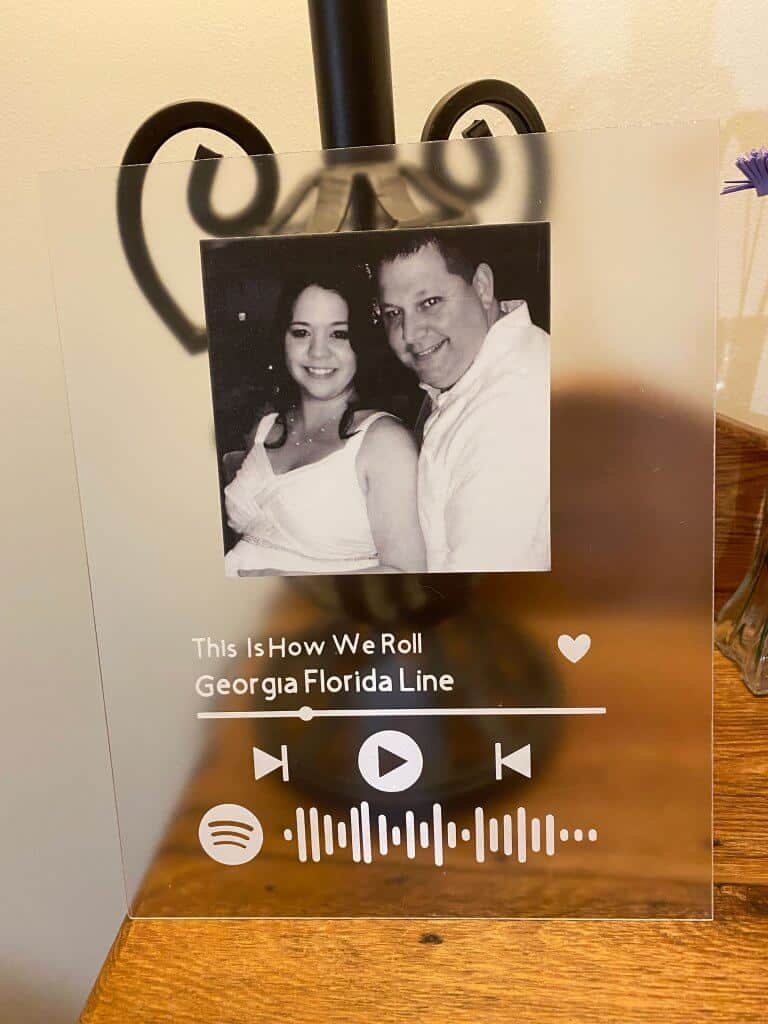
I think I’m going to find a frame to put mine in so it looks a little more finished. Either that or I will use one of the stands I have to place it on.
I hope you will try making one (or several) of these DIY Spotify Artwork projects With your Cricut.
Until next time.
Kathy
P.S. If you like this tutorial, join my Facebook community where I post other free SVG files and resources! I look forward to crafting with you!
P.S.S. If you’re thinking about getting a Cricut and you aren’t sure which one to get, this article might help you in your decision making process. The Cricut Maker vs. The Cricut Explore Air 2.
Thank you so much for the template!
Hi Susan, you are so welcome. Thank you for your sweet comment. Have fun!
Thank you!!❤️
You are welcome!!
Thank you!!❤️
You are so welcome!!!
Thank you!!
You are welcome Justina!!!
Wish me luck 🙂
Hi Jennifer,
If you have any questions, please let me know. Best of luck!!! You will do great!