
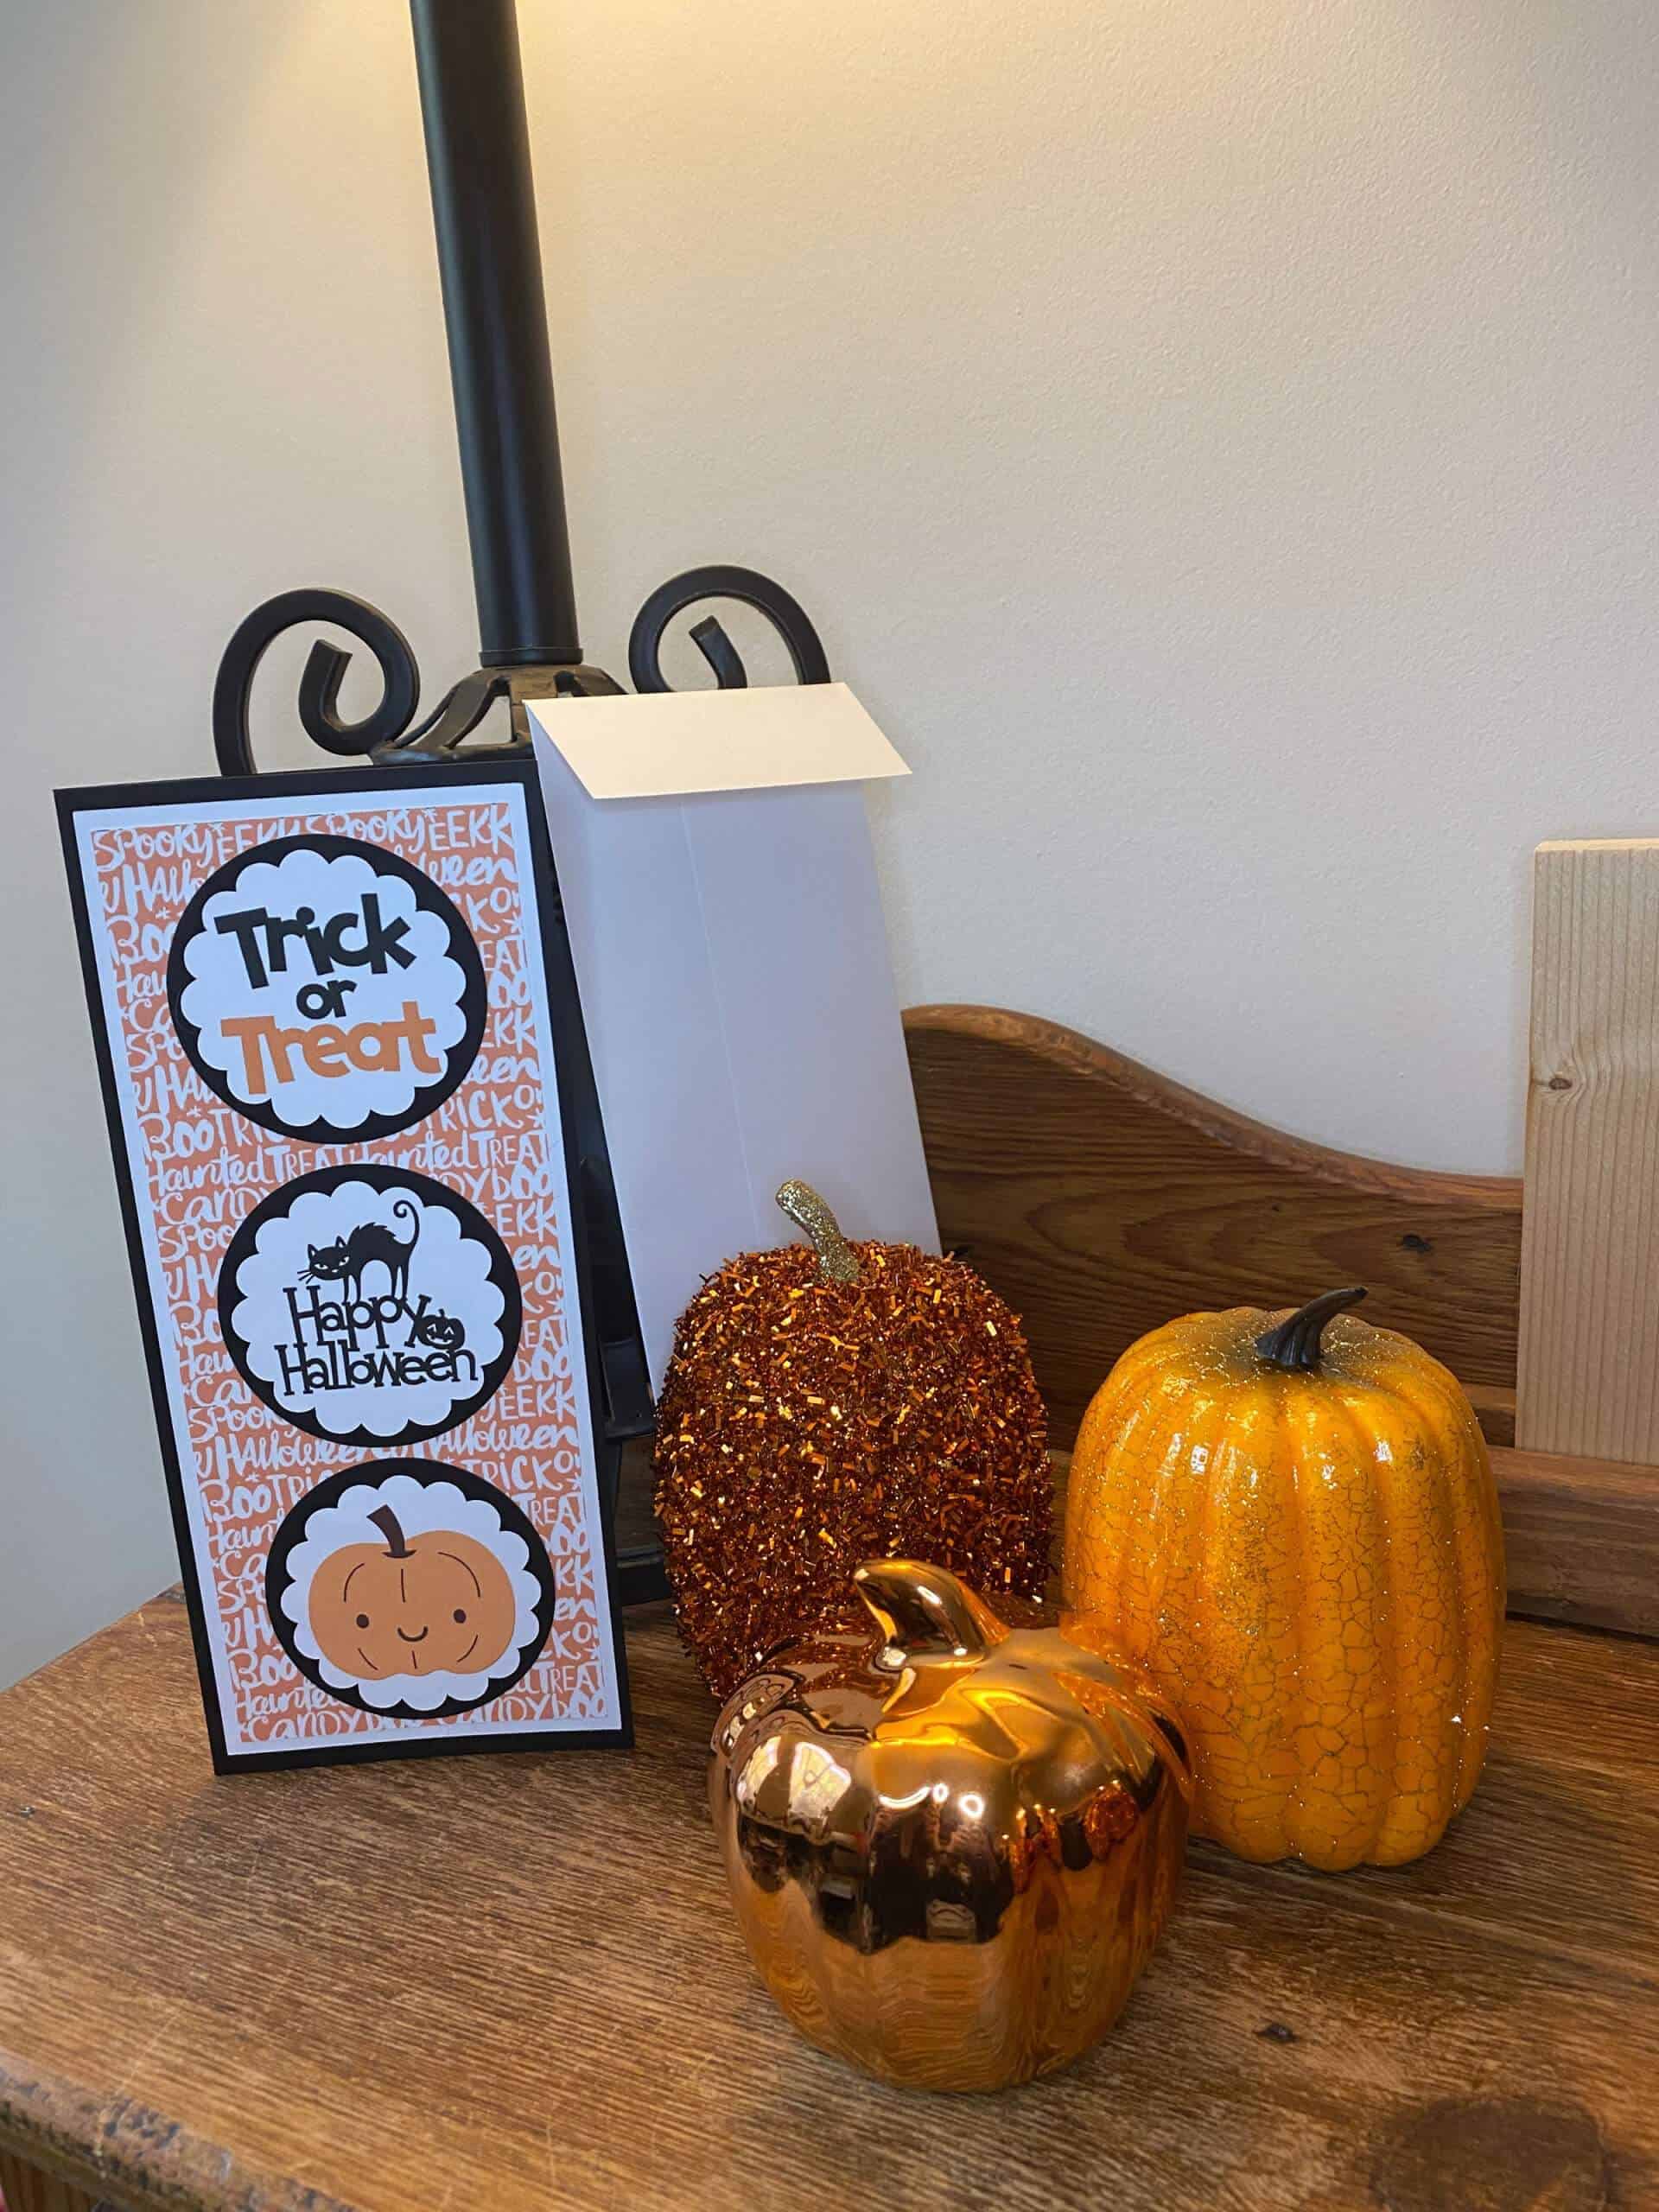
I love making cards! The slimline cards have been a thing for a while, but I just created my first DIY Halloween slimline card in Cricut Design Space.
I’m sharing the information below on how to make this card, but if you don’t want to mess with making this from scratch, you can get my free template (available in my Free Resource Library – get the password by filling out the form below).
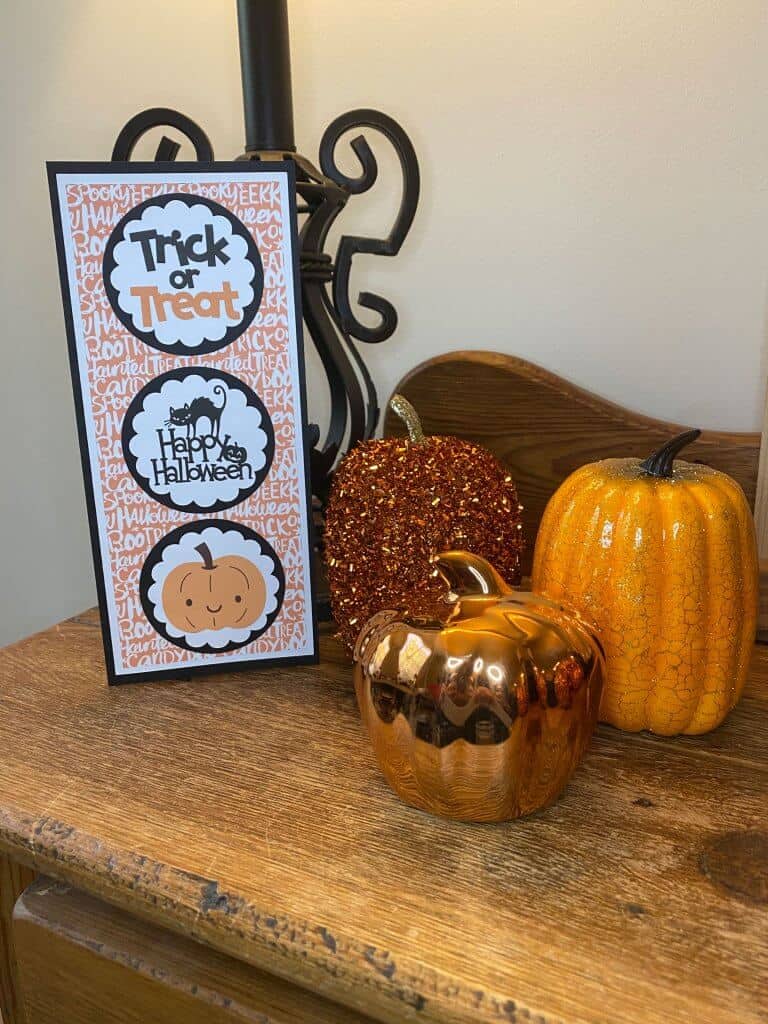
This card was super fun to create. I had to watch a few videos to get the dimensions I needed, and it turned out just right. It’s bigger than I thought it would be, but I like the size. You could make it any size you want.
This post contains some affiliate links for your convenience (which means if you make a purchase after clicking a link I will earn a small commission but it won’t cost you a penny more)! Read my full disclosure policy.
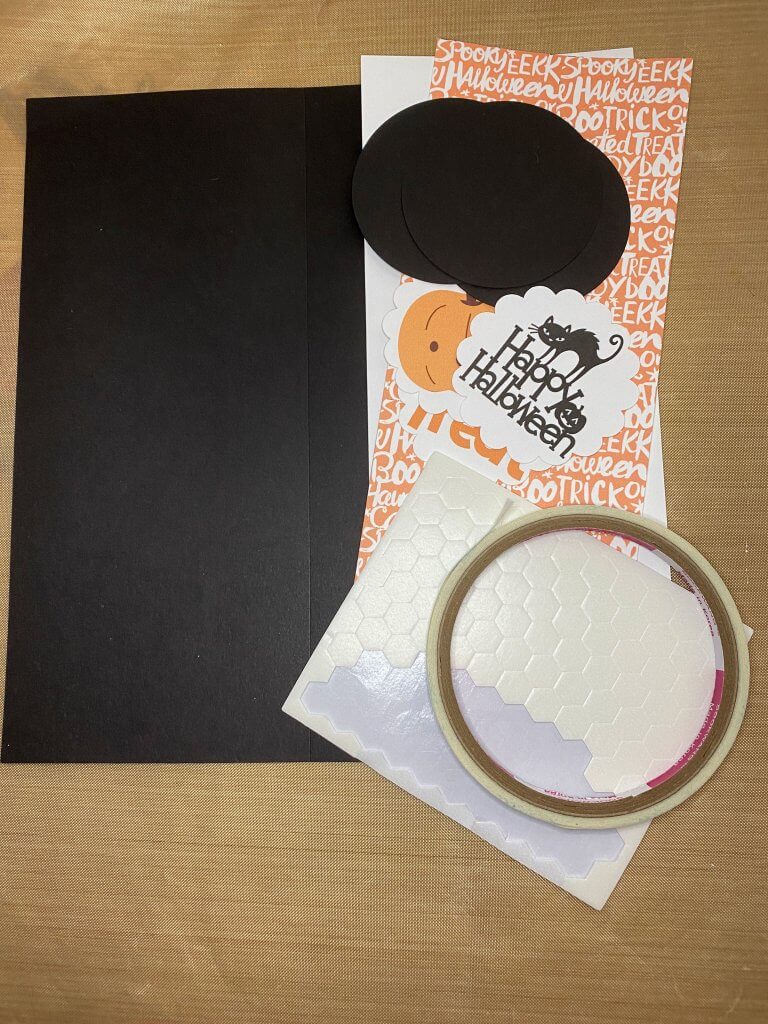
Supplies Needed For This Project
Scoring Wheel or Scoring Stylus
Orange Cardstock (for the envelope. I used white cardstock.)
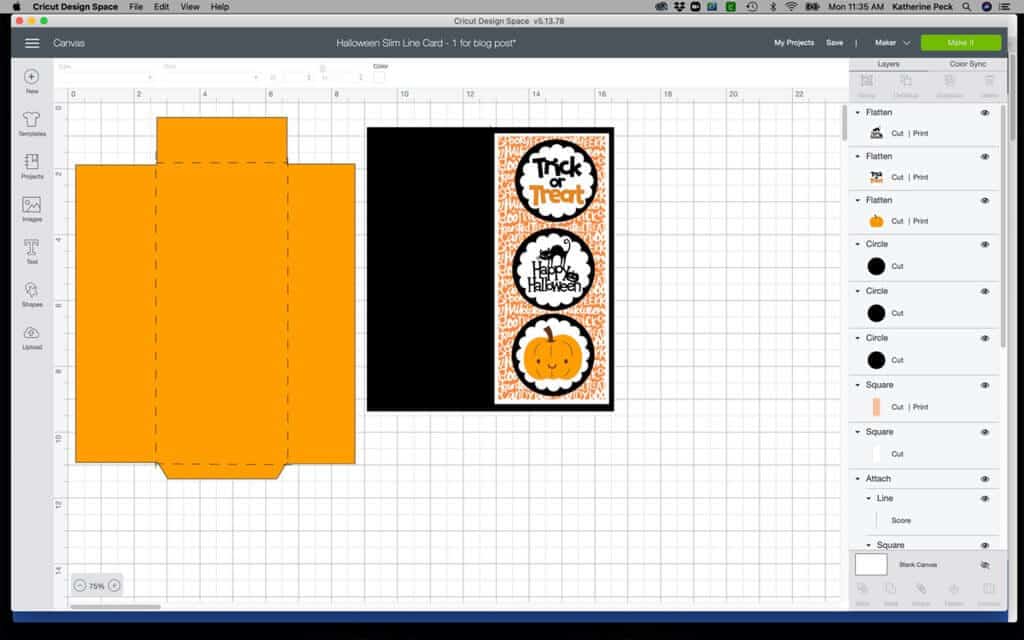
The base of the card is 7.5″ W x 8.75″ H. I added a score line down the middle and scored it with the scoring wheel on my Cricut Maker. You can use the scoring stylus for your Explore machine. (I didn’t include the envelope instructions in this tutorial, as it would be too hard to explain.)
Next is the white layer which is 3.5″ W x 8.25″ W. For the next layer I used the Print Then Cut feature for the orange words on the top rectangle layer and the decorative images on top of the black circles.
To get the design for the top layer I did the following:
Under Fill I selected Print.

When the Print Type menu drops down, click on Filter.

Then click on Color. Click on the Orange box.
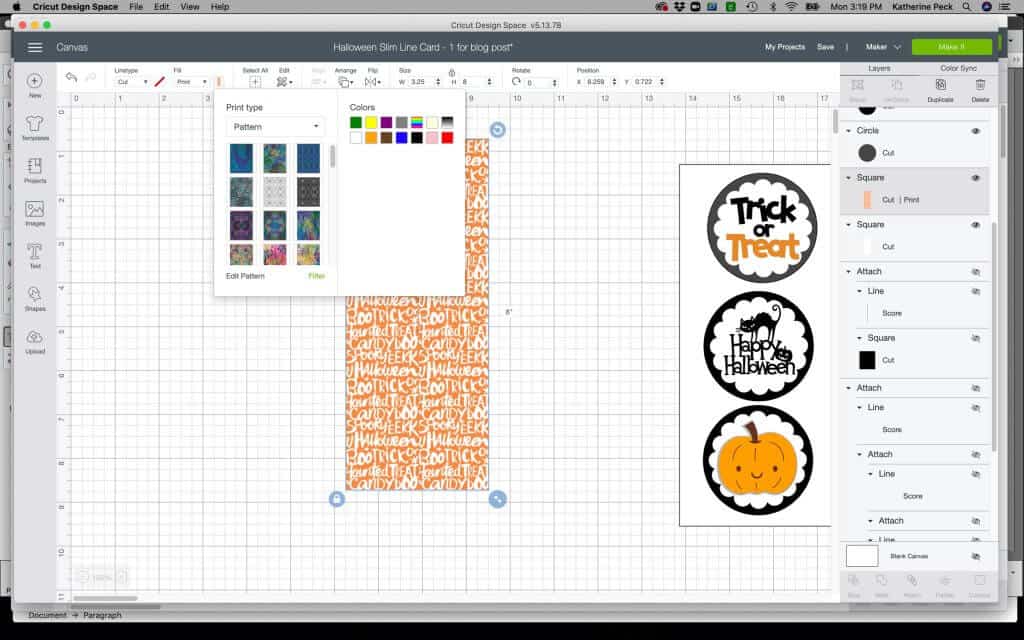
You will see different patterns you can use.
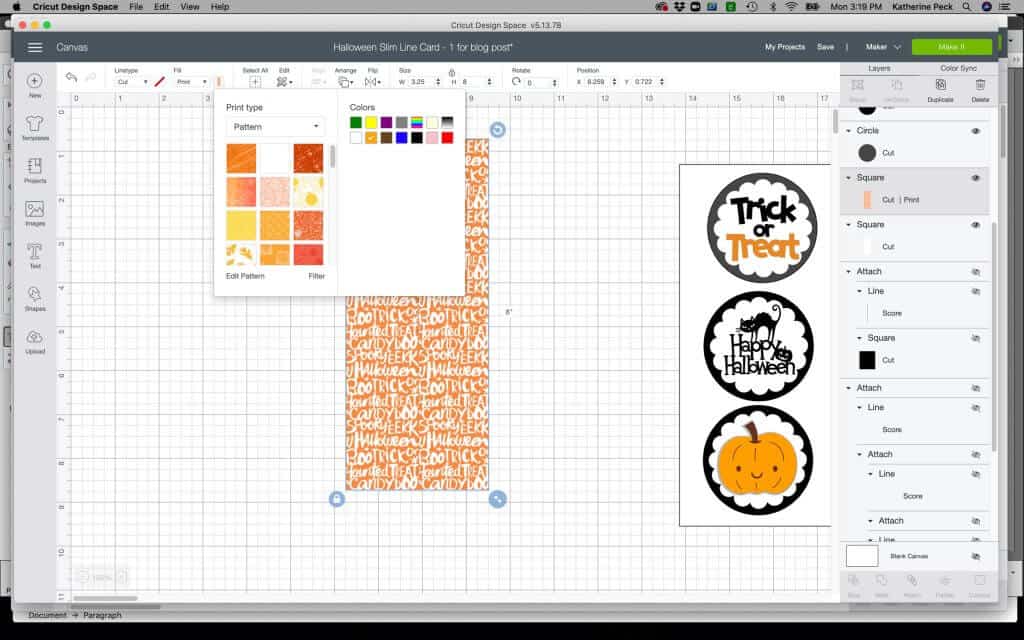
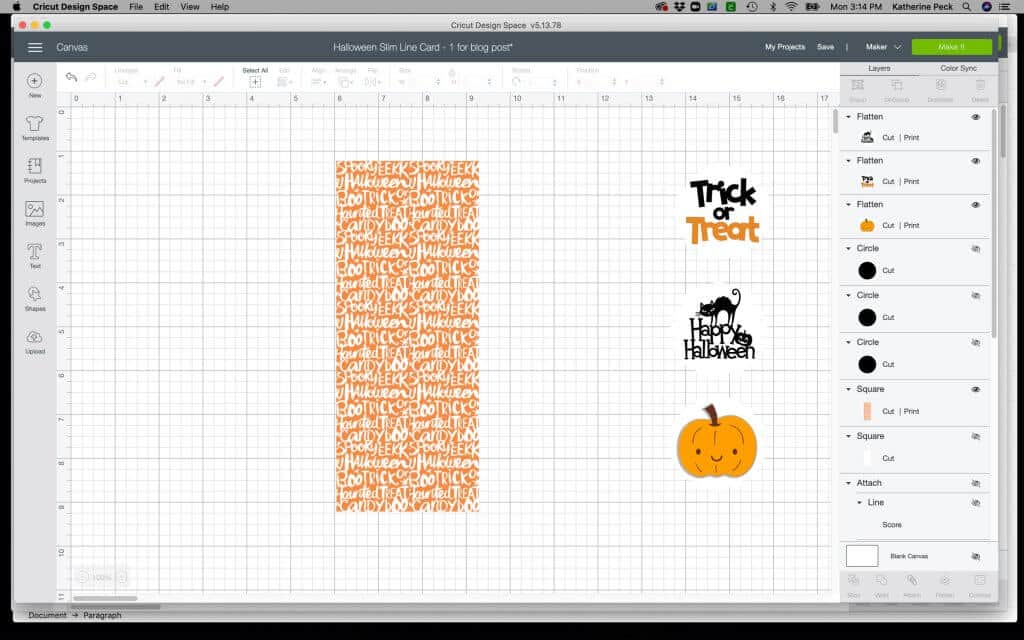
I just scrolled through the patterns until I found this Halloween pattern. The three images on the right are in Design Space. They are not in the Patterns. They were cut files that I Flattened to make them Print Then Cut.
There are white circles behind each design, but they are hard to see.
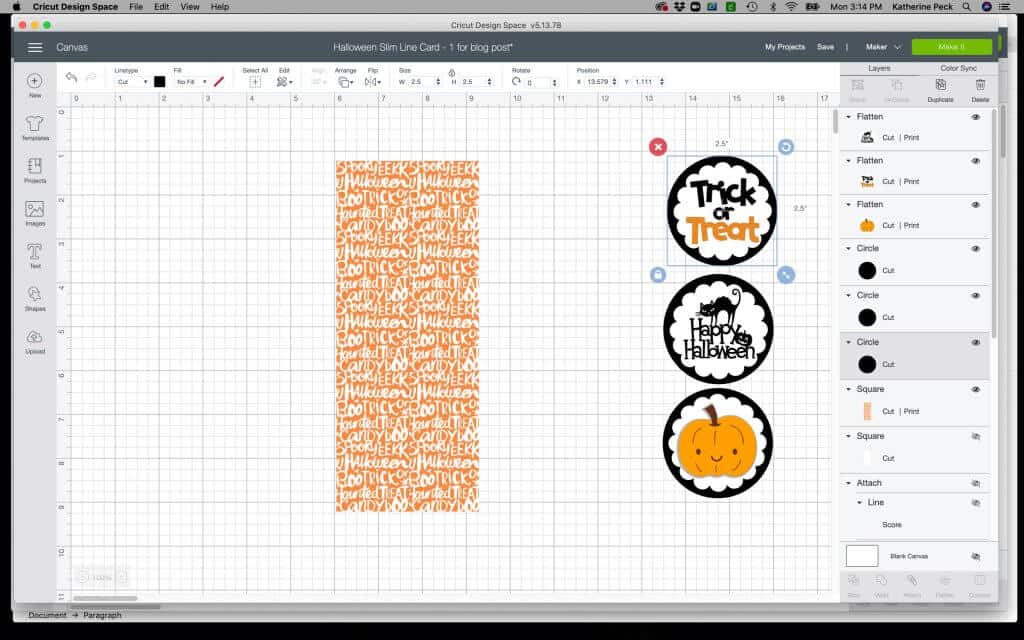
Here’s a picture with the black circles behind the designs so you can see them better.
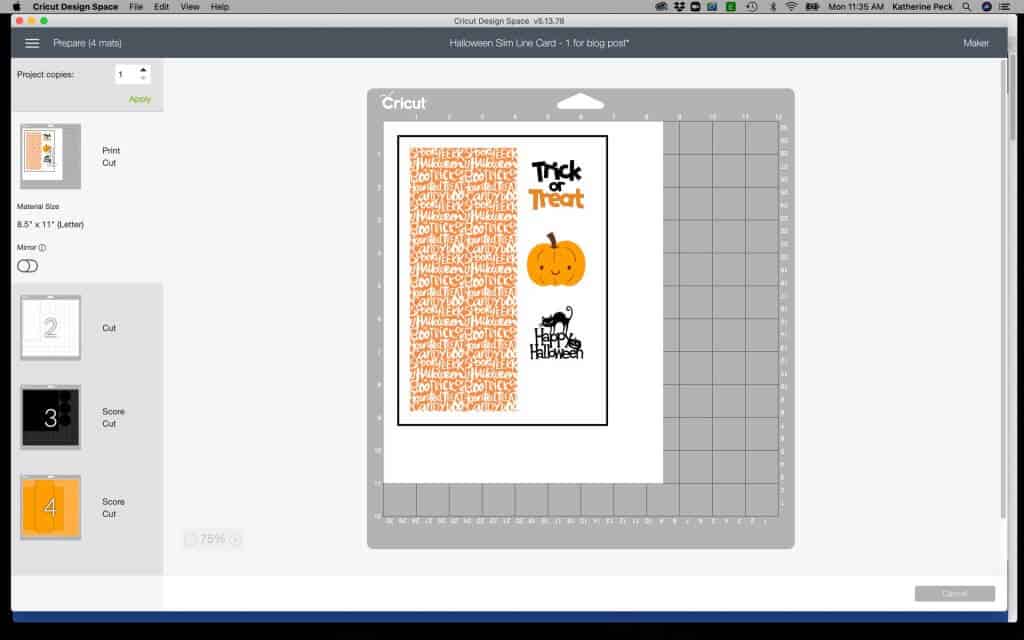
I am including a screen shot of what the Print Then Cut looks like when it is ready to be cut on the Cricut.
Putting It All Together
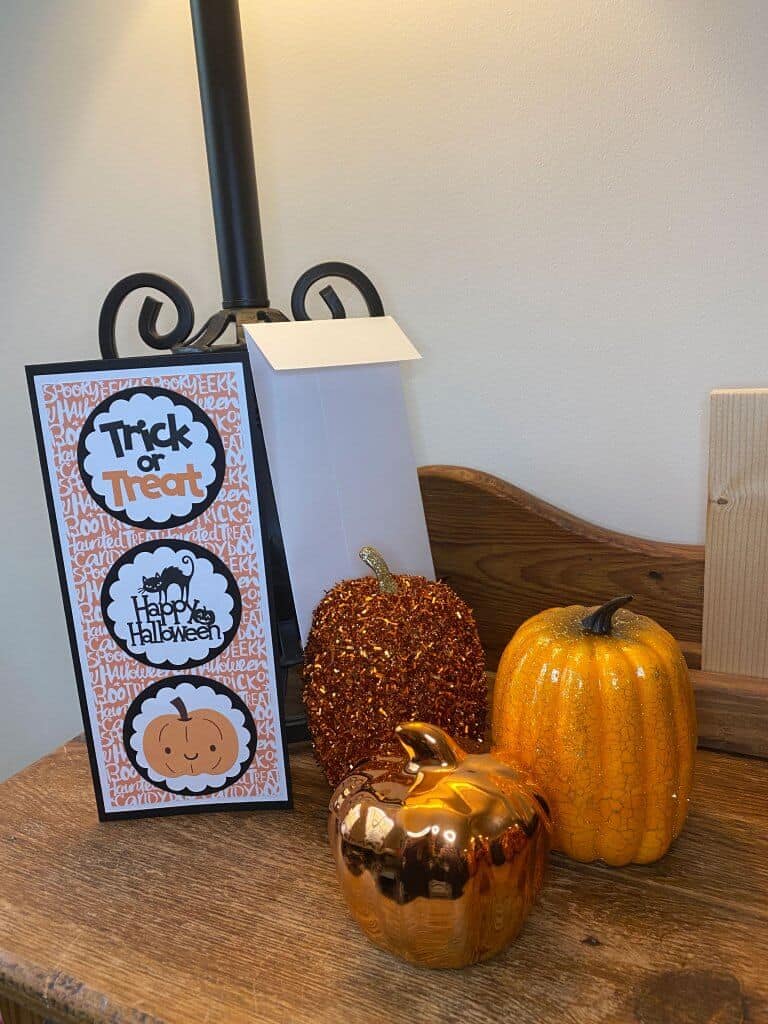
The Finished Card & Envelope
I found some really cute Halloween printable background designs on Designbundles.net. They have cute purple background printables and orange printables that would be perfect for this card.
If you make this DIY Halloween slimline card, let me know if you change the background cardstock to something else. I’d love to see it.
Kathy
P.S. If you like this tutorial, join my Facebook community where I post other free Design Space files and resources! I look forward to crafting with you!
P.S.S. If you’re thinking about getting a Cricut and you aren’t sure which one to get, this article might help you in your decision making process. The Cricut Maker vs. The Cricut Explore Air 2.
Get my free template (available in my Free Resource Library – get the password by filling out the form below).
This looks adorable…can’t wait to make a few!!!
Hi Chris, they are so much fun to make. Have fun!!!
Love cards! New to slimline.
Hi Laurie,
Thank you! They are so much fun to make. If you have any questions or need any help, don’t hesitate to ask.
Love your cards, just learning to do slimline cards now thank you for sharing.
Hi Sharon,
It’s my pleasure. Let me know if you have any questions or need any help!