
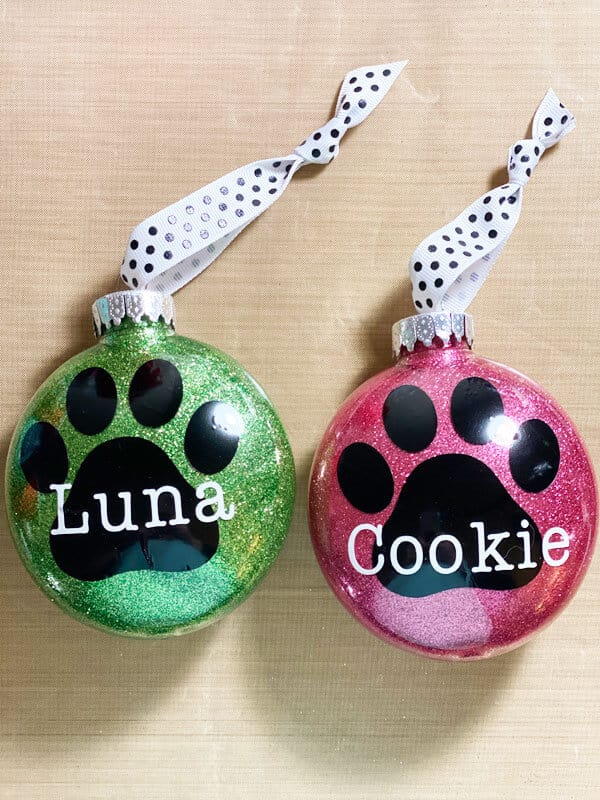
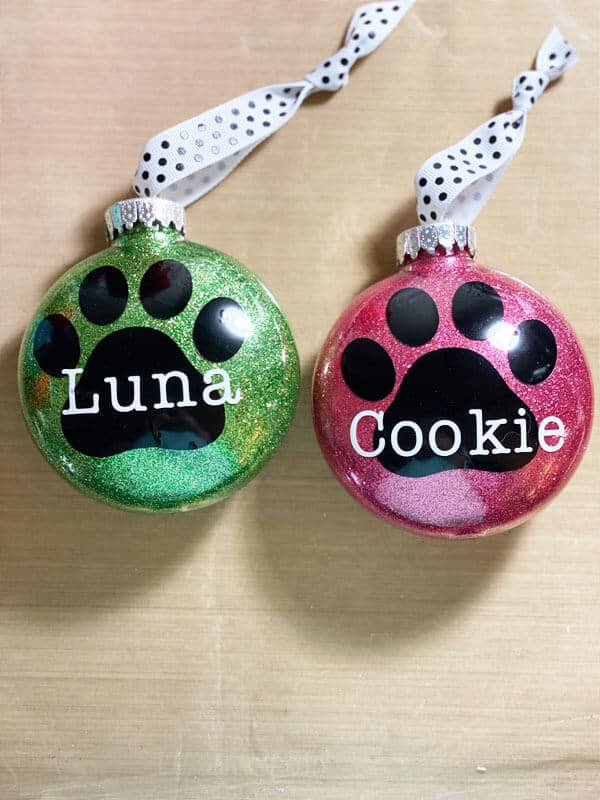
I’m going to make some more DIY glitter ornaments for Christmas this year. I made one for one of my kitties and one for my brother and his family’s dog. You could also make these for your pets who have passed away by adding the year they passed.
Everything for this project was cut on my Cricut Joy. They are the perfect size designs to cut on the Joy.
You can get my free ornament template, available in my Free Resource Library (get the password by filling out the form below).
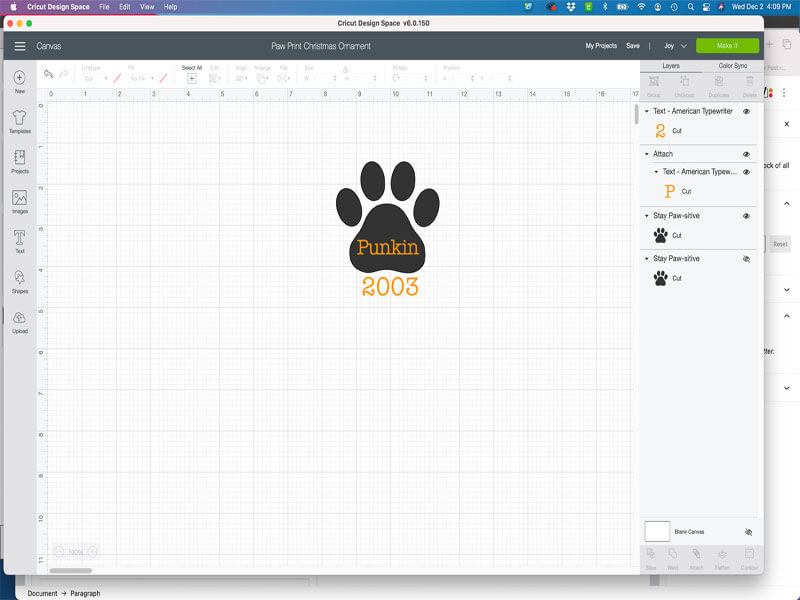
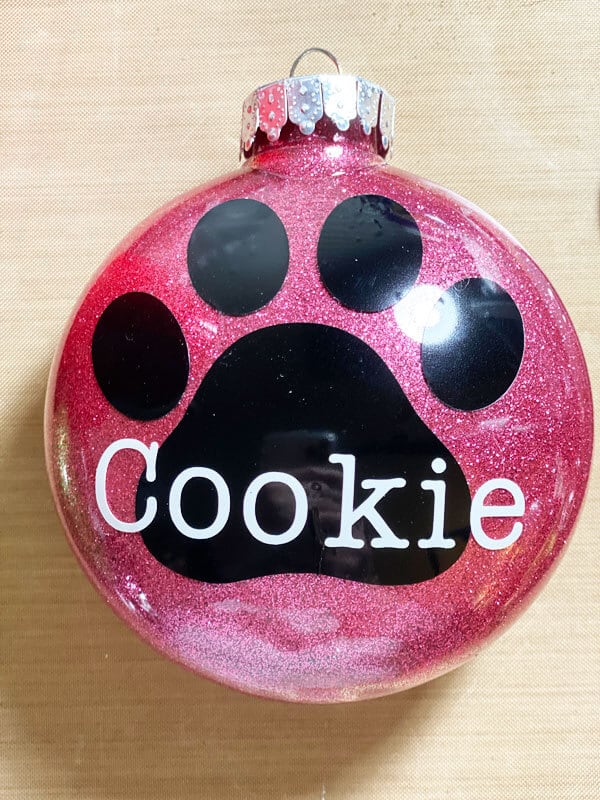
I didn’t attach the words to the paw print, so you can edit them for your pet’s name.
I made a video of the process.
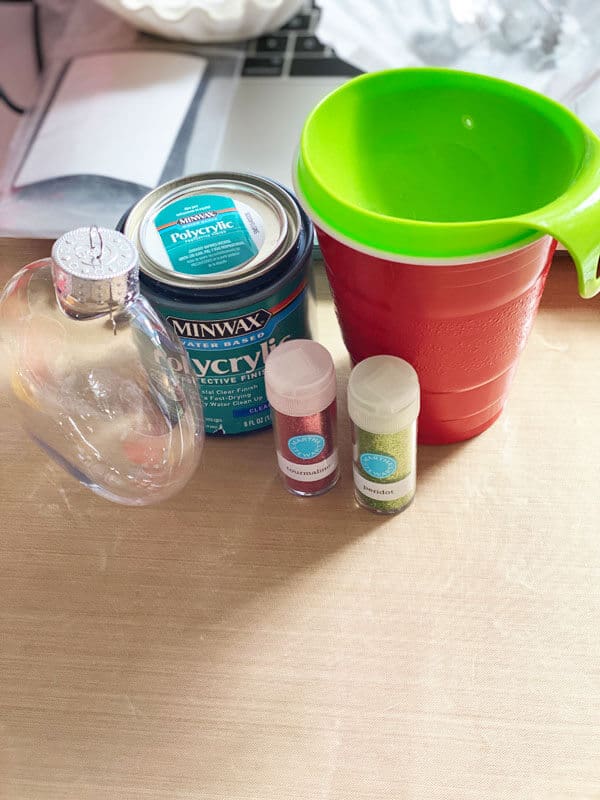
Supplies You Will Need
This post contains some affiliate links for your convenience (which means if you make a purchase after clicking a link I will earn a small commission but it won’t cost you a penny more)! Read my full disclosure policy.
Cricut Joy, Cricut Maker or Explore Air 2
Standard Grip Mat or Joy Standard Grip Mat if using the Joy
Clear Ornaments of Your Choice (I find it easier to use the flat ornaments when putting on vinyl.)
Ribbon
Polycrylic (you can get this from Lowe’s or Home Depot)
Funnel (to add Polycrylic)
Coffee Filters (to funnel the glitter into the ornaments)
Solo Cup (To drain your Polycrylic out of your ornament before adding the glitter.)
How to Make the Ornaments
The first thing you want to do is get all of your supplies together.
Using the funnel insert it into the top of the ornament and pour the Polycrylic into the ornament, filling the ornament about a 1/4 to 1/3rd full.
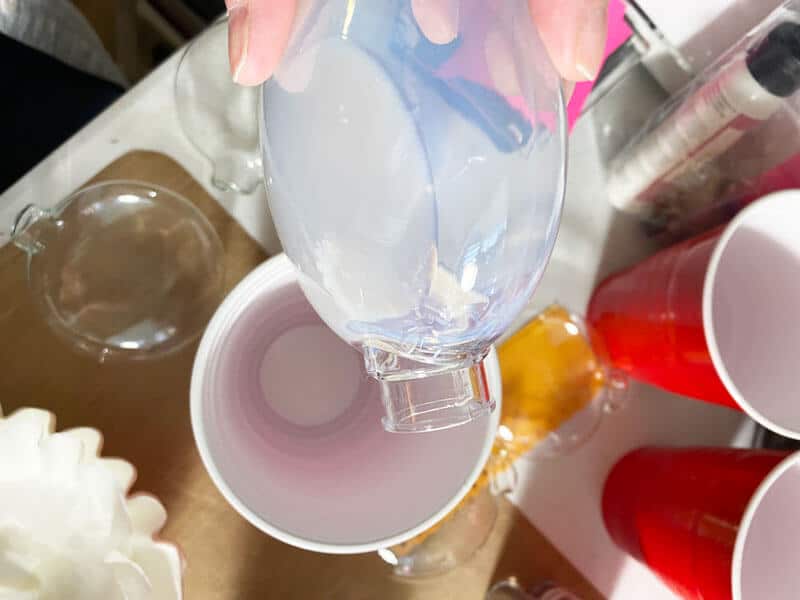
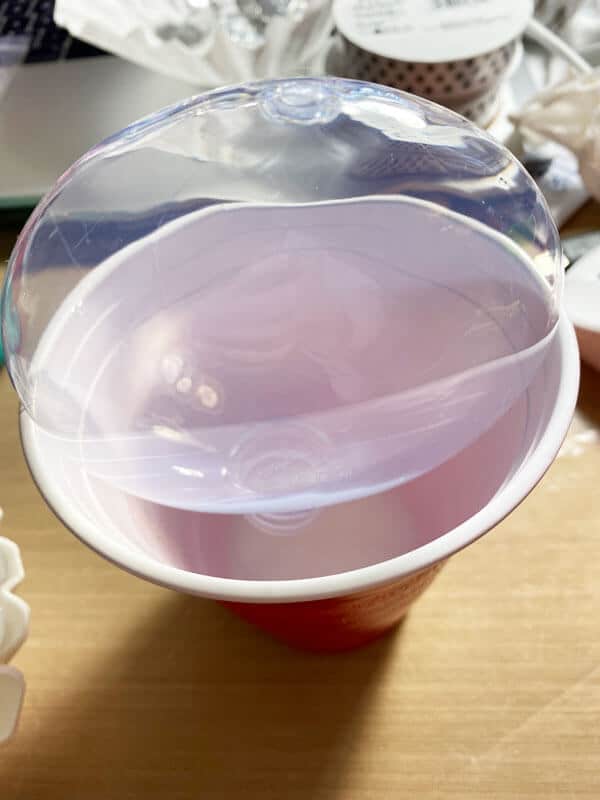
Gently roll the ornament around in a circle from side-to-side, until the Polycrylic is coating the entire inside of the ornament (do not shake as you don’t want any air bubbles). Then turn the ornament upside down in the cup and let it drain for about 15-20 minutes.

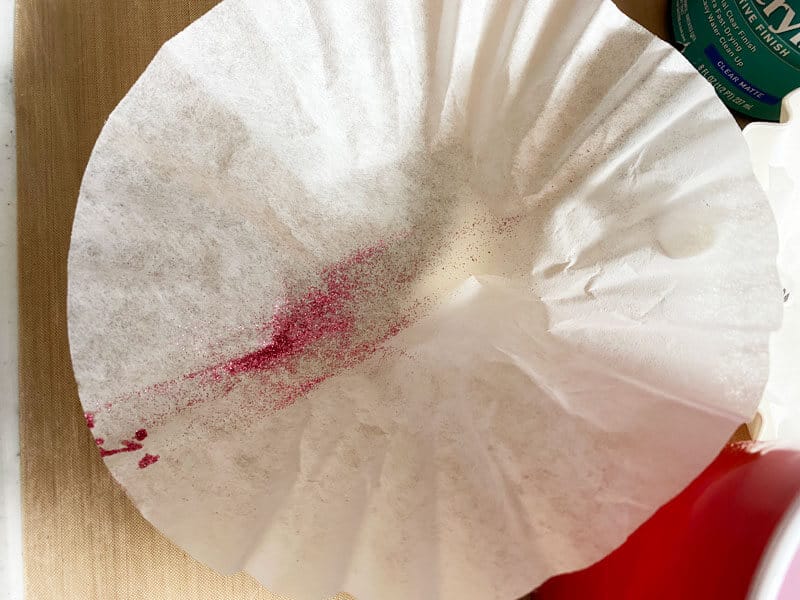
Pour a good amount of glitter into your coffee filter and fold it in half, inserting one end into the ornament. Once again roll the ornament around from side-to-side, coating the inside completely with the glitter. Add more glitter if needed.
I’ve already put the glitter into the ornament, but this is the coffee filter I used.
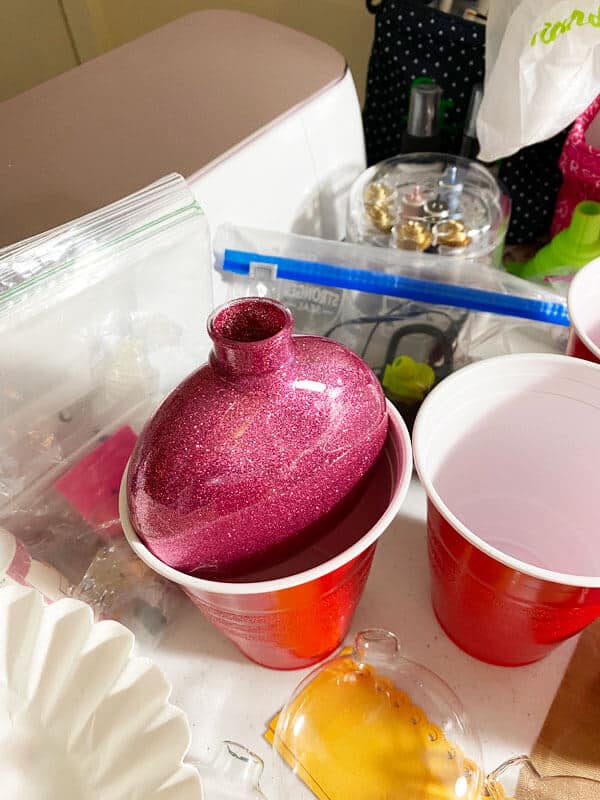
Next, pour the excess glitter back into the coffee filter and place the glittered ornament, top side up, into the plastic cup and let it dry. (Don’t let it get into the Polycrylic, or use a clean cup.) I usually let mine sit for several hours to make sure the inside is completely dry before adding the vinyl.
Be sure to pour the excess glitter in the coffee filter back into it’s original container.
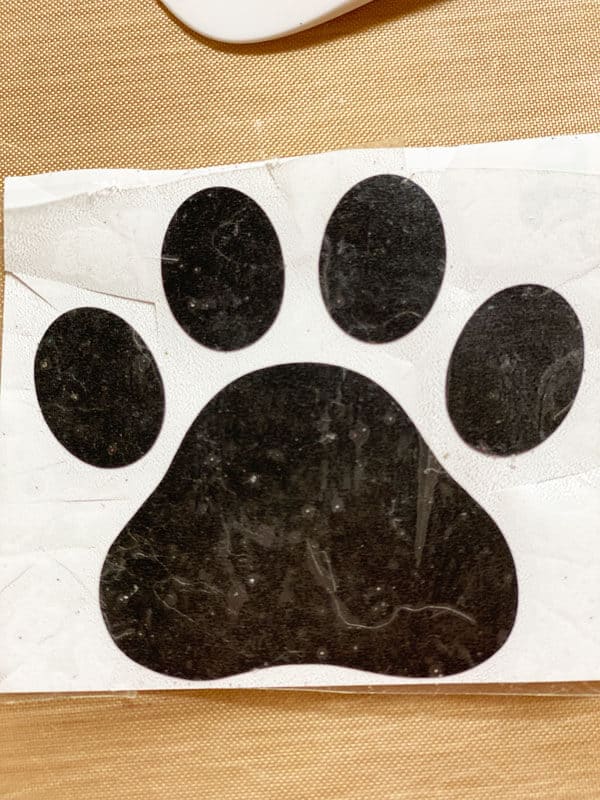
Meanwhile, while your ornaments are drying, cut out your designs on your Cricut. Put your transfer tape over the top of your design and then remove it so your design is now on the transfer tape.
It’s hard to see but I cut around the edges so it would be easier to get a flat lay on the ornament.
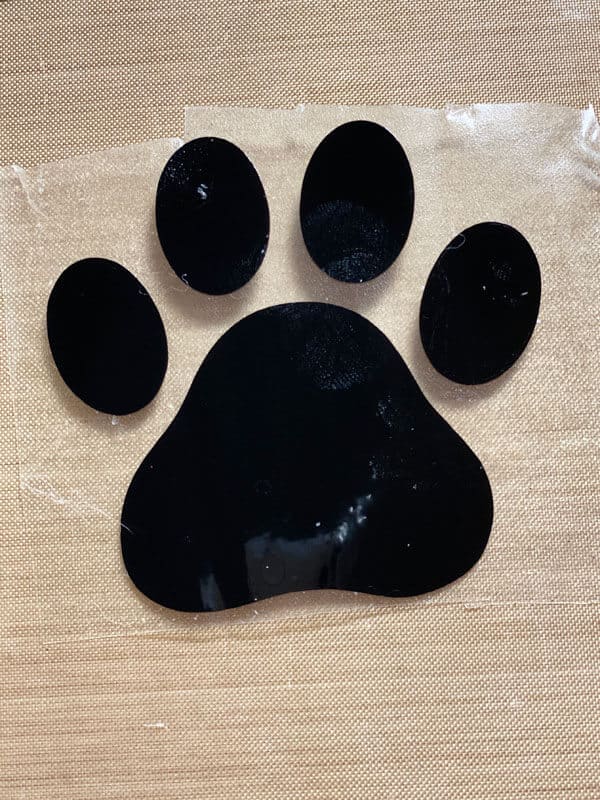
Once your ornaments are dry on the inside, apply your vinyl design to the ornament using the transfer tape.
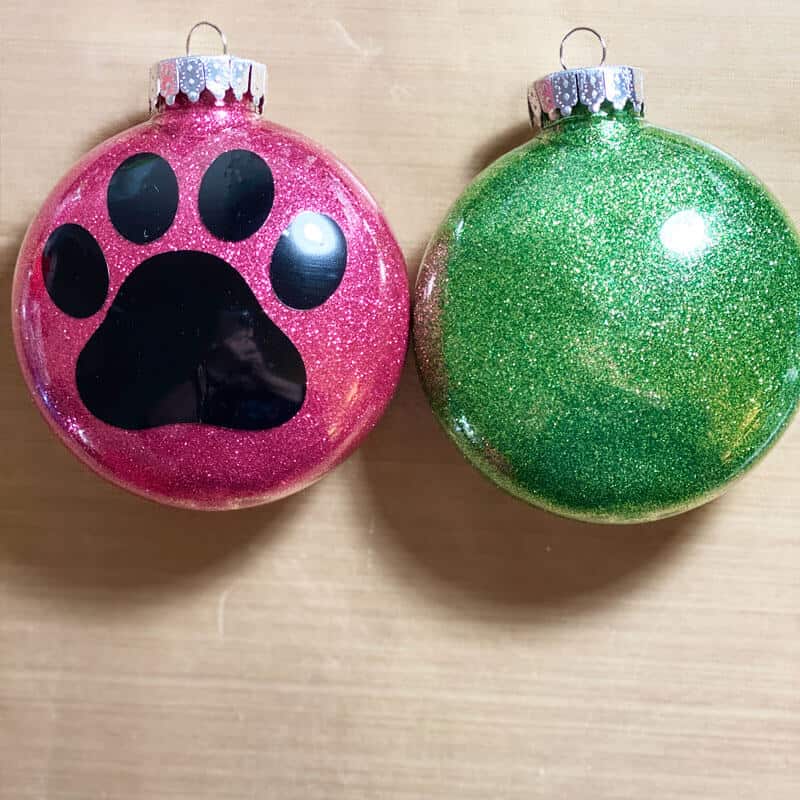
The Finished Ornaments
I hope you will make some of these DIY glitter ornaments for your tree this year. They are a lot of fun to make!
Until next time.
Kathy
P.S. If you like this tutorial, join my Facebook community where you can post your projects. I also post other free Design Space files and resources in the group. ! I look forward to crafting with you!
P.S.S. Thinking about getting a Cricut and you aren’t sure which one to get, this article might help you in your decision making process. The Cricut Maker vs. The Cricut Explore Air 2.
You can get my free ornament template, available in my Free Resource Library (get the password by filling out the form below).
Like to see how you print n cut the paw prints n names on your circuit
Hi Darlene,
That’s not something I’ve tried. You could try to find a PNG of the paw print on Creative Fabrica or create one and add the name.
Kathy