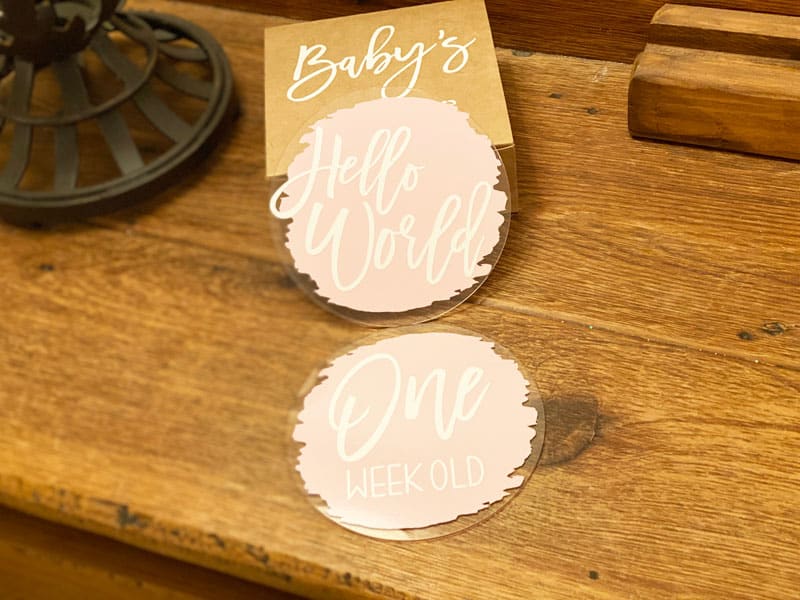
Are you a mom-to-be, or already a mom, a grandmother or a friend of someone expecting? If so, here is the perfect gift to get to celebrate baby’s first year, DIY baby milestone discs. These make a great gift.
Here is a link to the store where you can purchase these baby milestone discs, DIY Craft Tutorials. Besides the milestone disc file, you also get the file for the box to store them in. I have also purchased several other files from her that I will be doing blog posts about in the future.
Materials I Used For This Project
This post contains some affiliate links for your convenience (which means if you make a purchase after clicking a link I will earn a small commission but it won’t cost you a penny more)! As an Amazon Associate I earn from qualifying purchases. Read my full disclosure policy.
- Cricut Maker or Explore Machine
- Standard Grip Mat
- Cricut Tools
- Milestone Disc File
- Pin Pen
- Vinyl Weeding Scrap Collector
- Acrylic Discs
- Colored Vinyl
- Transfer Tape
- Cardstock For The Box
- Liquid Adhesive
- White Tissue Paper
Making The Baby Milestone Discs
Here is a link to the instructional video.
All of the vinyl and the cardstock for the Milestone Disc and box were cut on my Cricut Maker. As you can see, the Acrylic Discs come with a film on them on both sides. You will want to remove that on both sides before you start adding vinyl.
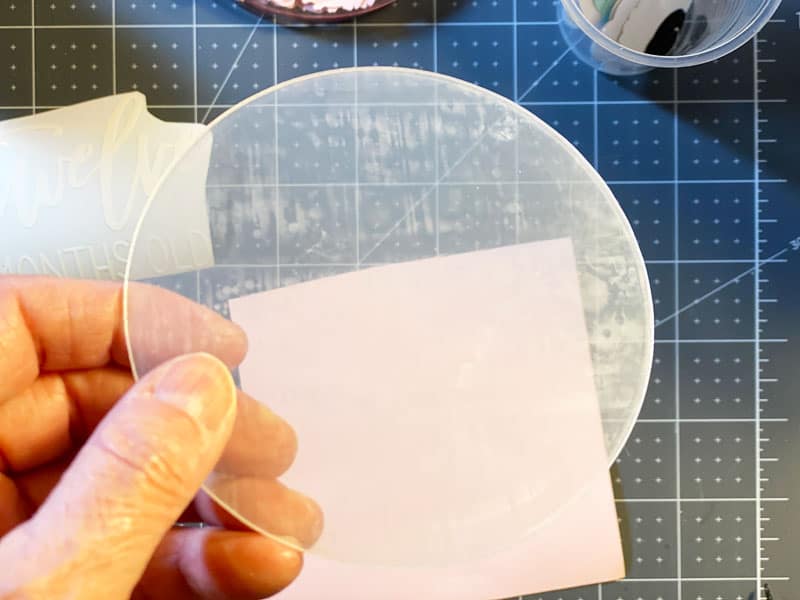
Here you can see the the film has been removed from the Acrylic Disc on both sides.
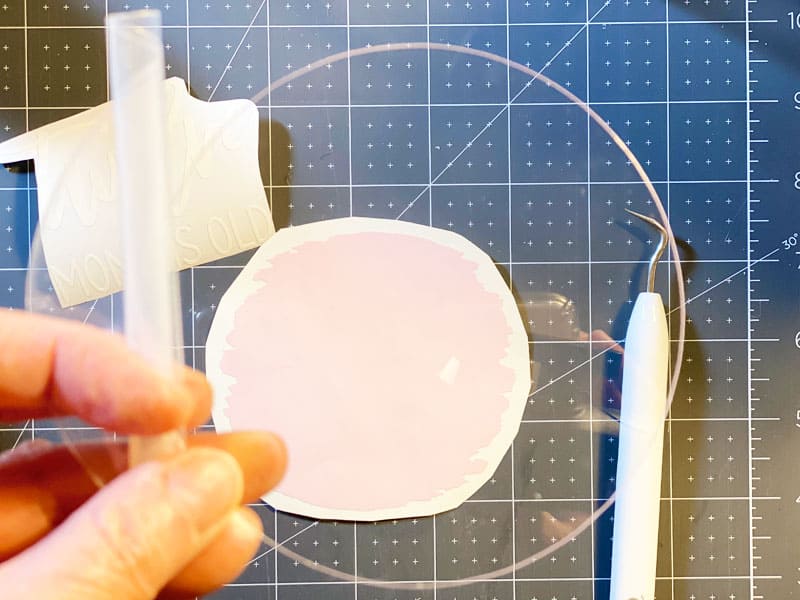
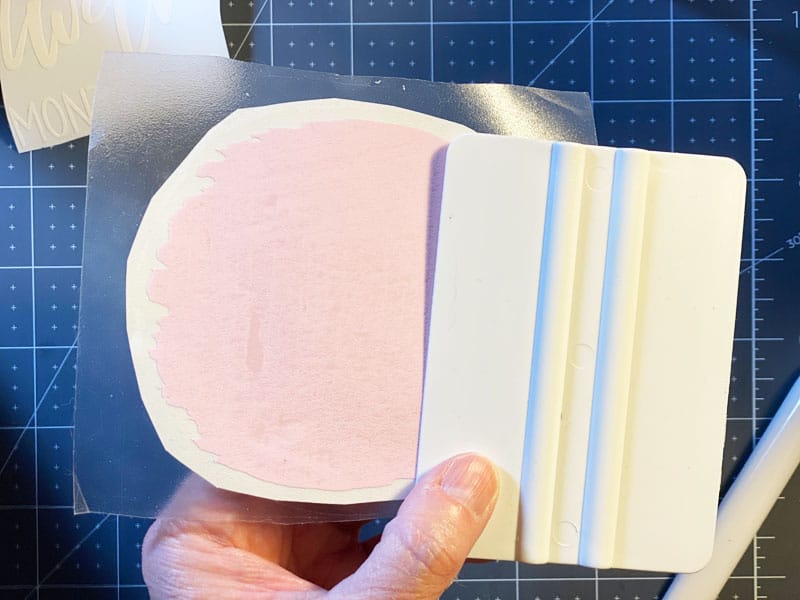
Place your transfer tape on top of the weeded vinyl.
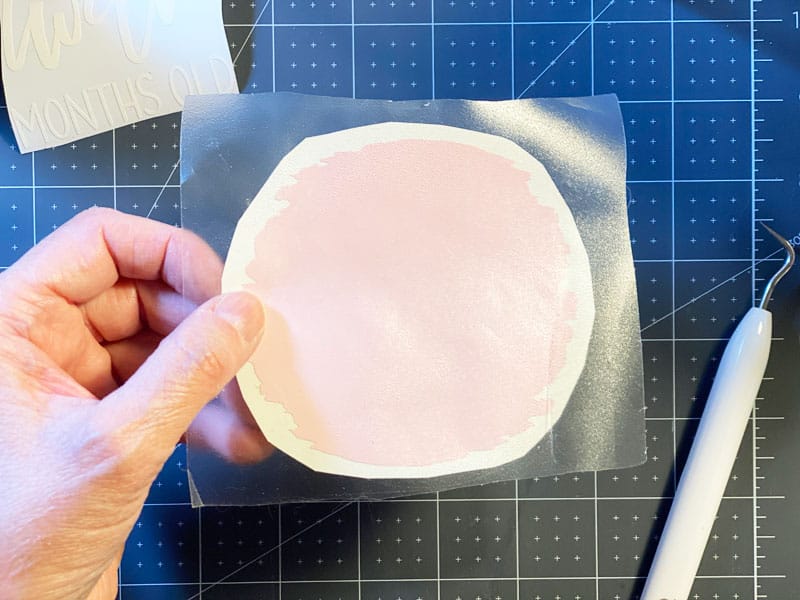
Use a scraper to burnish the transfer tape to the vinyl.
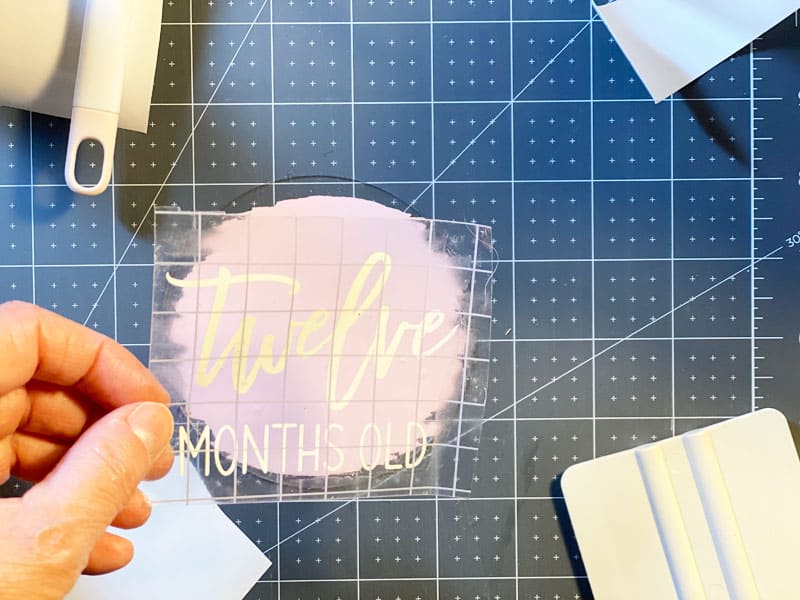
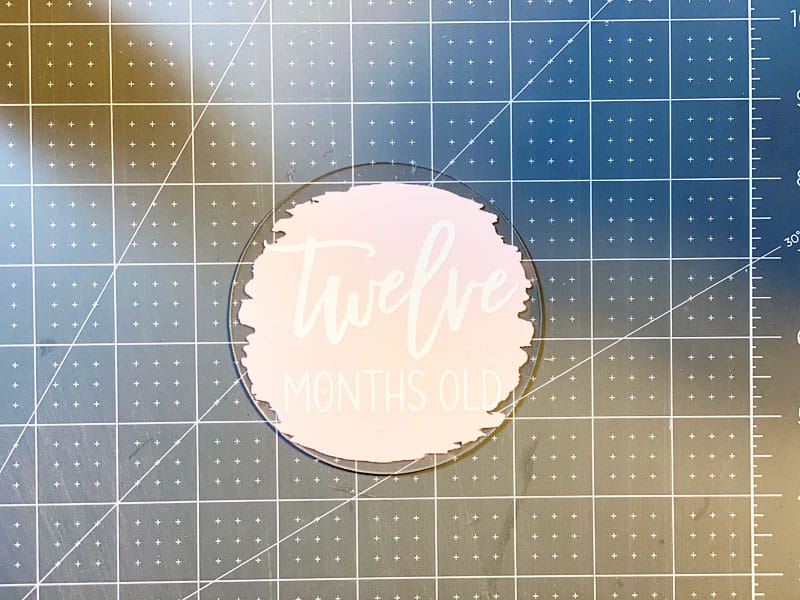
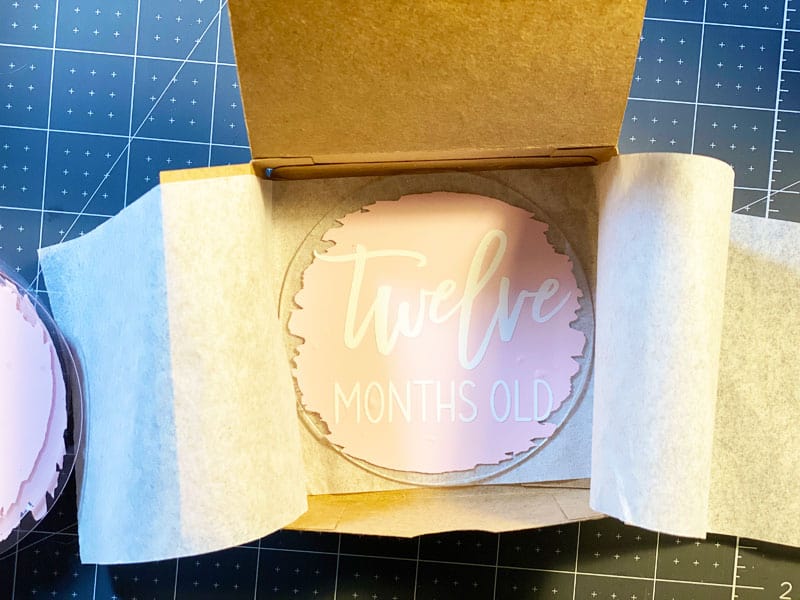
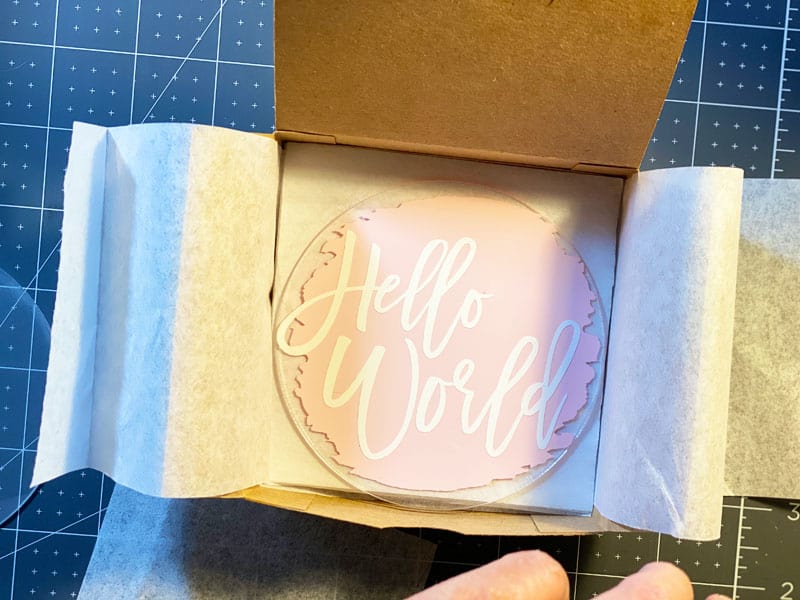
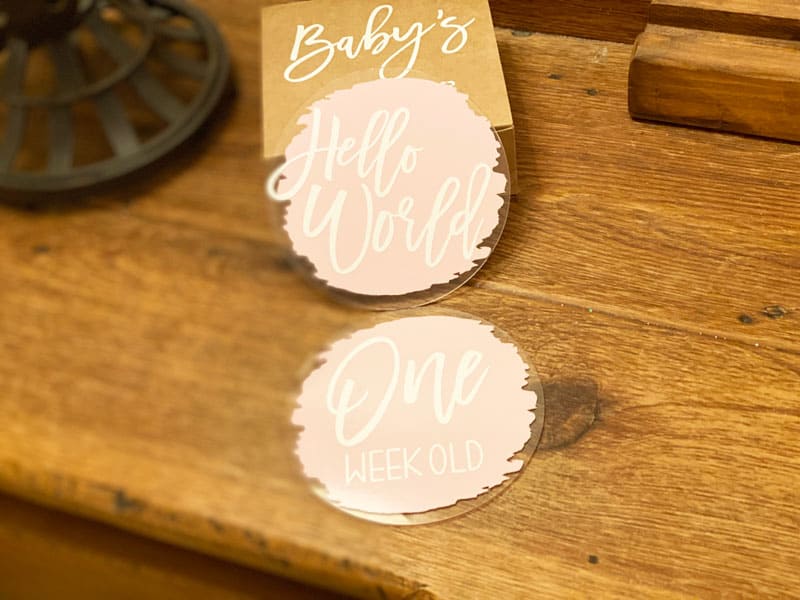
Apply the milestone months to your Acrylic Disc.
Isn’t this the cutest thing ever!
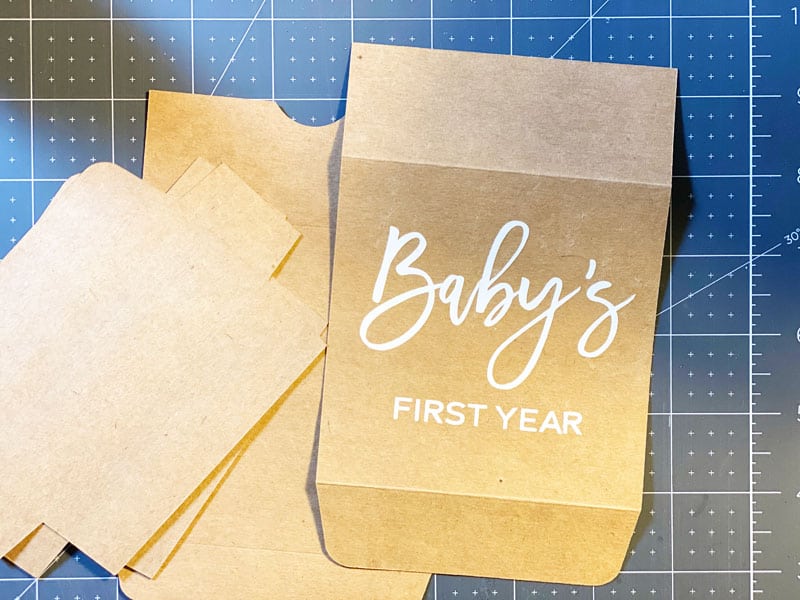
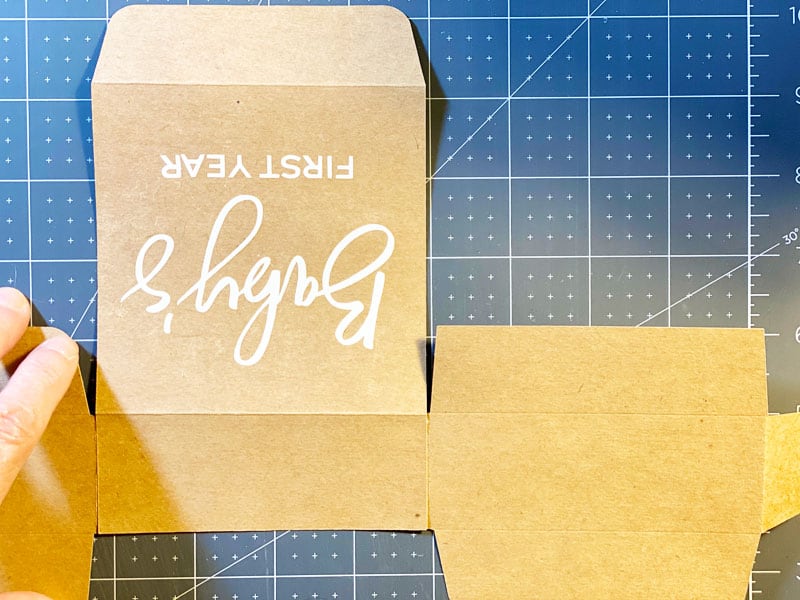
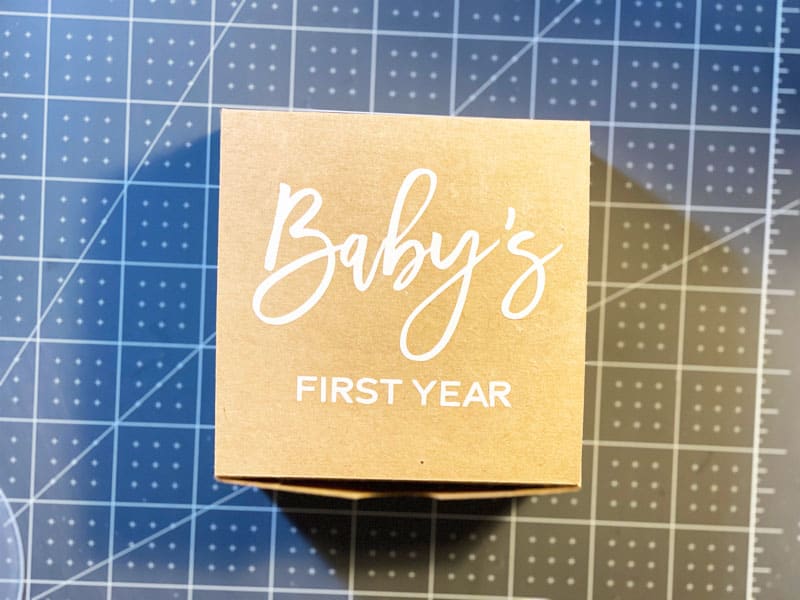
The box SVG comes with each baby milestone file. These are the pieces for the box.
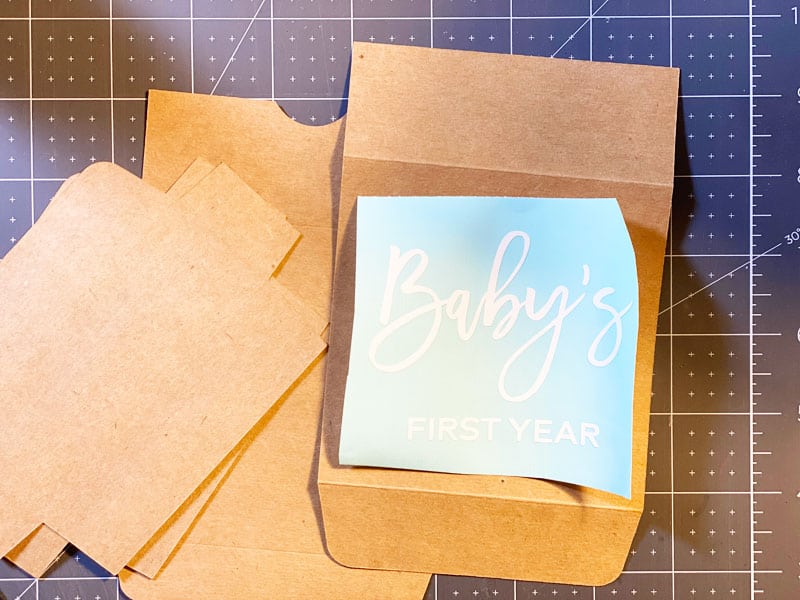
Apply the vinyl to the box top making sure it’s facing in the right direction.
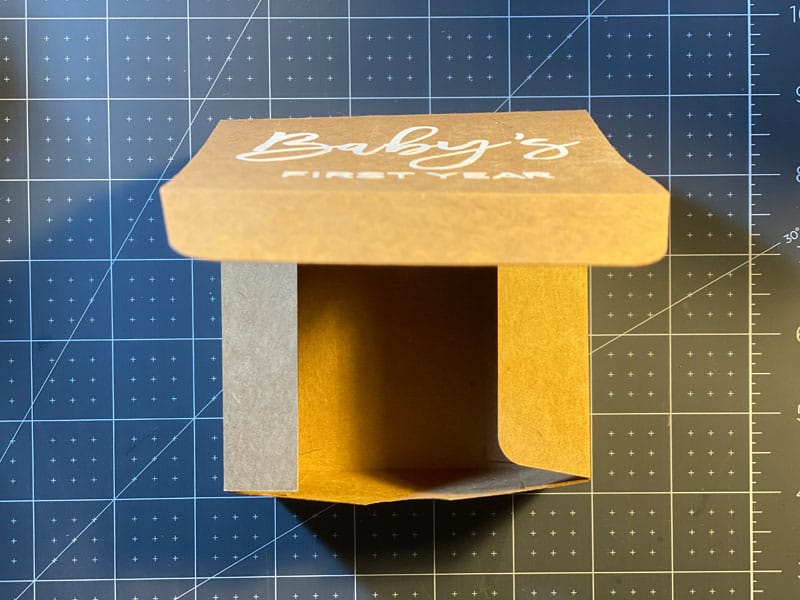
Here’s how to put the box pieces together.

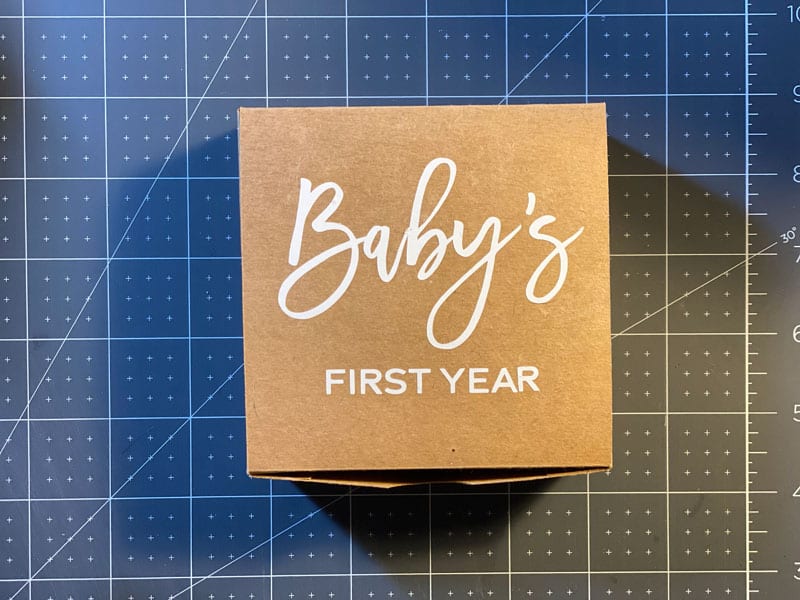
Isn’t this finished box adorable!
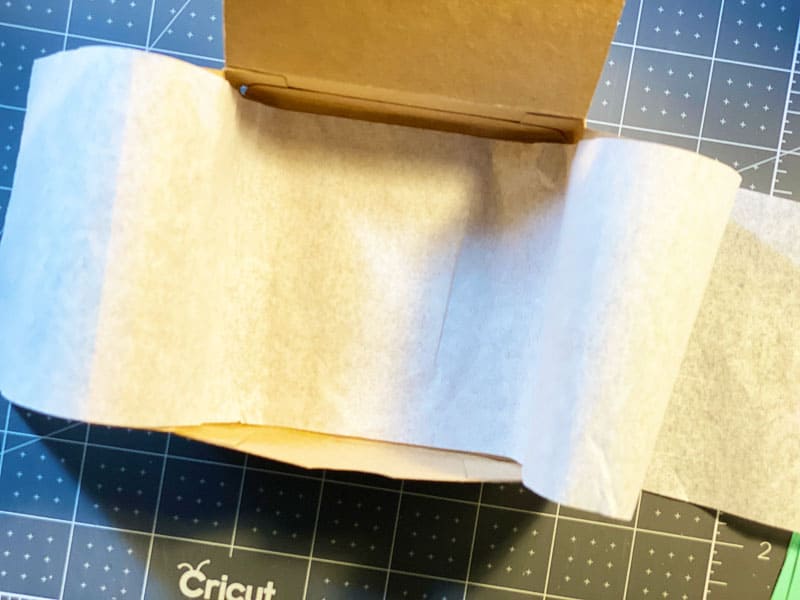
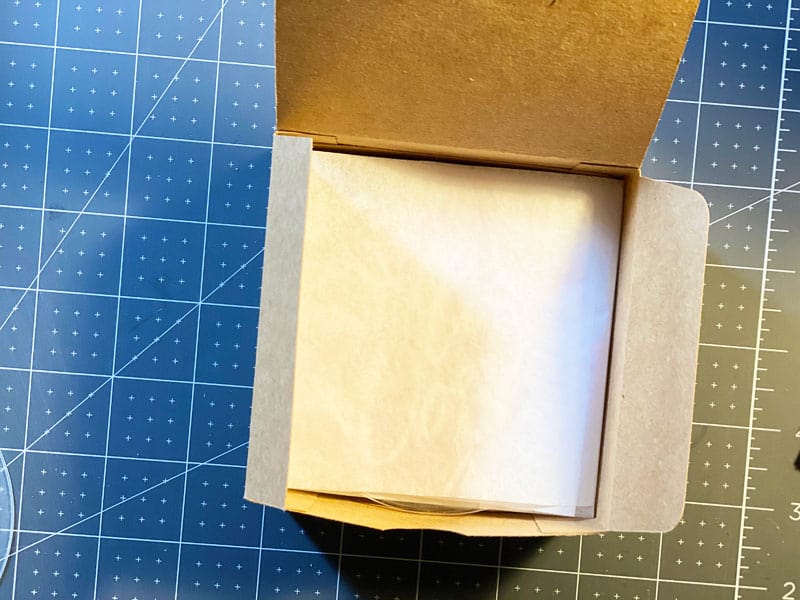
Using white tissue paper to put around the discs and over them adds a special touch.
Adding The Finishing Touches
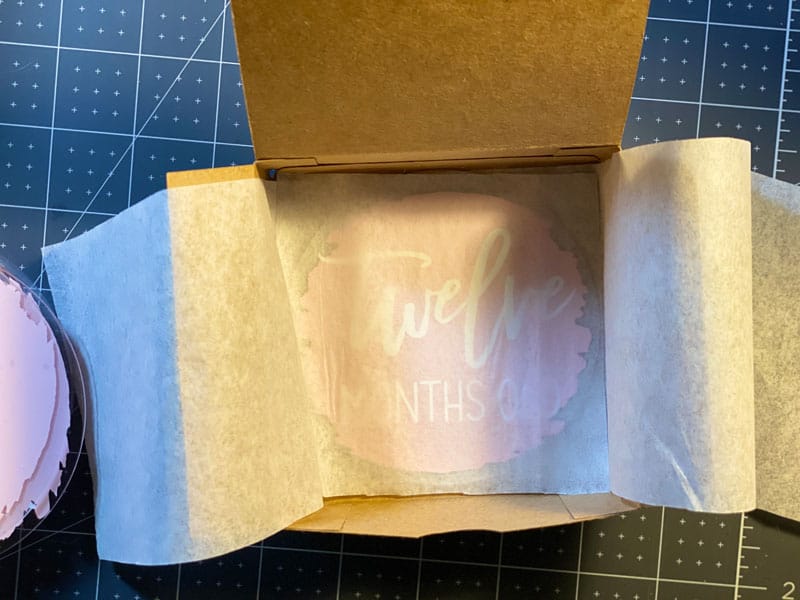
Add the discs to the box placing a piece of white tissue paper on top of each disc to keep them separated.
Individual squares of white tissue paper are placed between the each disc.
Here is the completed box with all of the discs.
The Finished DIY Milestone Discs
Isn’t this a great project.
If you make one, share in the comments of my Facebook group K Peck’s Creative Cafe. I would love to see yours.
Until next time.
Kathy
You might also like this FREE adorable Easter Bunny cupcake topper Cricut Design Space file.