
Before we get into today’s post, I want to share a tip with you. Sometimes when you create text in Cricut Design Space and you weld the letters together, a letter will fill in all black. This happens because the letter next to it was overlapped just a little too much. You can undo and try to move it over just a tiny bit and try again. You can also increase the size of the whole word, correct any needed spacing, and weld. Then you just return it to the size you need. Another thing you can do when this happens is click the “Undo” button to undo the weld function, and click on the letter giving you the issue; then click on the “Arrange” button and send that letter to the back. weld again and you are all set. Pretty cool, right!
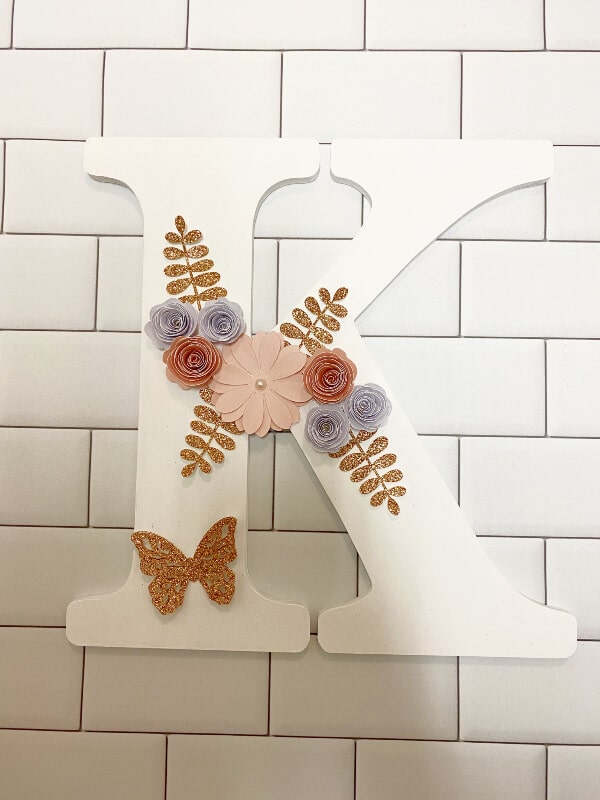
I was trying to come up with a fun project for you to try, and I thought decorating a wooden letter with the Cricut would be something you might enjoy. I’m thinking one of these would look really pretty on a nursery wall above the crib, or in a little girl’s room. Not quite sure where I’m going to put mine yet, but it will probably go in my bedroom.
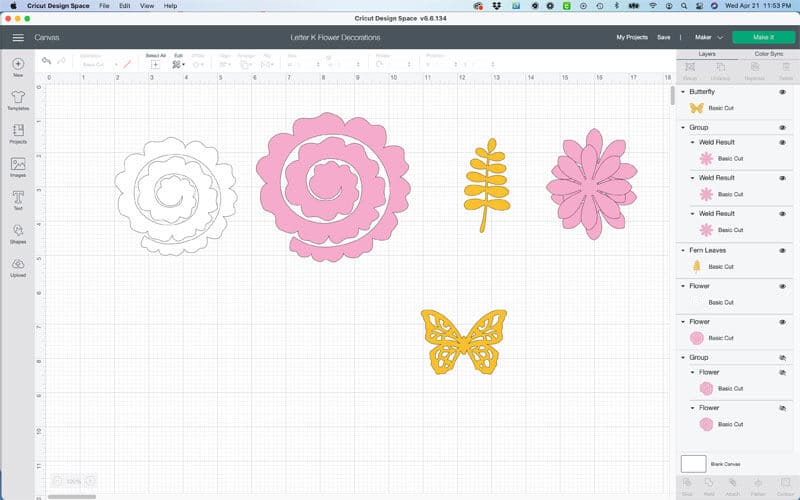
You can get my free template, available in my Free Resource Library (get the password by filling out the form below).
Supplies You Will Need
This post contains some affiliate links for your convenience (which means if you make a purchase after clicking a link I will earn a small commission but it won’t cost you a penny more)! Read my full disclosure policy.
Quilling Tool
Wooden Letter (I got mine from Hobby Lobby)
Decorating The Wooden Letter
The wooden letter I bought was originally black. I used acrylic and white chalk paint to paint it white. If I had to do it again I would just buy a white letter *I couldn’t find a white one I liked at Hobby Lobby).

I cut all of the elements out with my Cricut Maker.
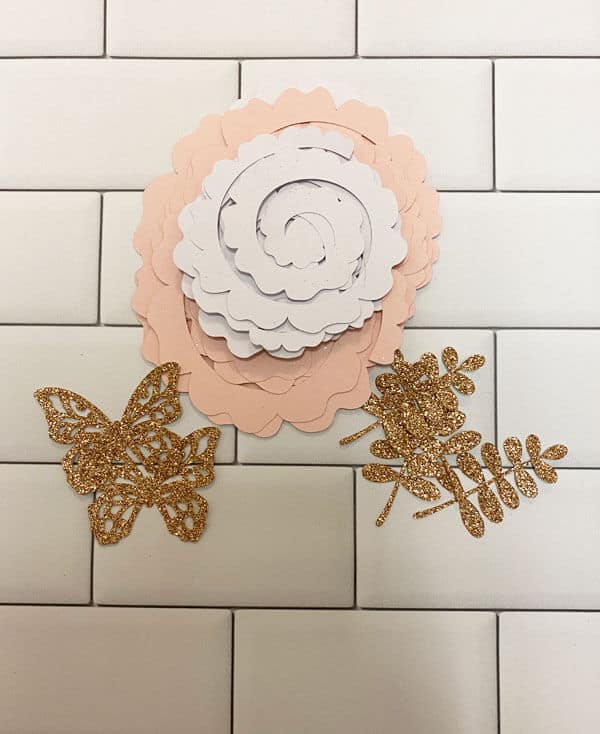
I rolled the flowers with a quilling tool. I layered the larger pink flower and glued the layers together, adding a pearl in the center. You can see in the following video how I put everything together.
The Final Product
Here’s what the final product looks like. The four rolled flowers look gray, but they are actually white.
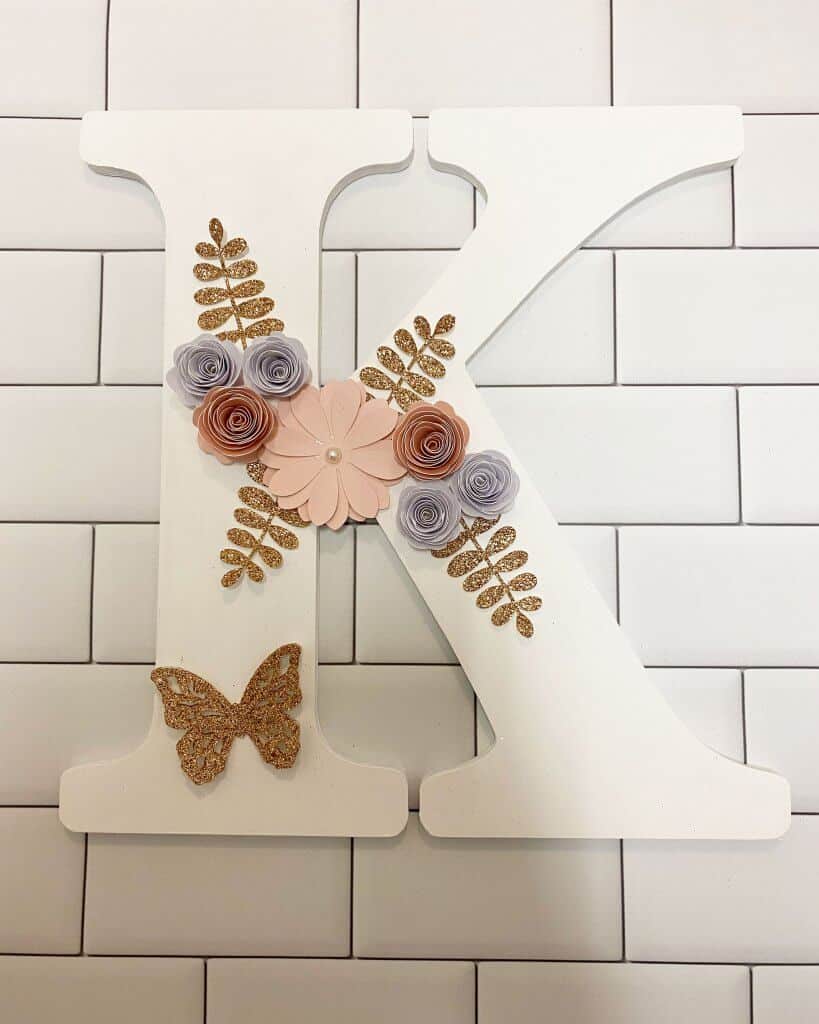
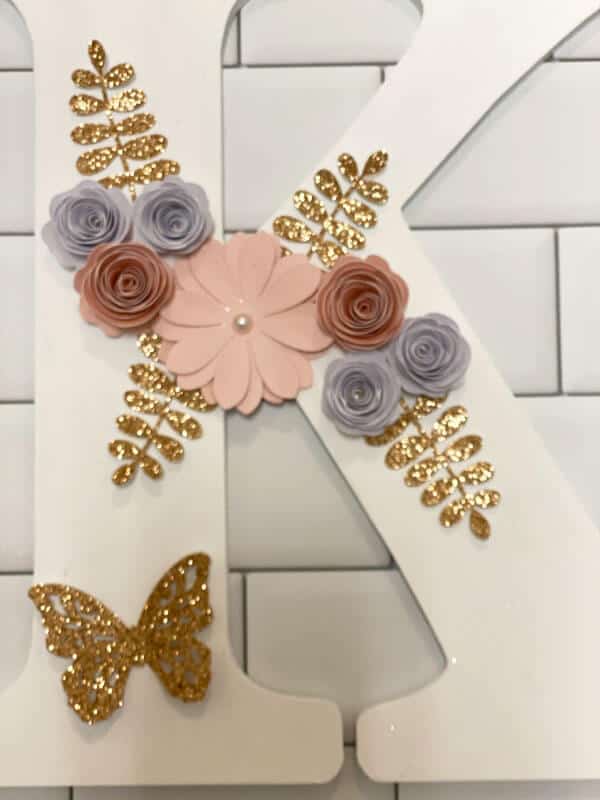
Decorating a wooden letter with the Cricut was a lot of fun to do, as well as super easy. The next time you are at Hobby Lobby or Walmart, pick up a letter or two and give this a try.
Until next time.
Kathy
P.S. You might also like these makeup bags https://kpeckscreativecafe.com/makeup-bags-with-htv-heat-transfer-vinyl/

You can get my free template, available in my Free Resource Library (get the password by filling out the form below).
Super fun project, and I love those rolled flowers!
Thank you Shea!!!
This is very lovely! I love this idea!
I’m so glad Tina. Thank you!