
Can you believe Christmas is almost here. I haven’t put up a tree in 8 years because I have had it in storage from when I moved back to Atlanta. I’m going to put it up this weekend and I’m really excited. I can’t wait to decorate itI did put out some Christmas decorations the day after Thanksgiving.
I decided I needed a Christmas mug, so I found a design in Cricut Design Space and added color to it to make it my own (see video below for instructions on how I did that).
This post contains some affiliate links for your convenience (which means if you make a purchase after clicking a link I will earn a small commission but it won’t cost you a penny more)! As an Amazon Associate I earn from qualifying purchases. Read my full disclosure policy.
Supplies Used To Make This Project
- Cricut Maker
- Cricut Mug Press
- Cricut Mugs
- Infusible Ink Pens
- Heat Press Mat
- Heat Resistant Tape
- Cricut Tools
- Laser Paper
- Butcher Paper
- Alcohol Wipes
- Lint Roller
Instructional Video
Step 1
You can get my free template, available in my Free Resource Library (get the password by filling out the form below).
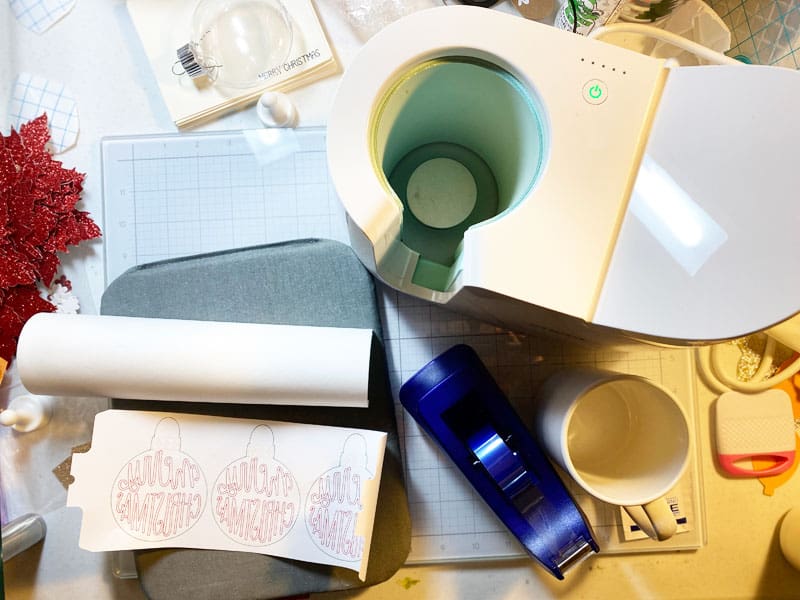
Open file in Cricut Design Space and choose your machine and click Make It. Choose “Infusible Ink” for your material. Load the Premium Laser Paper onto your mat. Mirror the design. Have the Cricut draw and cut out your design. The machine will prompt you on which Infusible Marker to use for each color.
Step 2
Wipe down your mug with the alcohol wipe and then lint roll it. Wrap the design around the mug making sure it is even on both ends. Secure the ends with the Heat Resistant Tape. I also put the Heat Resistant Tape around the top of the mug.

Measure the circumference and the height of the mug so you know what size to cut your Butcher Paper. I used three sheets of Butcher Paper. Wrap the three pieces around the mug covering the design, and secure with Heat Resistant tape. You don’t need to tape the top.
Step 3
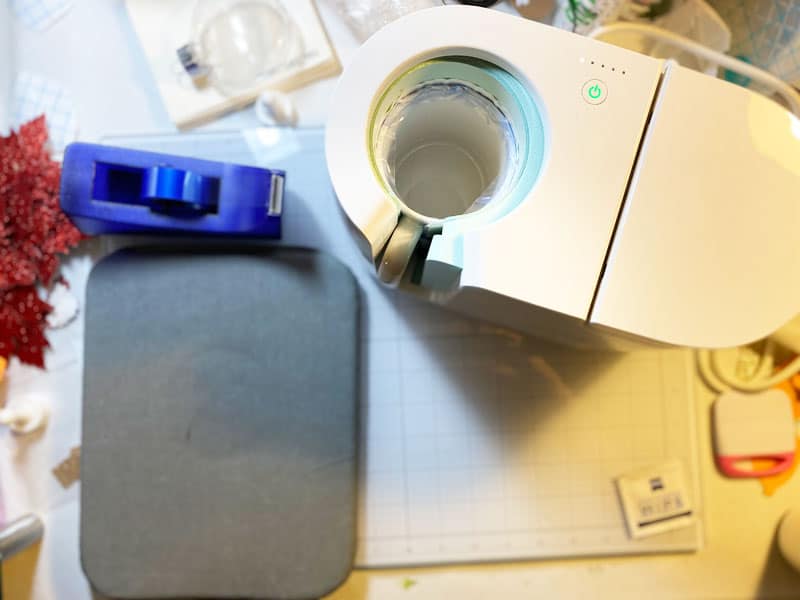
Turn on your Cricut Mug Press so it can start heating up. It will beep when it’s ready. Place the mug inside the mug press and press the lever down to secure the mug. When all six green lights are lit up, the mug press will beep.
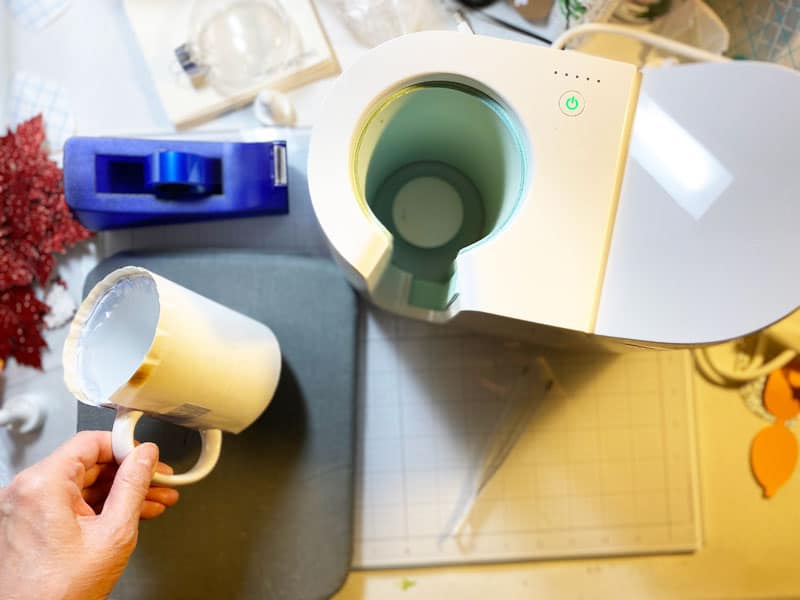
Pull up on the lever to release the mug. Carefully remove the mug from the mug press and place on the heat resistant mat to cool. It will be very hot.
Step 4
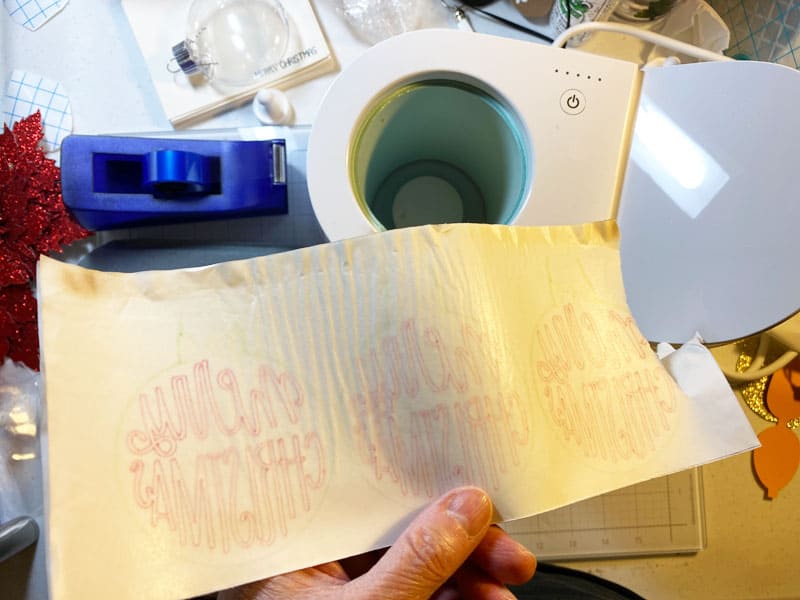
You can use the Cricut Tool to remove the Butcher Paper and Laser Paper by peeling off the tape. As you can see, the Infusible Ink bled through on to the butcher paper.
The Finished Product
Voila, you can now admire your Cricut Infusible Ink Christmas Mug. It is ready for you to enjoy Christmas morning.

I will have one or two more posts before Christmas, so be on the lookout for these.
Kathy
You might also like this bow project for Christmas bows.